
When new gardeners consider which vegetable they’d like to grow first, tomatoes are usually the number one answer.
Unfortunately, as outdoor spaces shrink and apartment rentals soar, many people don’t have the backyard space to grow this incredibly popular edible garden plant.
But lack of outdoor space shouldn’t stop you from growing bushy, productive tomato plants – containers are here to save the day.
In the right environment, tomato plants can grow anywhere in a container. In fact, they can thrive in containers, given the right start and care.
With these 9 steps, you won’t be able to contain your excitement (excuse the pun) for your healthy, successful tomato plants – all within one container.

1. Choose the right variety

Tomatoes are not small plants. Depending on your chosen variety, their heights may range from 3 feet to 12 feet. The largest tomato plant ever grown reached a whopping 65 feet. It goes without saying that you don’t want a 65-foot tomato plant growing in a container on your balcony. It’s important to choose the right tomato variety before you get started to ensure successful growth.
Certain tomato varieties are better suited for containers. Most determinate varieties – those that grow to a certain height and are ready for harvest at one time – are ideal, as they average around 4 feet. Indeterminate varieties continue to grow taller throughout the season, easily reaching 6 feet or more.
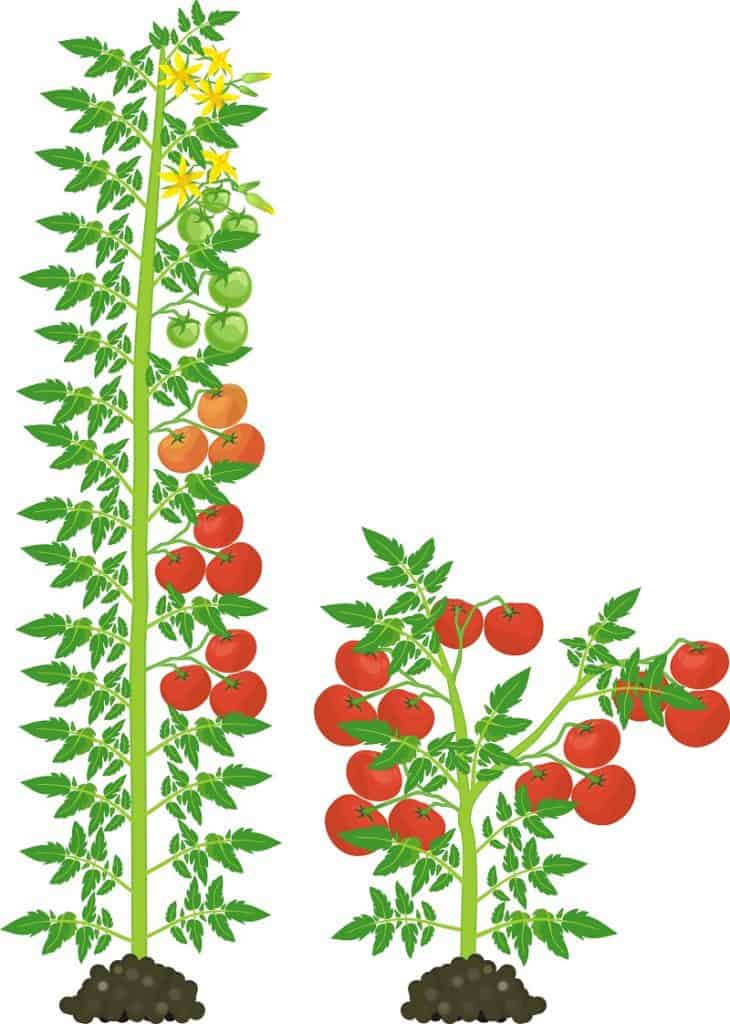

In a large enough pot, you can grow indeterminate tomato varieties, but in smaller spaces, shorter determinate varieties are ideal. Look for patio or dwarf varieties – they are designed to be more compact without losing yield.
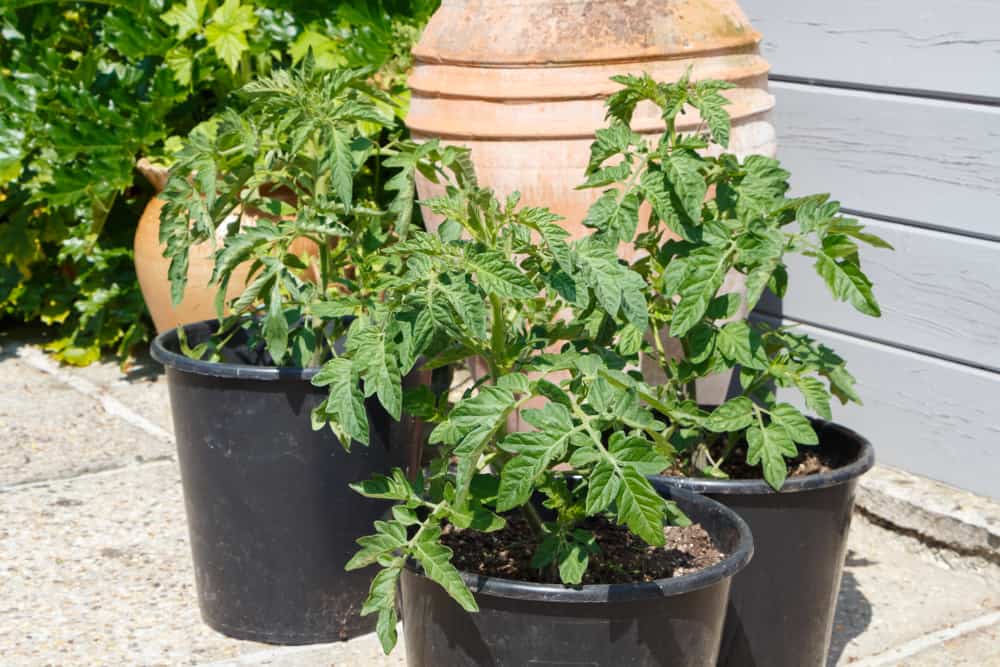
2. Start with the right pot
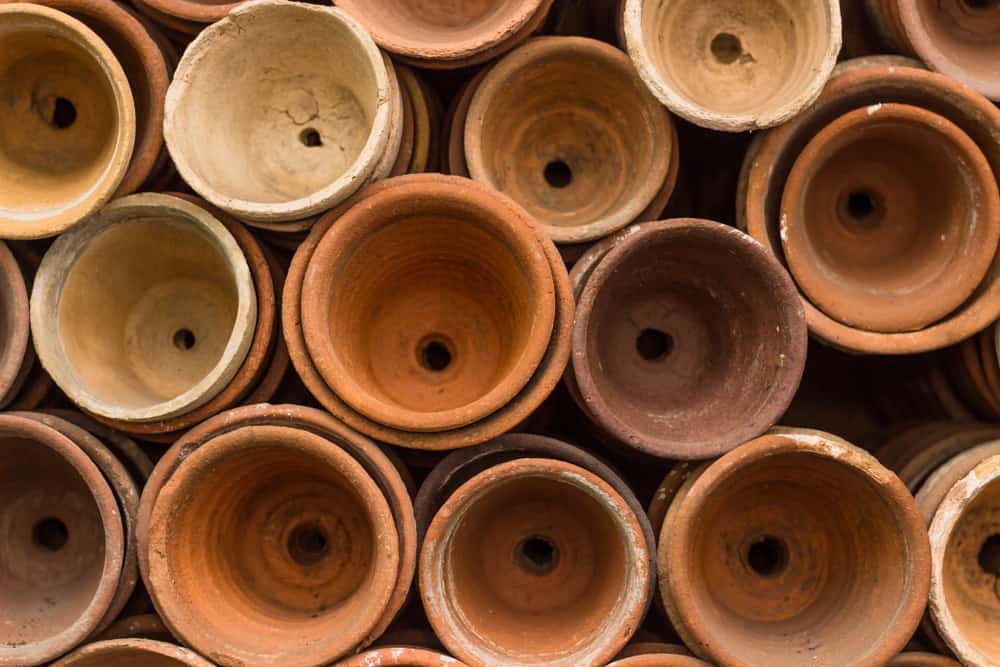

Once you’ve chosen your variety, you’ll need to match the size of the plant with the size of the pot. Shorter varieties can grow in smaller pots (around 10-15 gallons), while larger indeterminate varieties will need plenty of space to grow successfully (at least 20 gallons).
To be on the safe side, always opt for a larger pot over a smaller one. Your tomato plants may grow in a smaller pot, but they won’t grow to their full potential or produce many fruits.
There is no criteria more important in the right container than drainage. In containers, you control watering completely (bar rain) and without drainage, the water will have nowhere to go. Consistently moist soil will suffocate the roots and cause them to decay, unable to service the health of the plant any longer.
Put bluntly, a container without adequate drainage will kill your plant.
3. Use a good potting soil
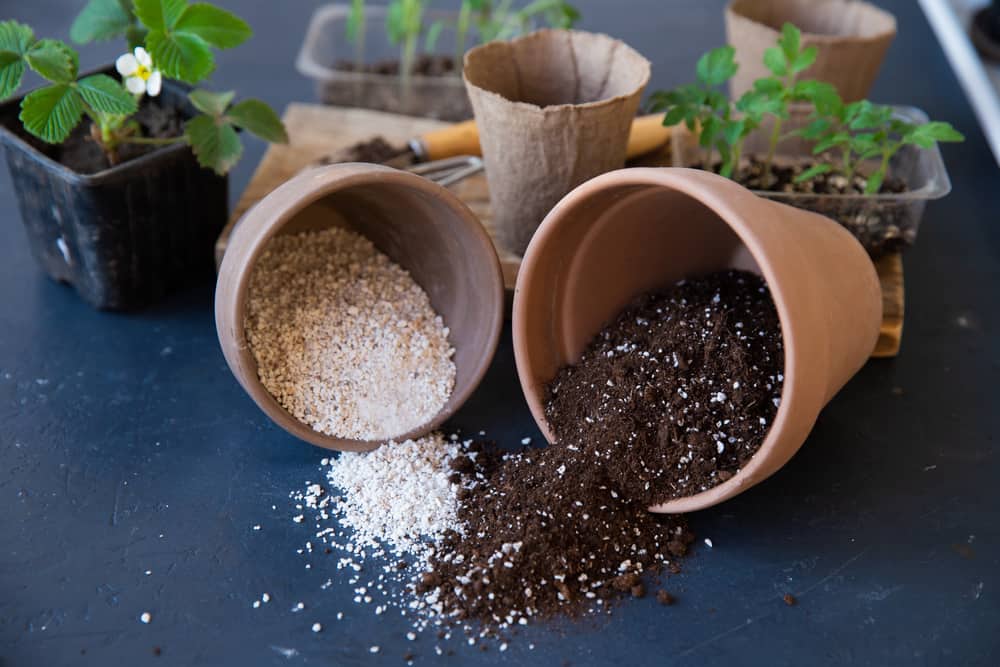
Container gardens have a list of specialized concerns specific to the soil – leaching nutrients, drying out too quickly, lack of air, and so on. Any old bag of soil is not guaranteed to resolve these issues.
For healthy tomato plants, you need a specialized mix of ingredients perfect for pot environments.
You can either purchase a high-quality potting mix or make your own potting mix enriched with materials to aid drainage and aeration. This will prevent the soil from compacting and limit transfers of soil diseases from garden soil.
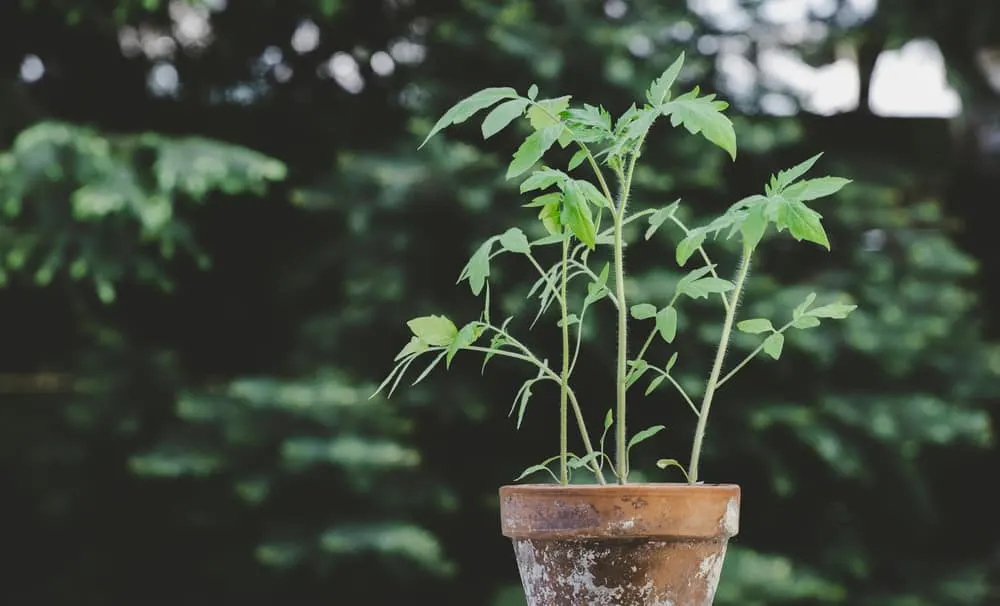
4. Transplant correctly
Whether you’ve purchased healthy tomato seedlings at a plant nursery, or started your chosen variety from seed, you’ll soon need to transplant your young seedling into its final growing pot.
Typical potting practice dictates you should keep the level of the soil the same when transplanting, leaving more soil underneath for the roots to spread downwards. That is not the case for tomato plants. They have the ability to produce more roots along the parts of the stem submerged in the soil. Burying the plant deeply is recommended to develop a healthy root system.
When transplanting a seedling, remove the bottom few sets of leaves and place the seedling about half deep in the container. This leaves enough room below the seedling for the roots to spread downwards, and buries enough of the stem to grow even more roots towards the top of the pot.
Don’t worry that the plant is far smaller than when it started out. As long as there are a couple of leaves above the soil and a large enough pot, the plant will fill out in no time.
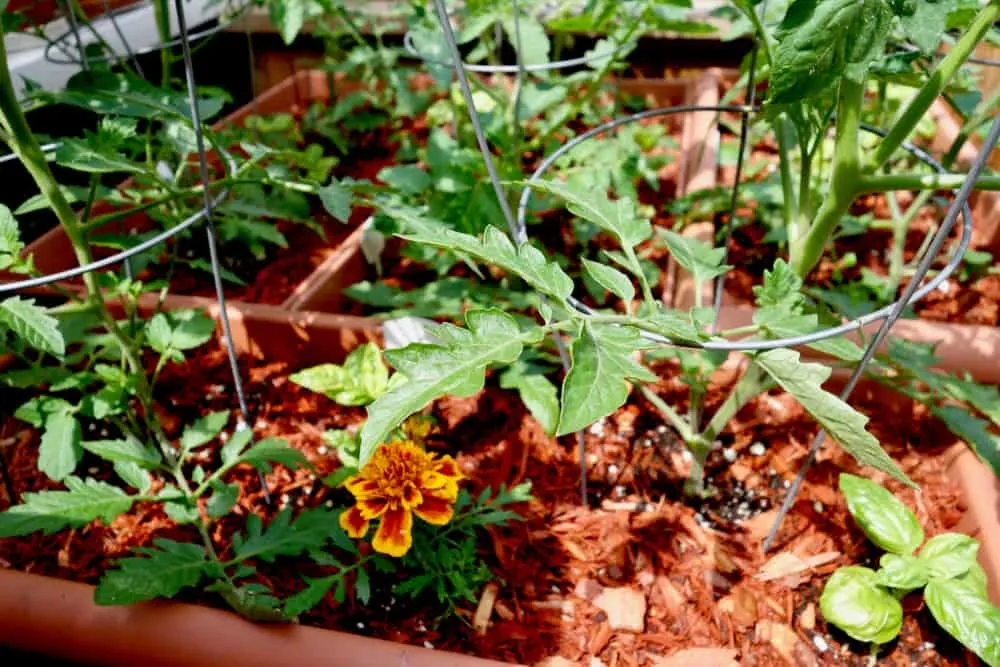
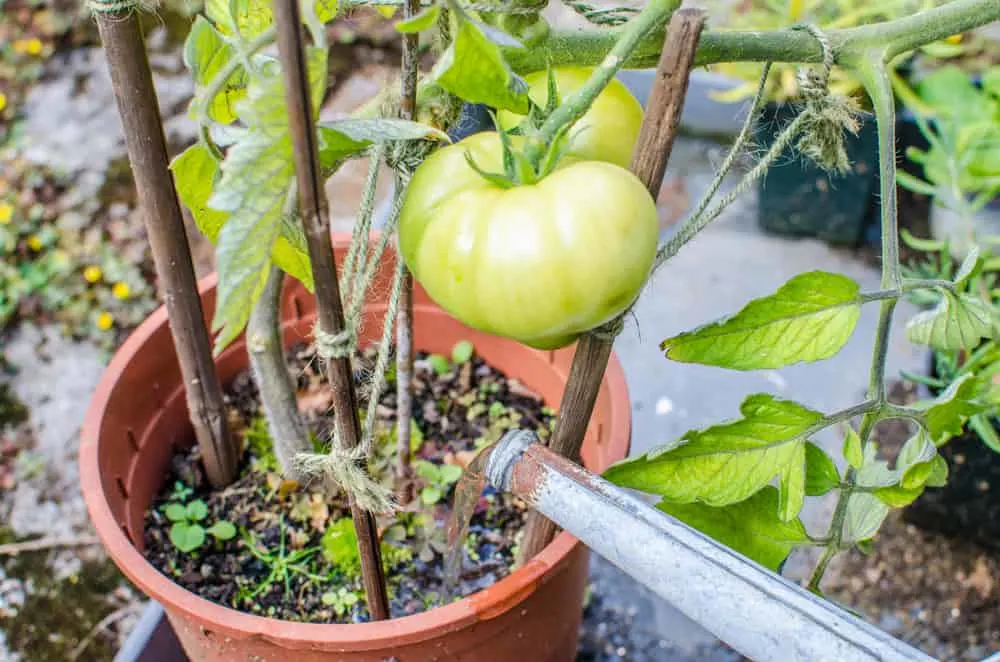
5. Add supports
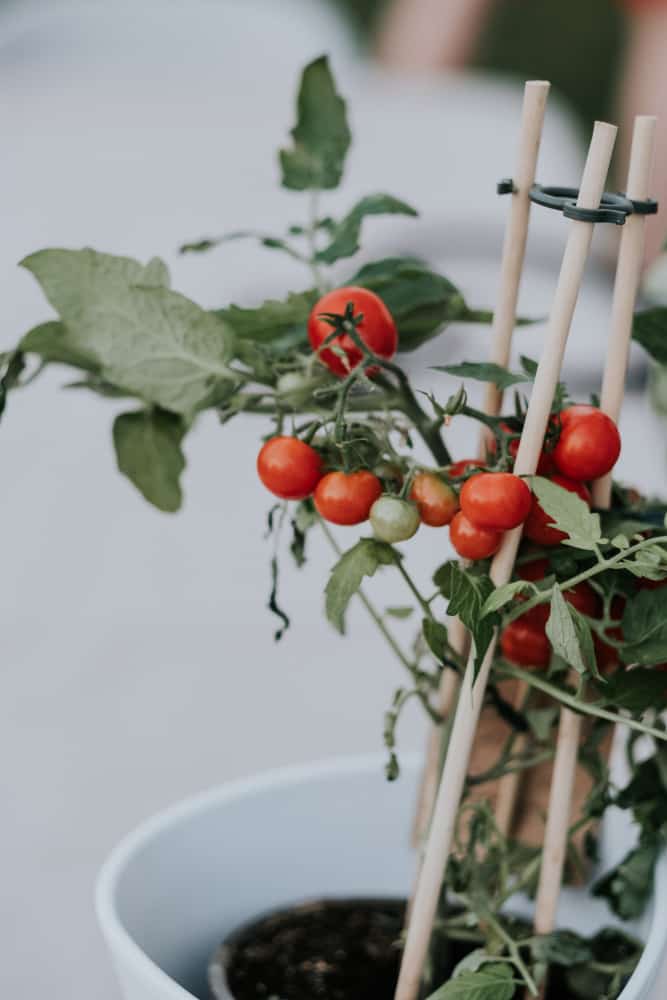

Some short tomato varieties don’t need any supports to grow. When growing in containers, you may encounter many of these, and won’t need to consider supporting your plants. However, if you have chosen to grow any of the taller varieties, you will need to give them some kind of support.
Supporting your tomato plants will keep the stems upright and off the ground. The supports will also hold the weight on the plant, preventing any stems from snapping under the pressure of the large fruits.
Two of the most popular support methods are staking and caging. Which you choose will depend on your chosen variety and your needs. It’s best to implement your chosen support structure right after planting to avoid disturbing the roots once they have grown to the edges of the pot.
6. Place in the perfect spot
When growing tomatoes in containers, it’s easy to get lost in the benefits of portability and place the plants anywhere that’s easily accessible. However, while you’re not limited by what kind of space you put your plants in, it is essential to place the container in the right environment to ensure healthy plant growth. And the most important part of this right environment, is sunlight.
Tomato plants love sunlight, and plenty of it. They need at least 6 hours of full sunlight per day at minimum. Without adequate sunlight, the plants will not grow fully or have enough energy to produce fruits. But, that’s the benefit of containers: if your plant is showing signs that it lacks sunlight, you can simply pick it up and move it.
Tomato plants also love environments with warm temperatures and can’t stand the cold. Luckily, it’s far easier to protect tomato plants from unexpected cold weather when they’re planted in containers. Move the pots indoors to protect them overnight and return them to their sunny spot the next day.
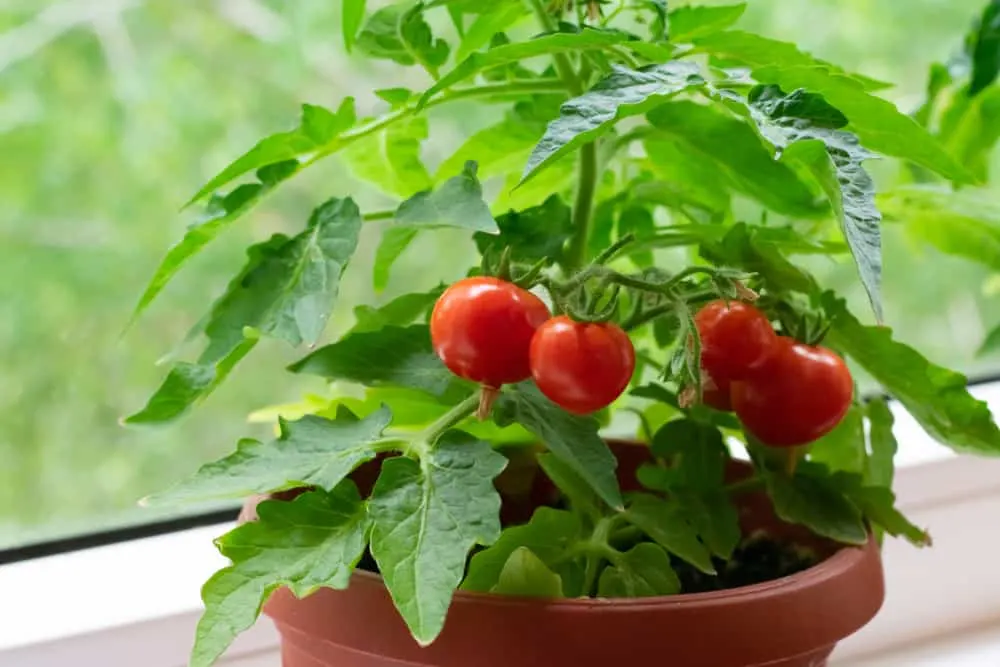
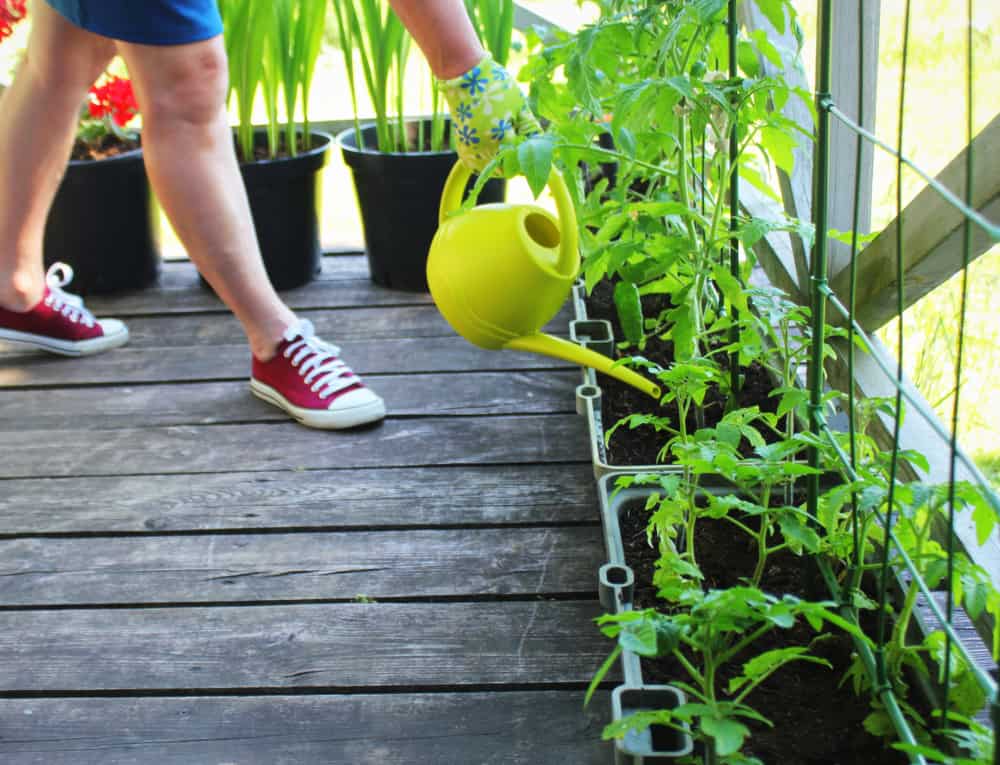
7. Water correctly

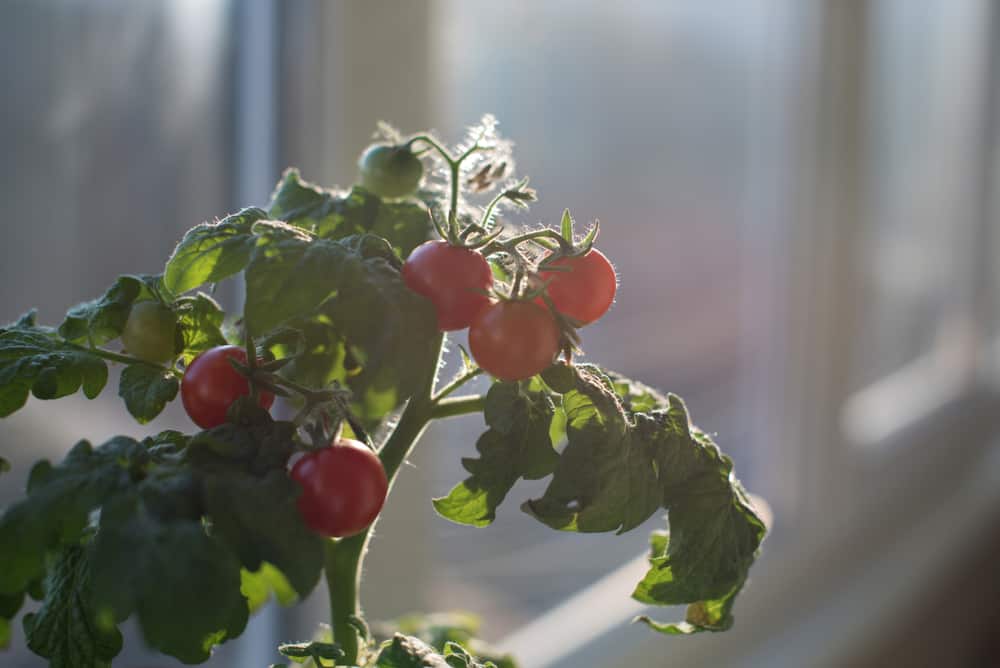
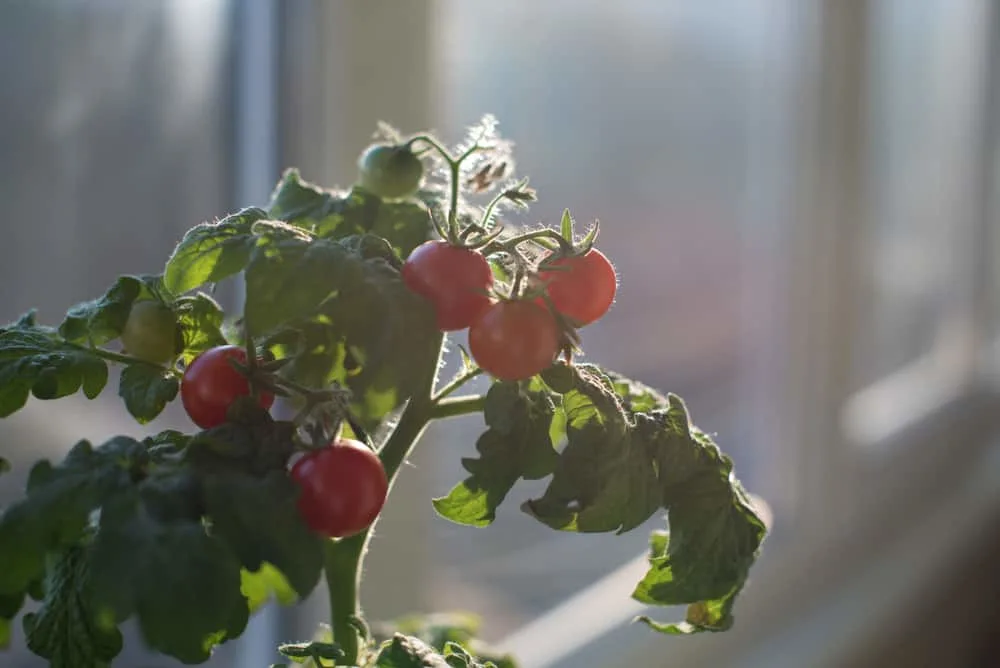
Tomatoes contain around 95% water. It follows that correct watering is essential to the production of the fruits and their taste – the part all tomato gardeners look forward to.
Underwatering will cause the plant to wilt, overwatering will cause root rot, and inconsistent watering may cause the fruits to crack. It is a fine line to walk, especially when your tomato plants are in containers.
The soil in containers dries out far quicker than garden beds outdoors. Any excess water leaves the drainage holes, but that leaves less for the roots to absorb. In the sun, the soil also dries out faster, and this may be exacerbated by strong winds.
It is vital to provide your tomato plants with plenty of water, and to water consistently. In containers, this typically means watering more often than you would in a ‘traditional’ backyard. Check the soil every day and twice a day in summer. Only water when necessary and preferably water in the mornings to give the plants enough to withstand hot, sunny days.
8. Add a layer of mulch

If managing water is stressful, fear not – mulch is here to help. Mulching your tomato plants will help retain moisture by keeping the soil cool and away from direct sunlight. But that’s not all.
Mulch also reduces problems with weeds, insulates the soil, prevents the fruits and leaves from coming into contact with the soil, and prevents the soil from compacting.
Mulching is a focus in tomato beds, but it is just as useful in containers. This list of the 5 best mulches provides a range of easily accessible mulch options guaranteed to benefit your tomato plants.
Apply a layer of mulch around 2 inches thick on top of the soil. Depending on your chosen mulch, it should last a few weeks or months before it needs replacing.
9. Fertilize regularly

Tomatoes are considered heavy feeders. In any location, they need regular fertilizing, but this is especially true in containers. With the regular, thorough watering that tomatoes in containers require, nutrients can leach from the soil faster. This leads to problems caused by nutrient deficiency, such as weak growth or little or no fruit production.
When planting, add a handful of slow-release fertilizer to the potting soil mixture and continue fertilizing over the growing season. Once the plant has fully matured, choose a fertilizer lower in nitrogen and higher in phosphorus and potassium to encouraging fruit production.
Follow these nine steps, and you will have happy plants growing in containers for their entire lifecycle. No backyard garden space necessary.