
The internet is full of mind-blowing gardening hacks that often seem too good to be true. Unfortunately, they often are.
The prevalence of doctored videos and implausible results leaves gardeners scratching their heads and asking – does this really work?
When it comes to tomatoes, one of the most popular gardening ‘hacks’ returns in spring each year: growing tomato plants from a sliced tomato.
Have you ever seen the video? If not, here it is:
Does it work? Let’s find out.
The Truth

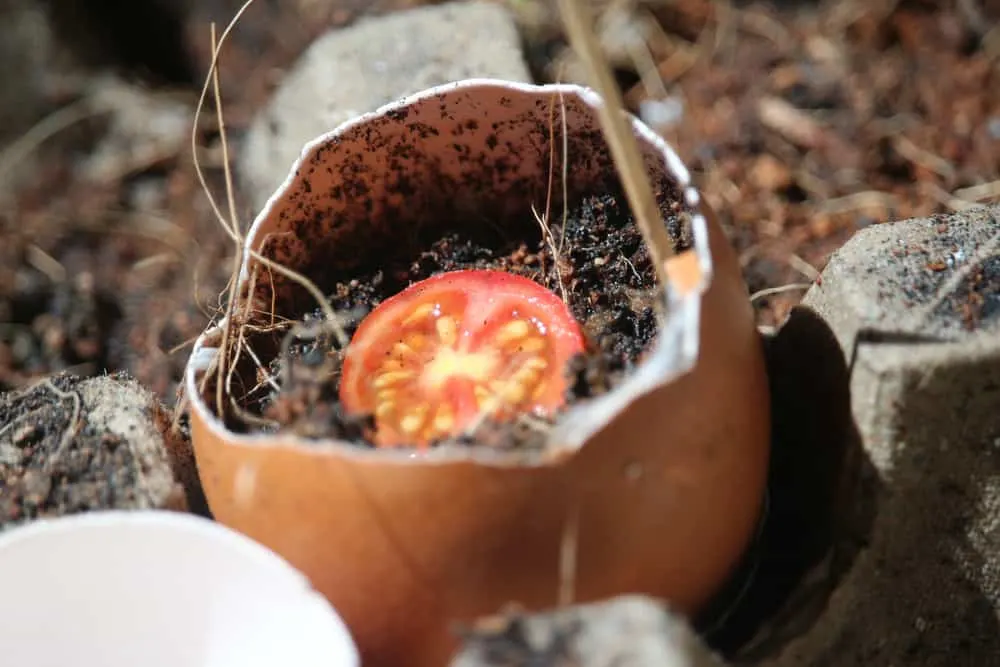
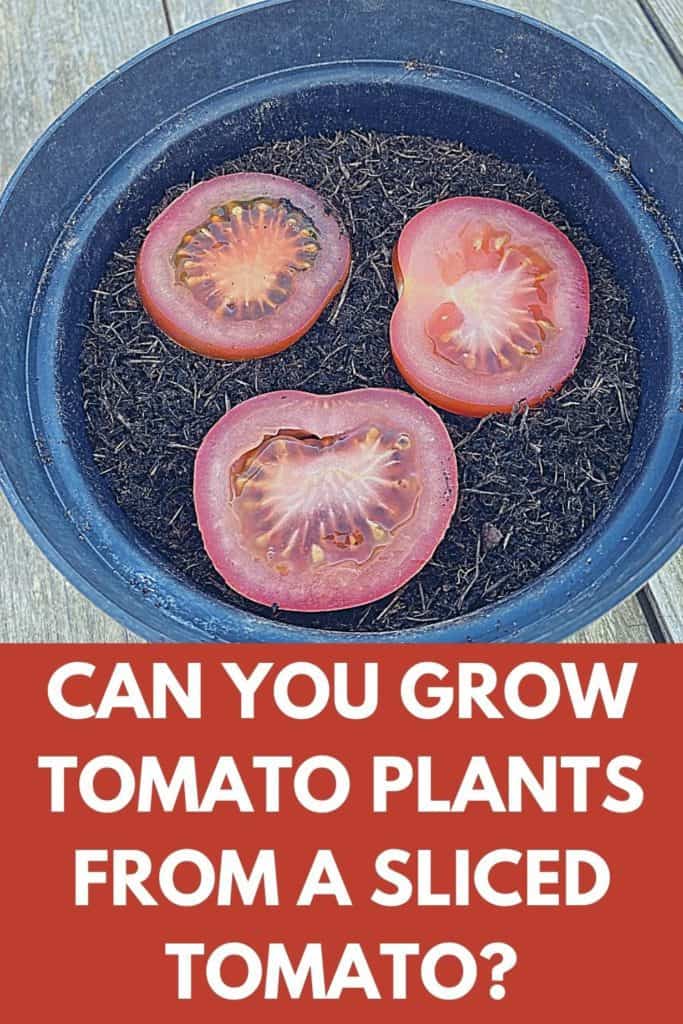
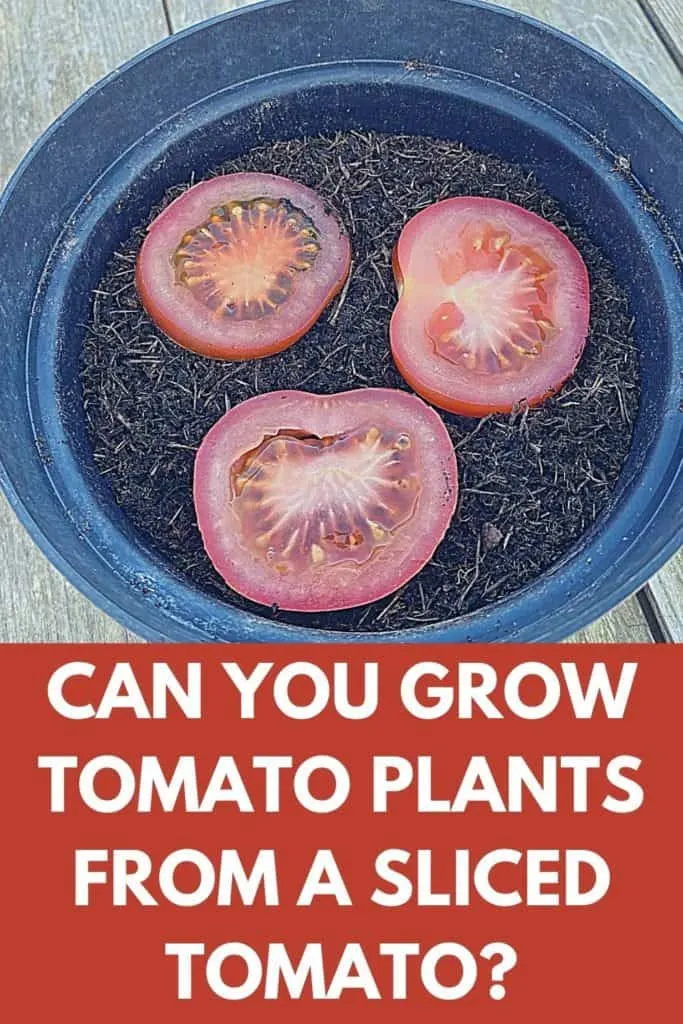
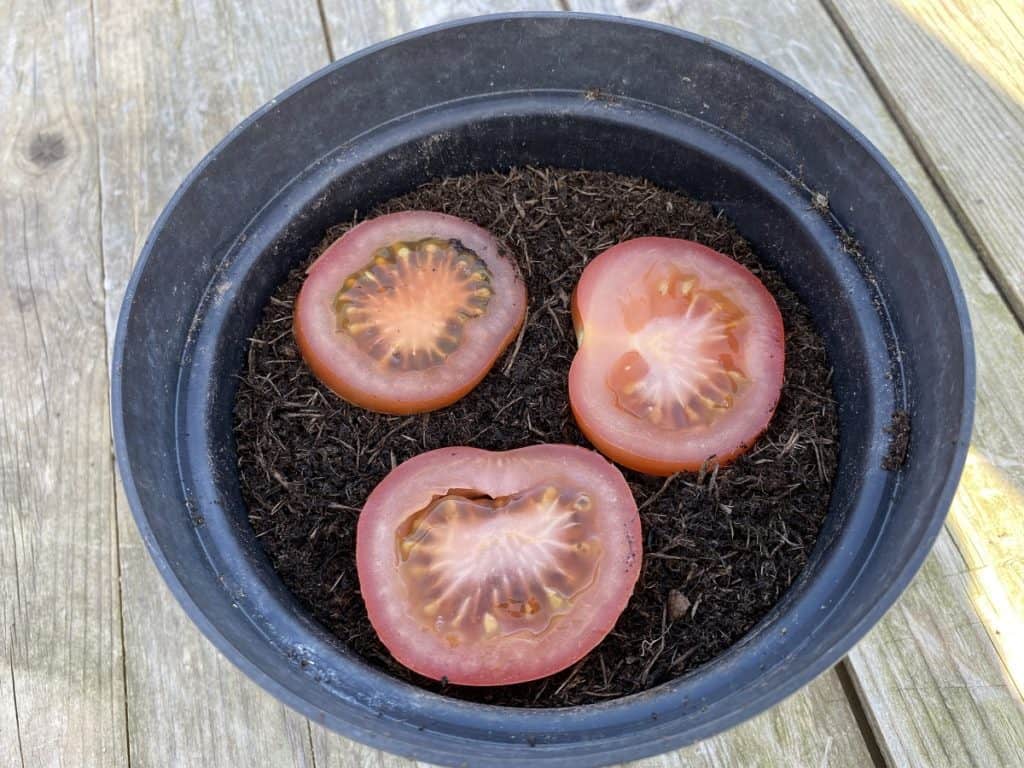
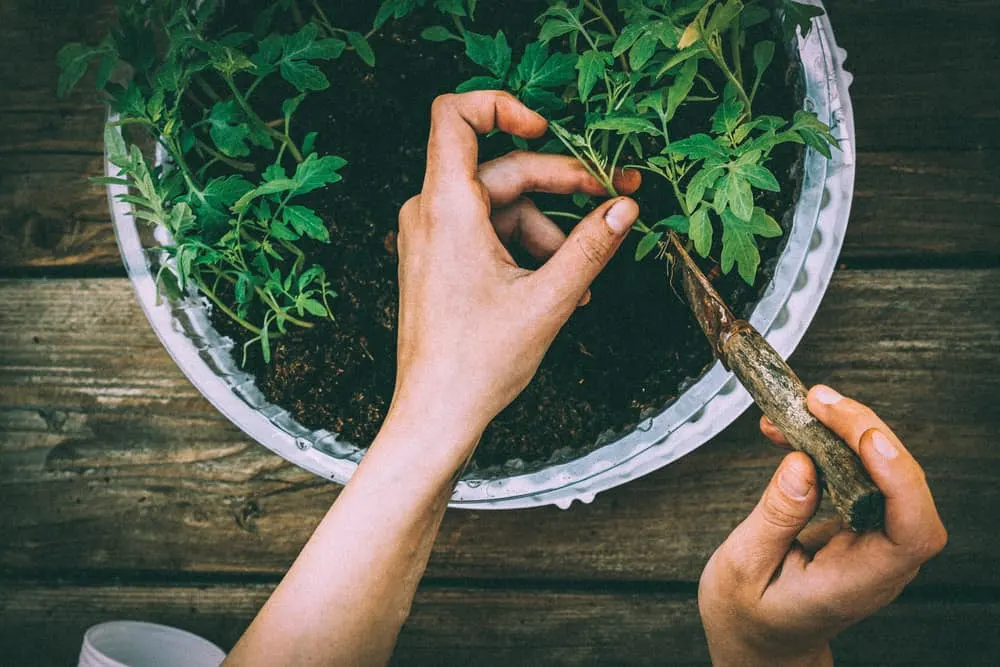
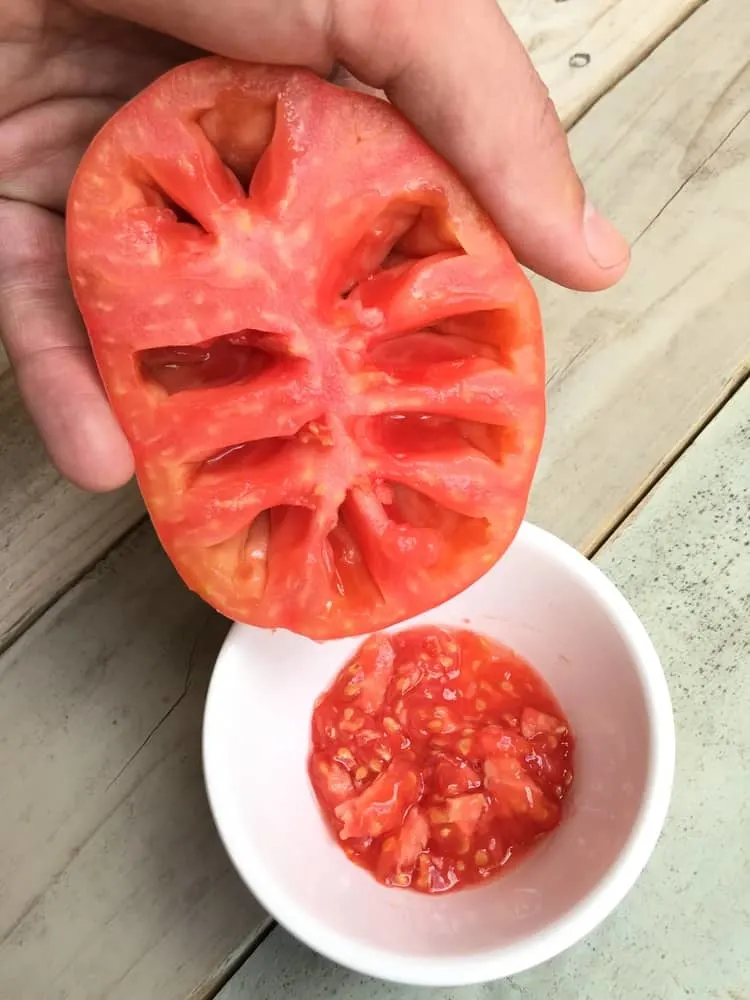
According to this planting method, all you need is a pot, some potting soil, and a ripe tomato.
Simply lay thin tomato slices on top of a pot filled with potting soil, cover with more soil, and water.
Within a week or two, you should have seedlings to transplant into individual pots that become fully grown tomato plants.

In an ideal world, this method should work every time. But, it’s not always that easy.
It is possible to achieve success with this planting method, and if you believe internet anecdotes, many people have. However, you may encounter some problems when attempting to grow tomatoes from slices.
The Problems With the ‘Slice’ Method
The first problem you may encounter is disease.
Each tomato seed is surrounded by a gel that inhibits germination until the seed is properly anchored in the ground.
Depending on the soil conditions, environmental conditions, and where you got the tomato from, this gel can harbor bacteria and fungal disease. Diseases are already a concern for tomato gardeners in later stages. You don’t want to start your planting journey battling them.
Secondly, most gardeners who attempt this method usually use store-bought tomatoes. If you are happy with receiving any old tomato at the end of your harvest, this isn’t really a problem. However, for gardeners serious about their produce, this method is unlikely to achieve the desired results.
Grocery store tomatoes are typically hybrids, so the fruits of your new plant may not resemble the original fruit you got the seed from. They could have a different taste, texture, even shape and size. This is an unwelcomed surprise for new gardeners who were hoping for a similar tomato to what they started with.
If you are determined to test out this gardening hack, there are precautions you can take to limit stumbling blocks.
Start with an heirloom or open-pollinated tomato rather than the standard cross-pollinated variety commonly available in grocery stores. Cut slices from various fruits and plant slices in different pots to combat any potential viability and disease issues.
Ultimately, this method is a gardening gamble. You may get great results, or you may get no results at all. If you are looking for predictability, it’s probably safer to opt for the tried and tested methods.
Harvesting Seeds from a Ripe Tomato: The Preferred Method
Step 1: Pick the right tomato
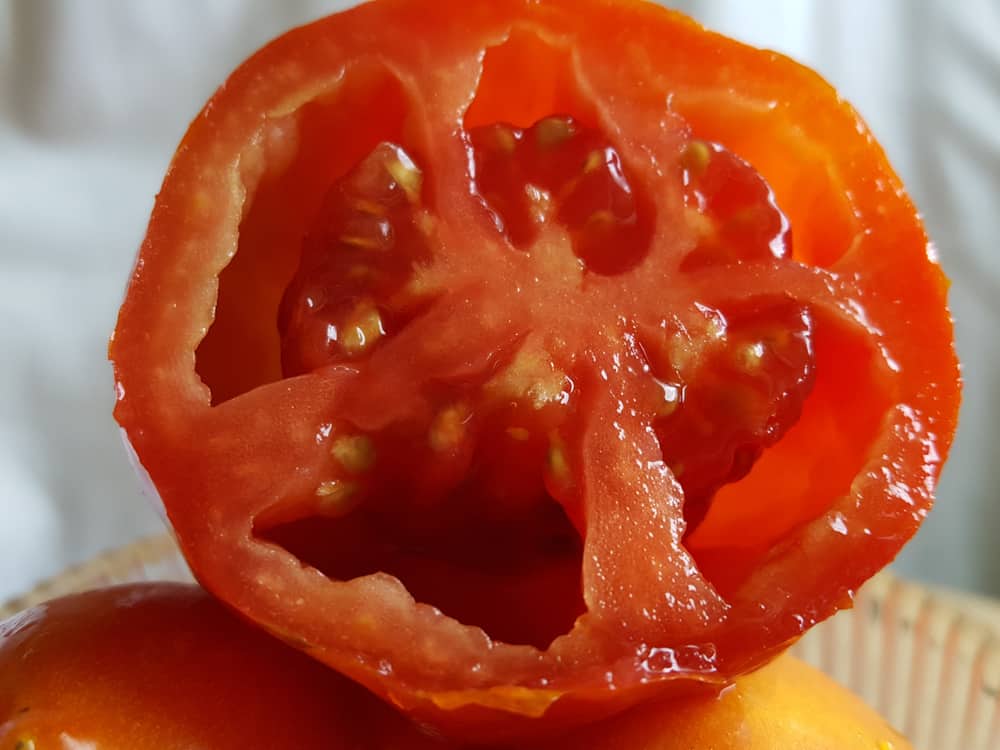
Start with a good tomato. Pick tomatoes you like the taste and texture of – you will have a lot of them by the end of your harvest. Choose a variety that has not been cross-pollinated to ensure the plant produces tomatoes similar to the original fruit.
Step 2: Remove the seeds
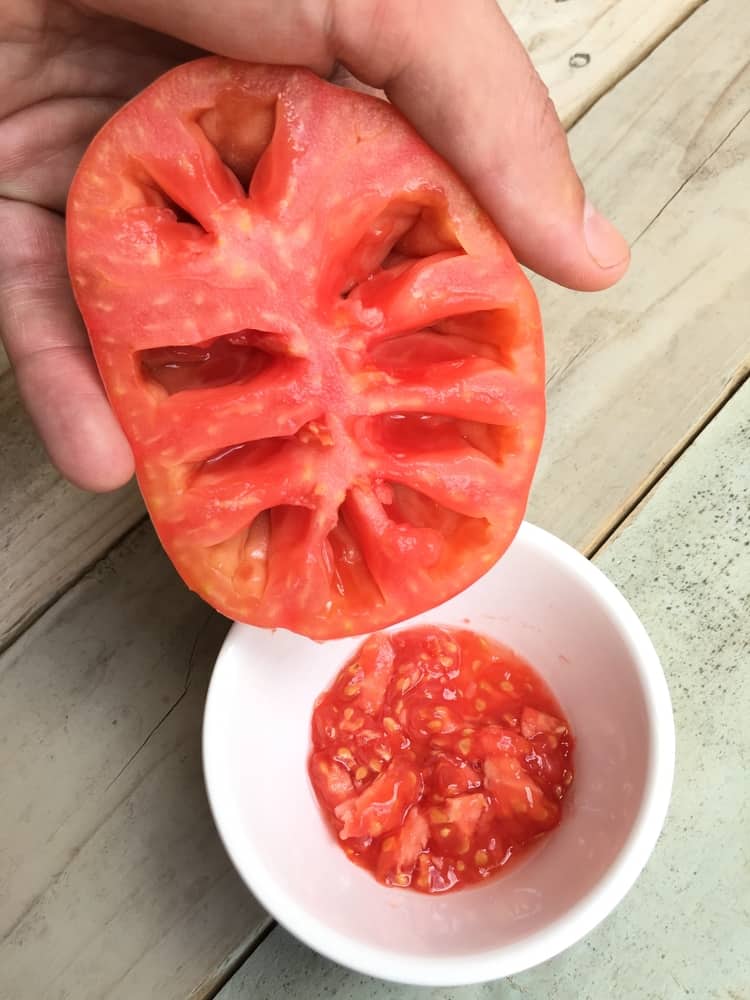
Thoroughly clean the tomatoes and cut off any damaged parts of the fruit (they may negatively impact seed health). Scoop out or squeeze the remaining seeds from the inside of the fruit and place them in a glass jar with the juice of the tomato.
Step 3: Fermentation
Some gardeners don’t consider fermentation necessary, but studies show it does tend to produce better germination results.
To start the fermentation process, cover the glass jar with cling film and poke small holes in the top. Leave the jar in a warm place (no more than 70⁰F) and away from direct sunlight for 3-4 days.
Step 4: Cleaning
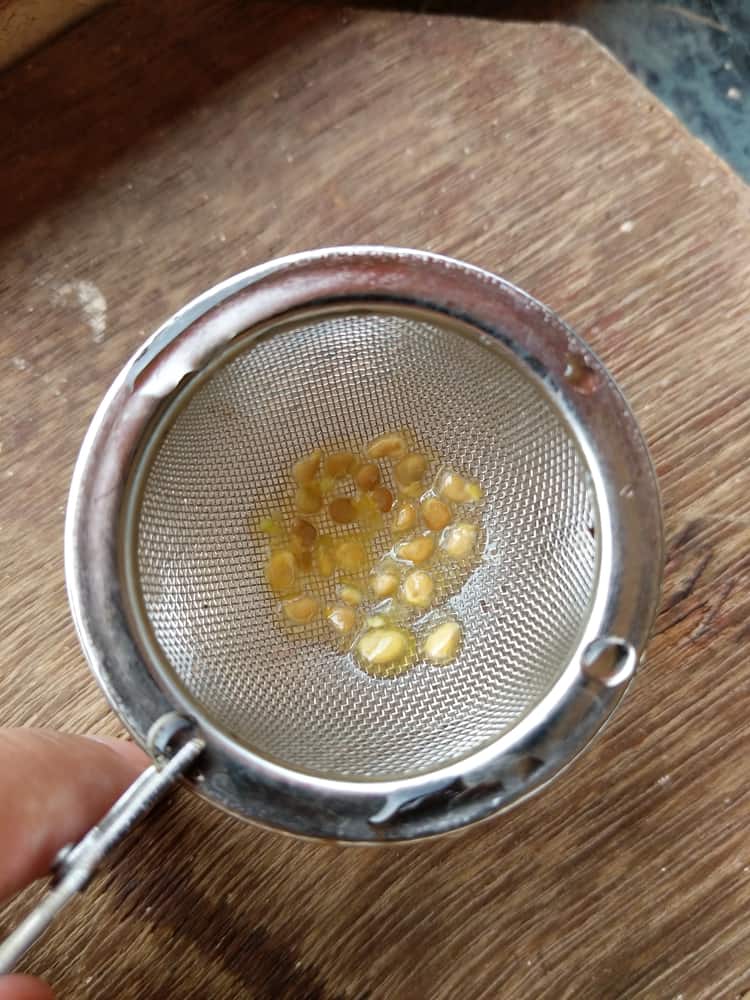
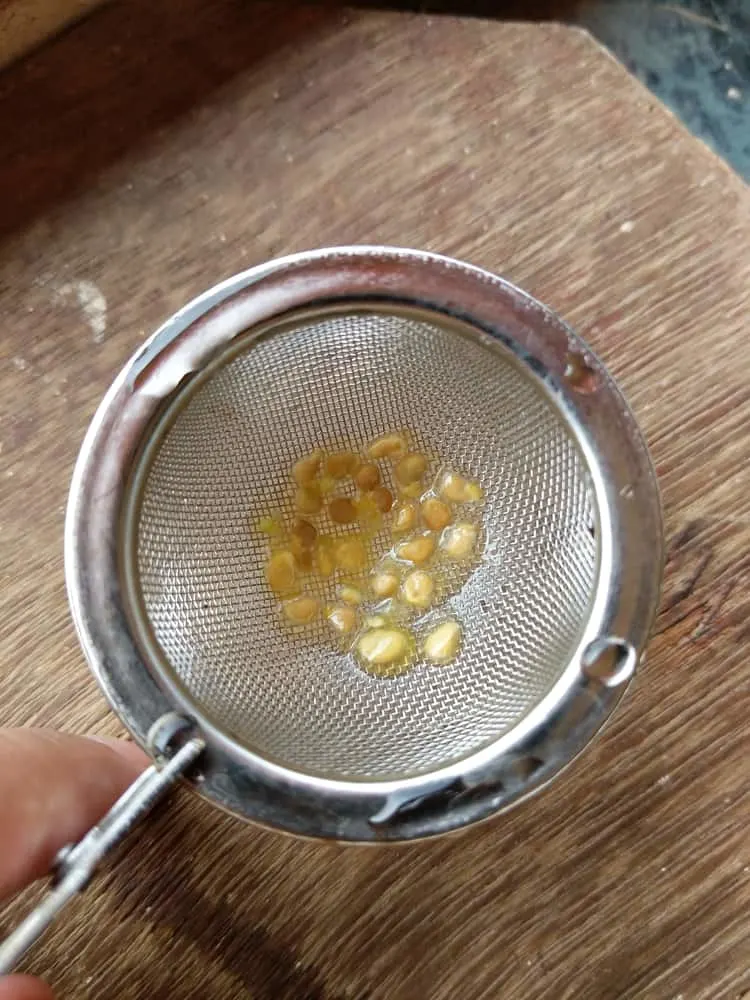
Rinse the fermented seeds with plenty of water through a sieve. Pat them gently with a paper towel and spread them onto a plate. Leave them to dry for around 5-7 days in a well-ventilated area.
Step 5: Storage
Once the seeds have completely dried out, they are ready for storage. Remove from the plate and place in a plastic bag or paper envelope. Store in a cool, dry place until you are ready for planting.
For fellow impatient gardeners who don’t want to wait weeks for seeds (guilty as charged), the simplest option is always buying from the store. Seed producers have gone through this process and checked the seeds for quality, so you don’t have to.
There are thousands of gardening hacks on the internet. Some will be successful, others won’t.
For experimental gardeners, growing a tomato plant from a slice is a quick, low-effort project that costs almost nothing (and it’s ideal for when you don’t know what to do with the bag of expiring tomatoes at the bottom of your fridge).
However, if you are looking for predictable results, it’s best to opt for the expert-endorsed methods of seed harvesting, or skip it altogether and buy your seeds from the store.