
Most gardeners dipping their toes into the edible growing experience will start out with tomatoes. And it’s not hard to see why.
They’re a staple plant in the garden for their ease of growth and reliability, and a staple in the kitchen for their versatility.
As long as you have the basics down, such as watering, feeding and support, you should be able to grow an abundant tomato harvest year after year with no problems.
So, what happens when it becomes too easy? Or, for those who like a little variety in their life, how can you change up the growing experience while maintaining your harvest each year?
The answer – upside-down tomatoes.

Upside down tomato planters are incredibly popular. They create an interesting patio or balcony feature and produce delicious fruits at eye level, all at the same time.
This “Topsy Turvy Upside Down Tomato Planter” available on Amazon is a best seller with tomato gardeners looking to try something different every spring
Plus, there’s something whimsical about growing plants upside down – a direction they certainly weren’t designed to grow in.
Unfortunately, upside-down tomato planters are typically one of three things: expensive, difficult to make without lots of DIY experience, or (to be brutally honest) – unappealing to the eye.
We’ve eliminated all three of these factors by coming up with the ultimate upside-down planter.
Not only do you need absolutely no tools to put it together, but it also provides space for you to grow companion plants like basil or marigolds or even more tomatoes for a bigger and better harvest this year.
How To Make An Upside Down Tomato Planter
Choose A Pot
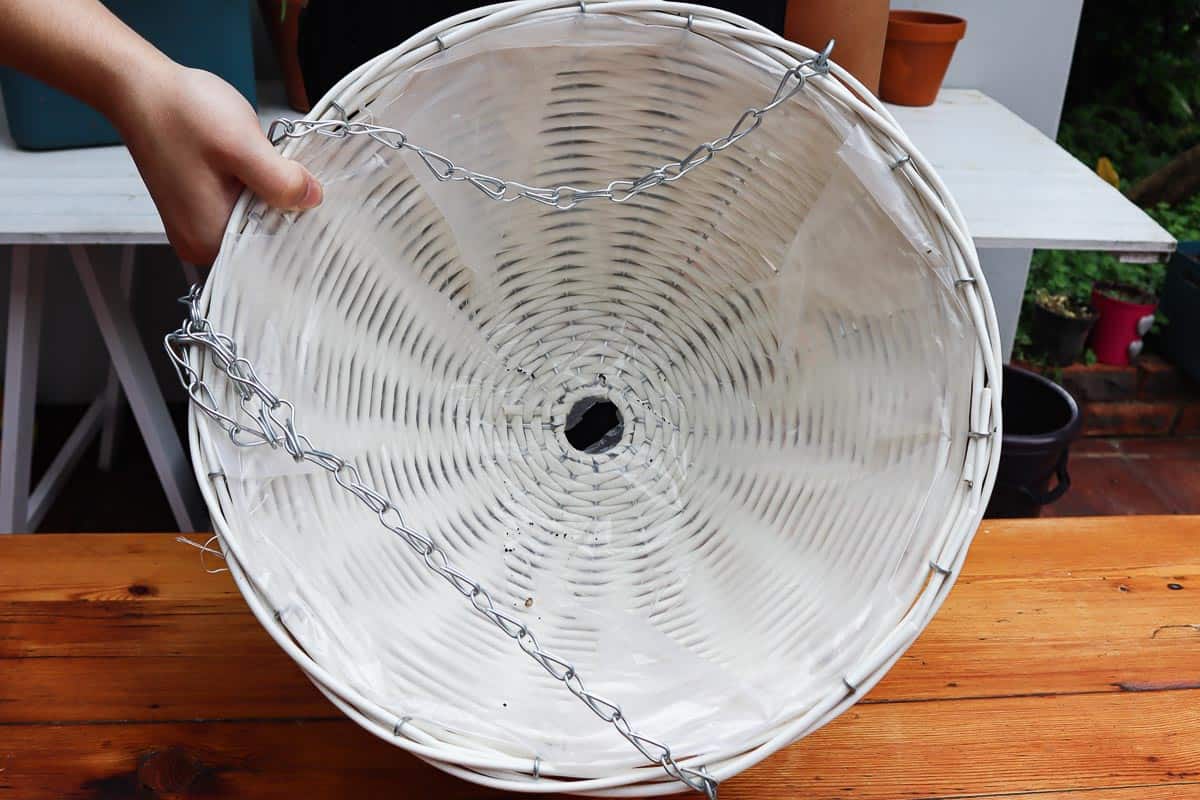
Choosing a pot for your tomato plants is usually a relatively insignificant part of the process. However, when it comes to this DIY, the pot is the most important part.
As there are no tools required, there is no drilling or cutting needed. Instead, we’re going to use the built-in drainage hole to plant our plants upside down. That means the drainage hole needs to be large enough to accommodate at least one tomato seedling.

The pot should also be large enough to handle the roots of your tomato plant, as well as additional plants on the top layer of soil. Even for dwarf tomato plants, a small pot is unlikely to provide high yields.
Finally, the pot needs to be lightweight. Due to its size, heavy materials like terra cotta or ceramic won’t be suitable for hanging. Instead, choose a fabric pot if you can find one, or a plastic pot with a design that complements your tomato plants.
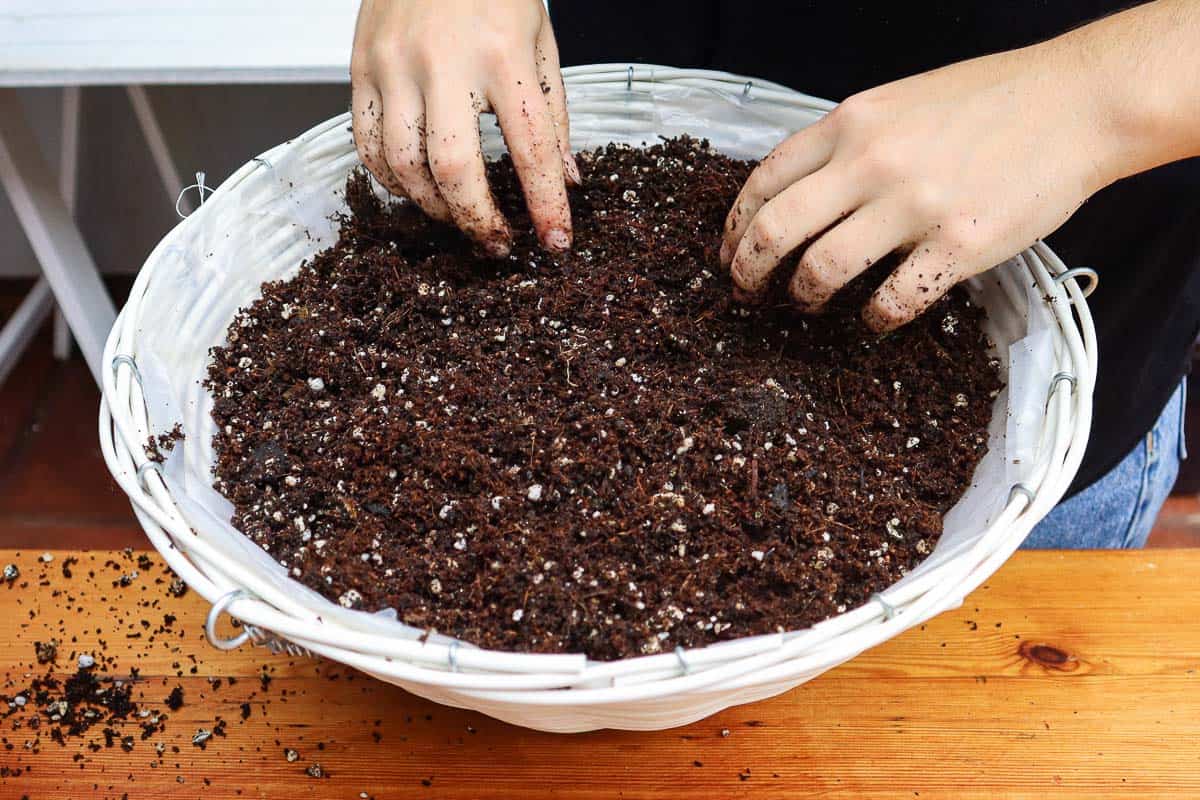
Prepare The Soil
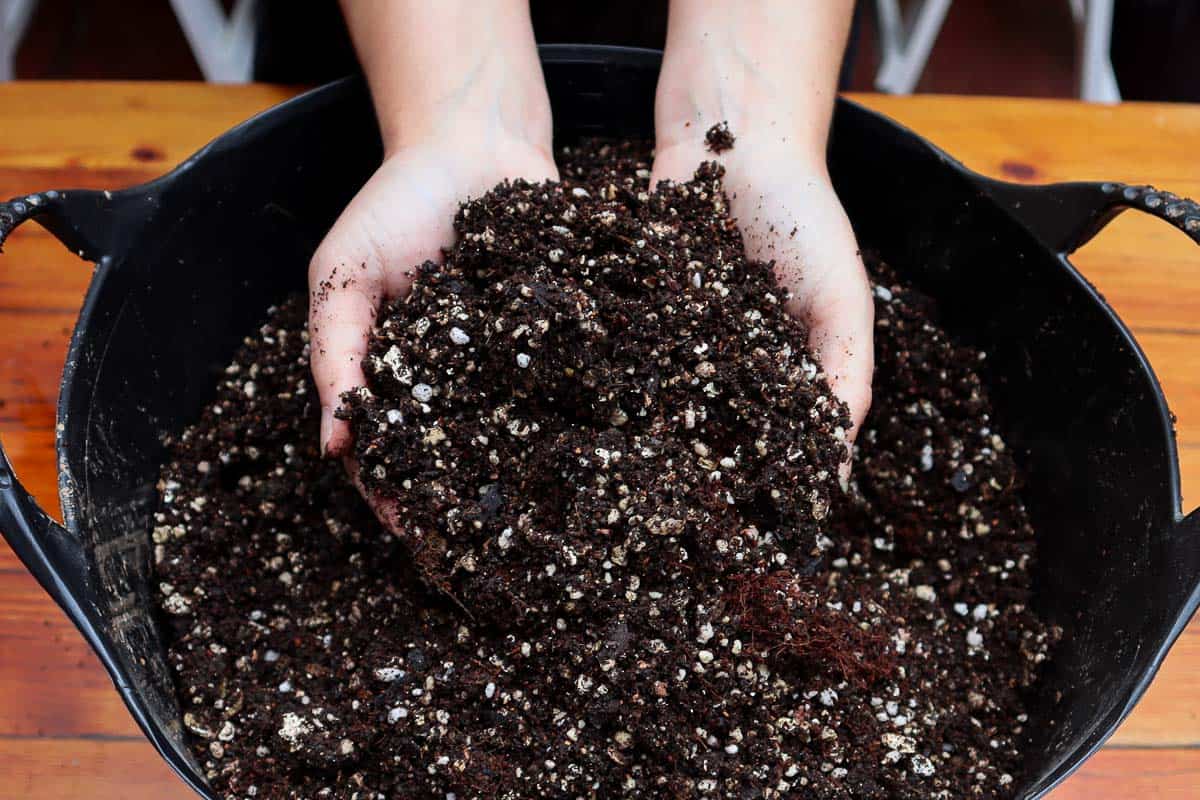

As when planting in any type of container, soil choice is very important. Container soil, and especially hanging basket soil, needs to be light to avoid weighing down the pot, while holding enough moisture to stop it from drying out too quickly.
As the tomato will be taking up some of the space in the drainage hole, well-draining soil is vital to preventing waterlogging and stagnation. It also needs to be rich in nutrients to feed the plants during their first period of leafy growth.
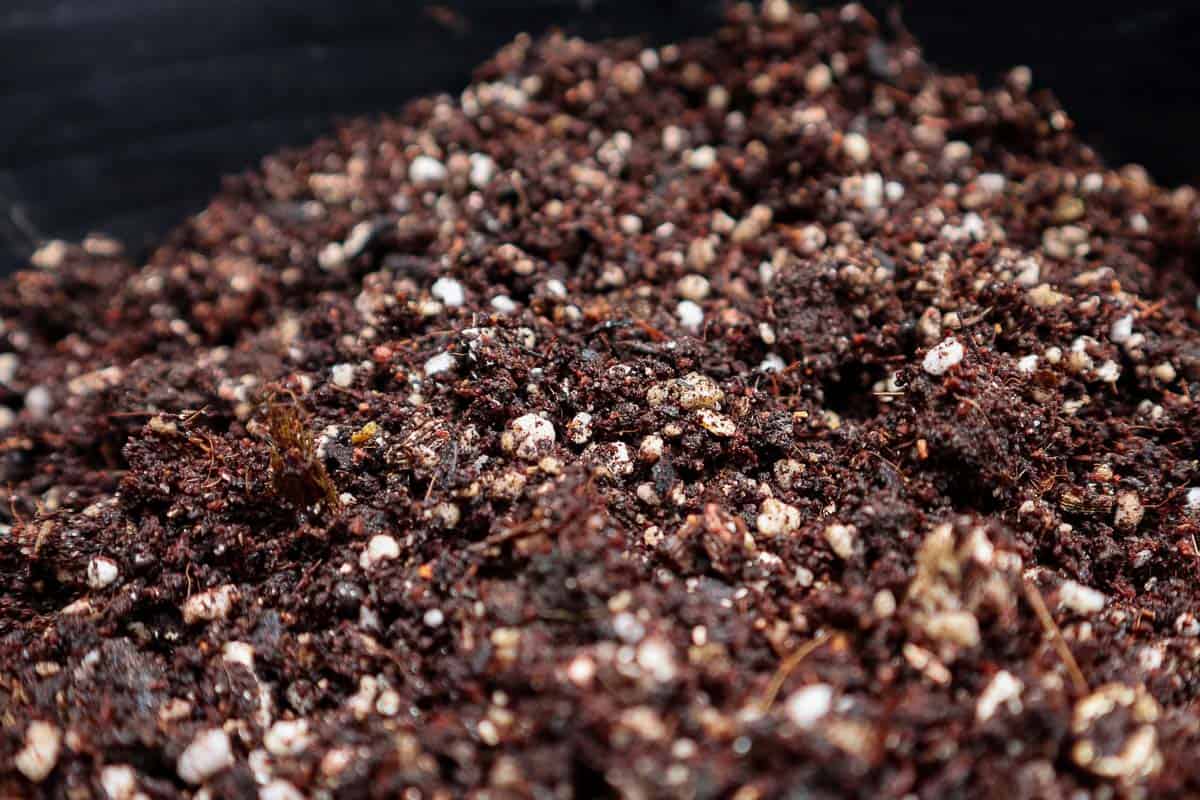

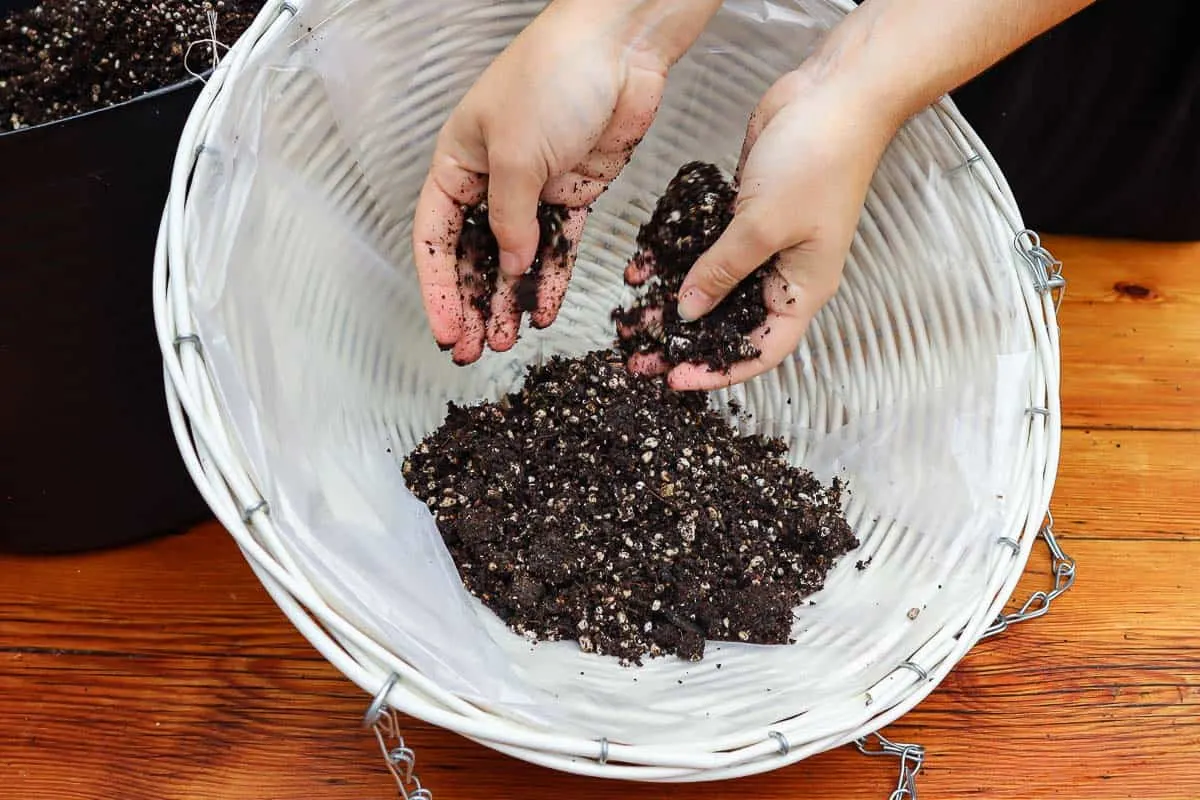
Starting with a high-quality potting mix amended with compost, add a few handfuls of coconut coir and perlite.
The coconut coir will help retain water (or you can use peat moss if you have some on hand). Perlite aids drainage and aeration in the soil, ensuring oxygen reaches the roots lower down.
Add a handful of slow-release fertilizer to the mixture too if you want to give your tomatoes an extra boost. While not required when planting in good soil, this is likely to improve your later harvest.
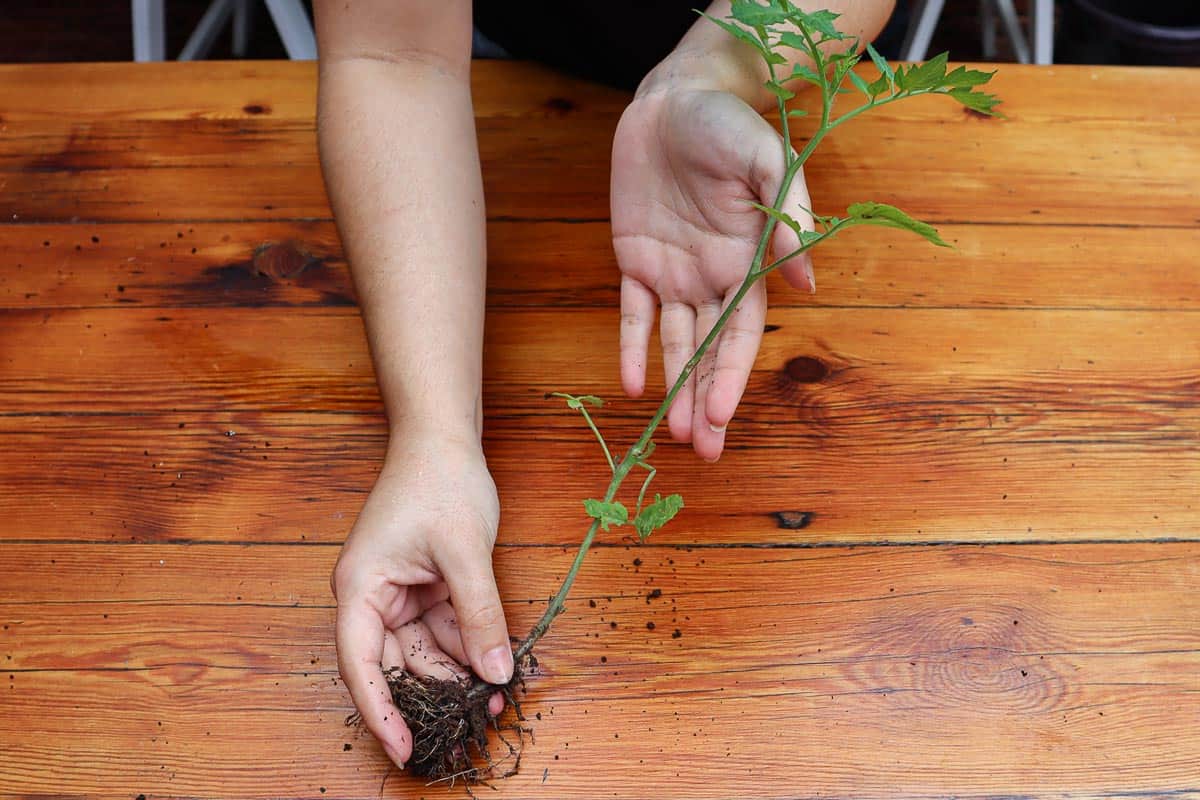
Prepare Your Seedlings

Depending on your pot and the size of the drainage hole, you will likely only be able to plant one tomato seedling upside down. If you plan to plant a few more in the top of the pot too, measure out how many you can fit before preparing.
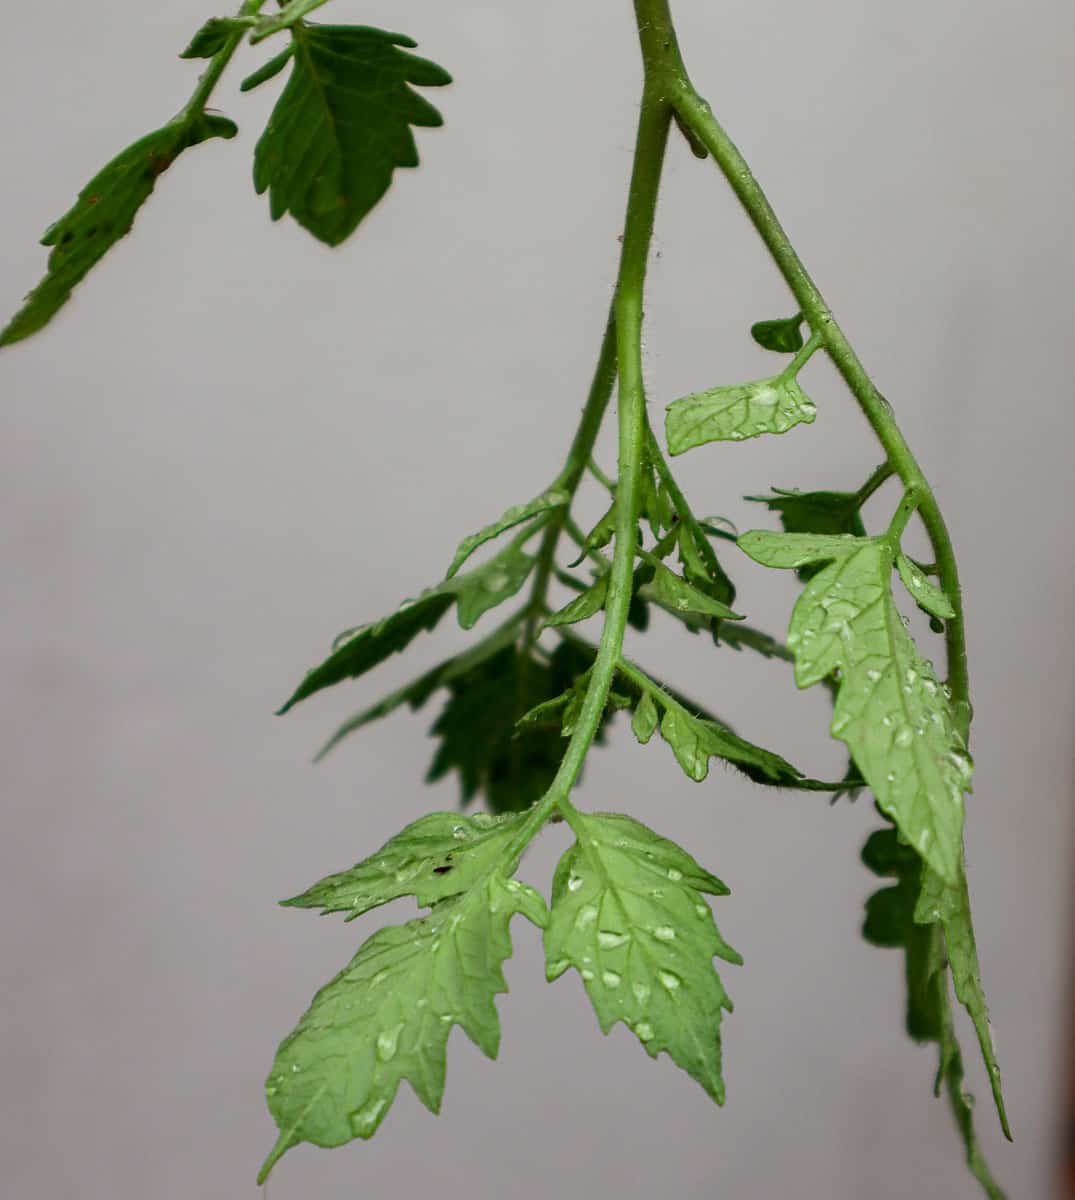
Small varieties suitable for containers are preferred – such as cherry tomatoes – as their weight will not overwhelm the hanging pot. The vines will also hang better than other types.
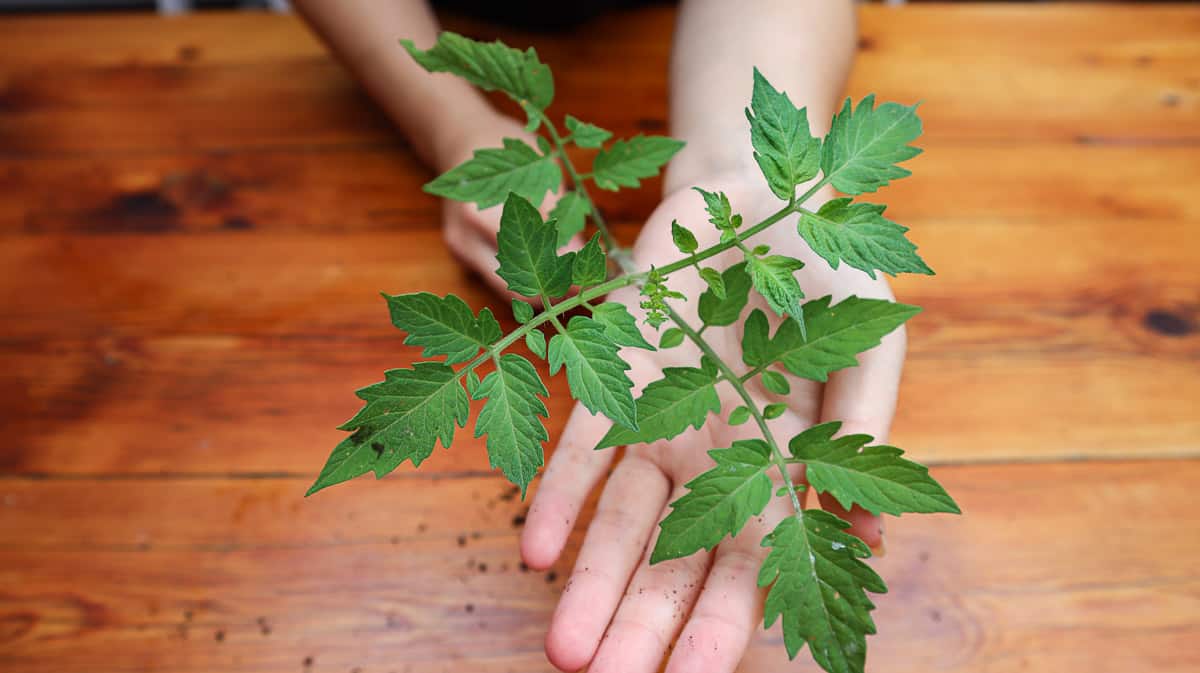

Don’t choose large varieties with heavy fruits, as they will produce very little upside down in a smaller pot, if they produce any tomatoes at all.
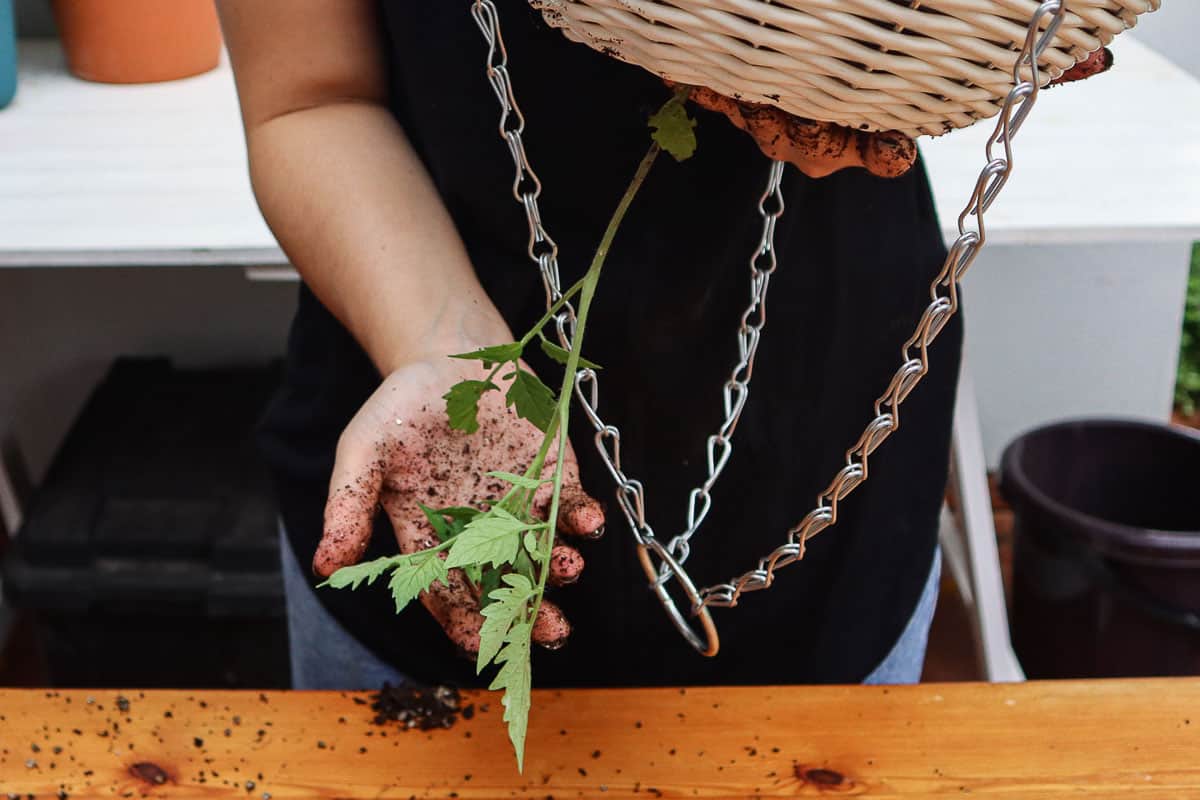
Remove the seedling from the tray or container and remove as much of the soil from around the roots as possible. This will make the process of planting a lot easier. Be gentle with the roots to avoid damage before planting.
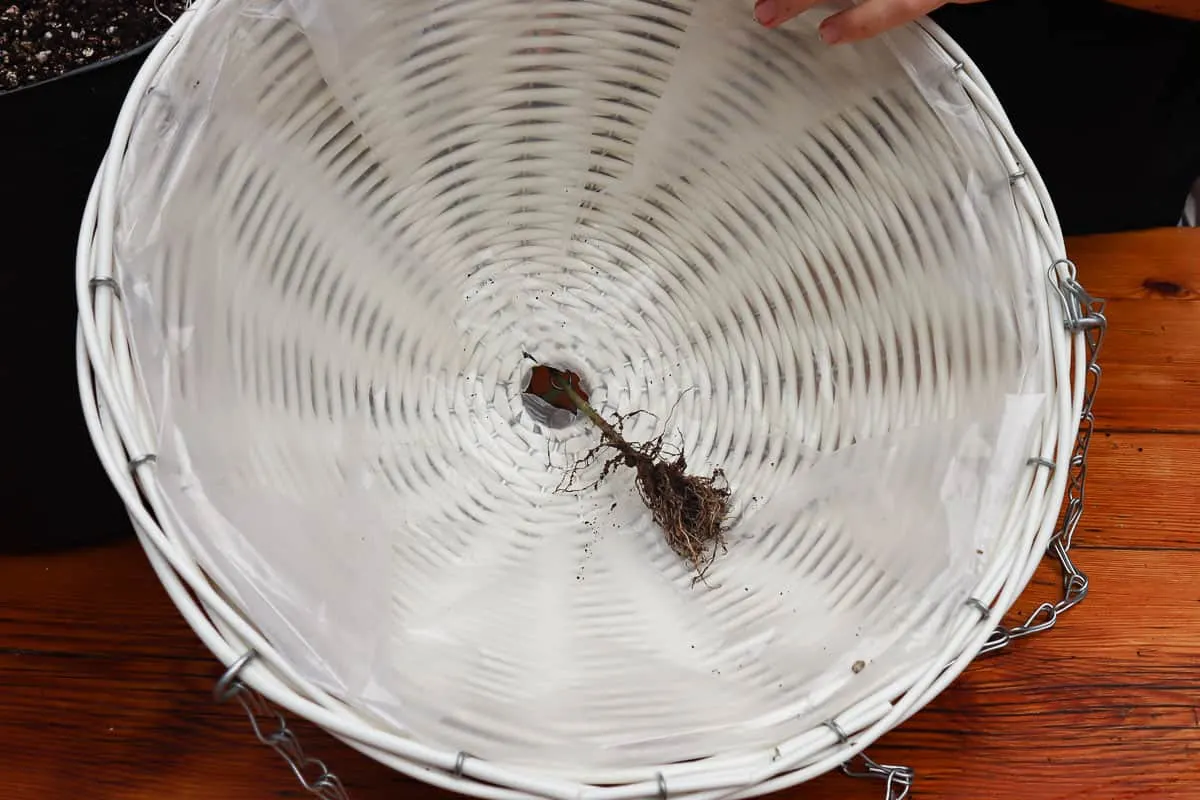
Plant The Seedling Upside Down
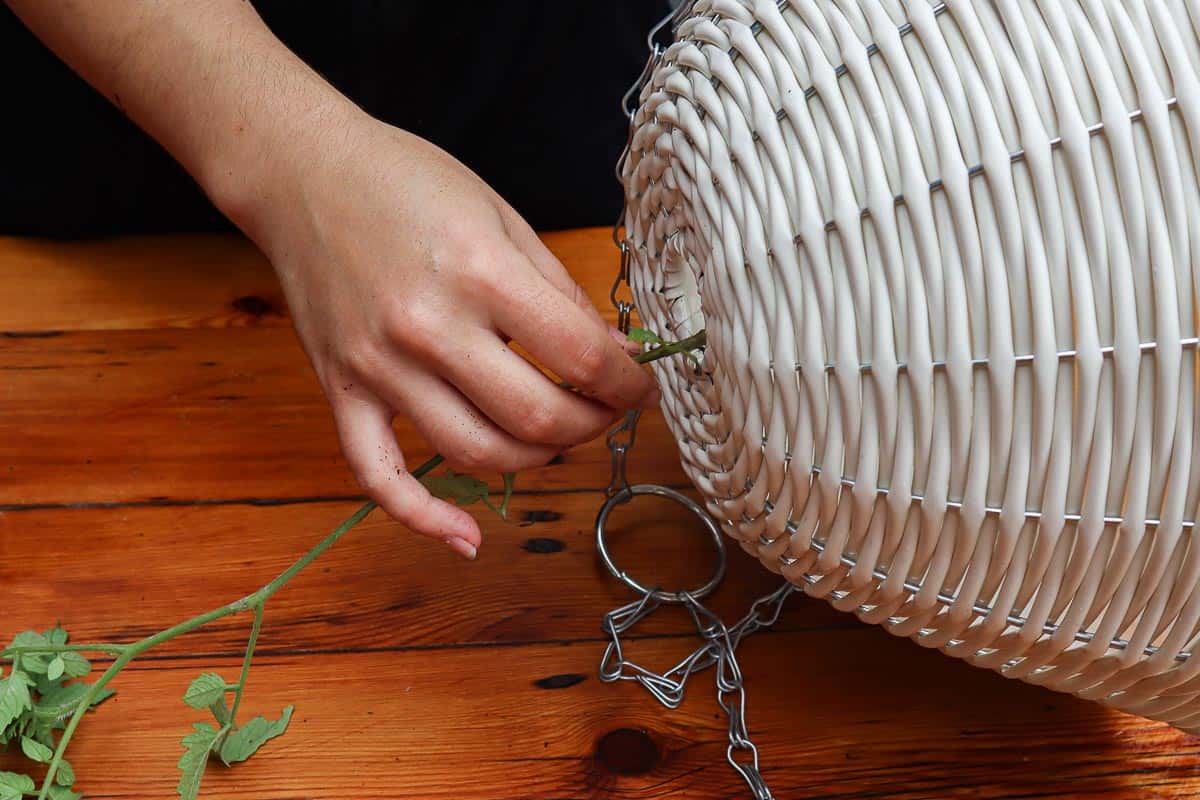

Gently feed the seedling through the hole in the bottom of the pot until half of the stem is sticking out. Be careful not to lay the pot down to avoid snapping the stem. Instead, hold it at an angle to complete the next step.

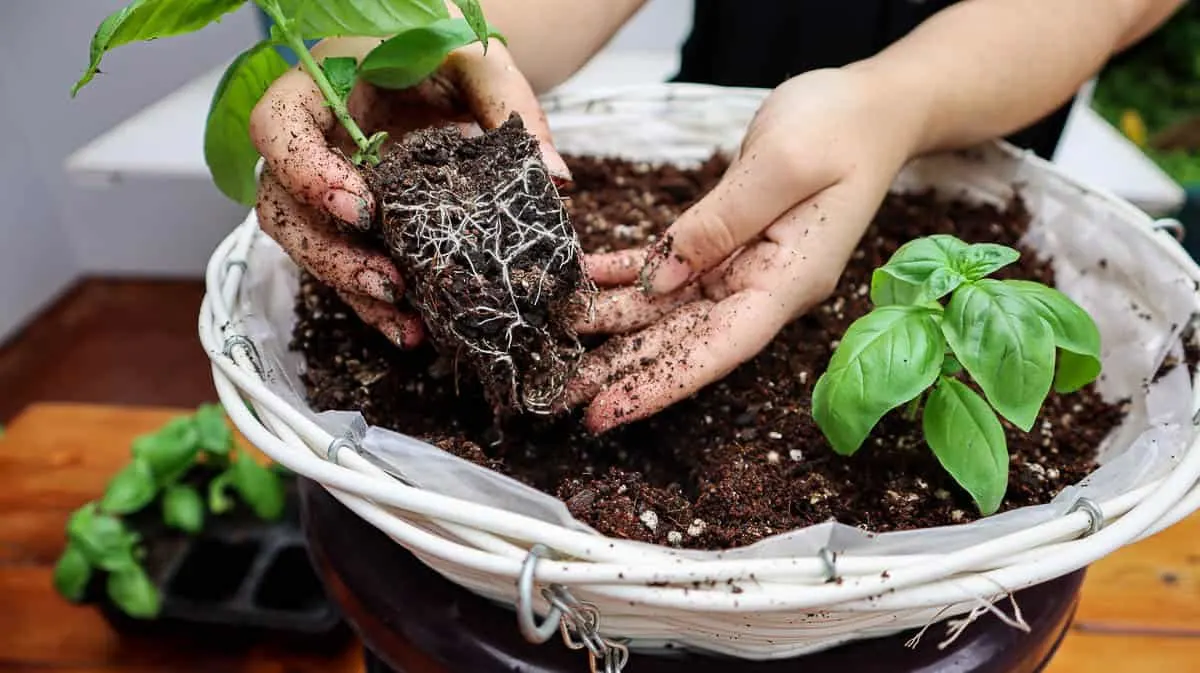
Fill The Pot & Add More Plants
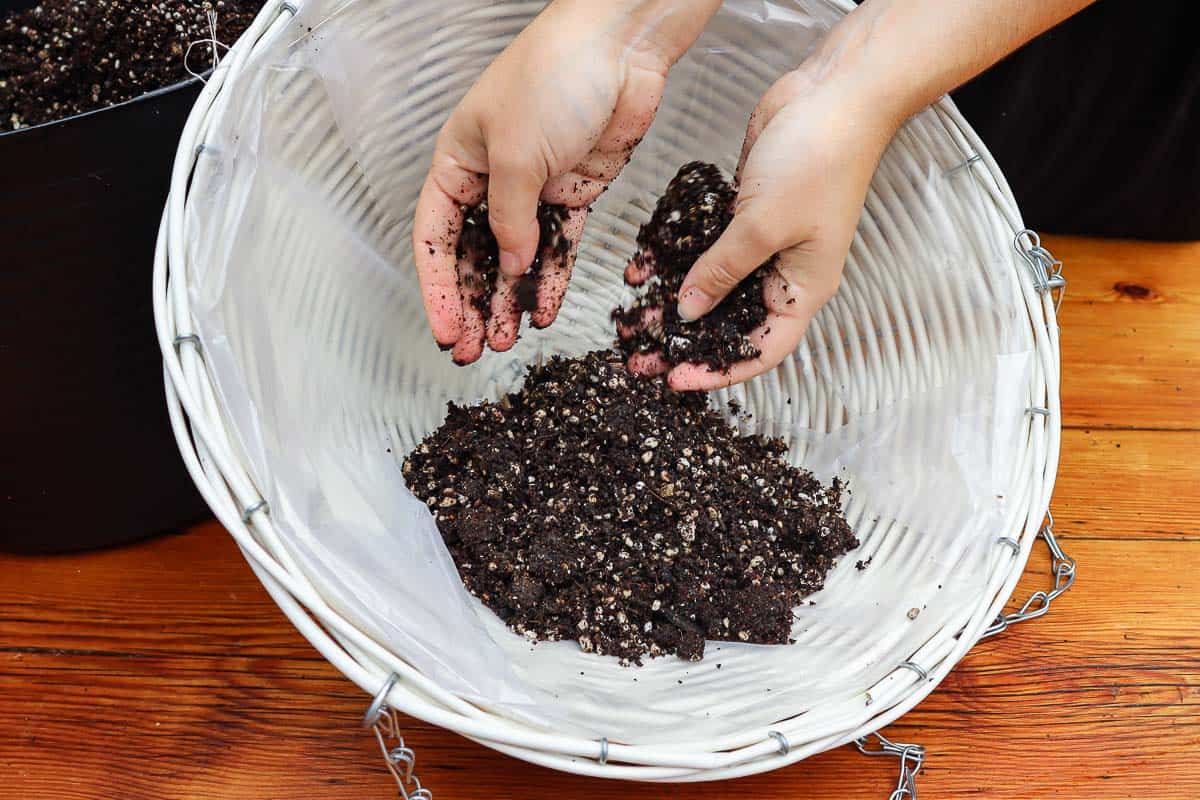
With the first seedling planted, you can begin filling the pot with the prepared soil mix. Compact the soil slightly to keep the stem in place.
Continue to fill the pot until one-third of the space of the pot is left. This will give you room to add additional plants in the top layer.

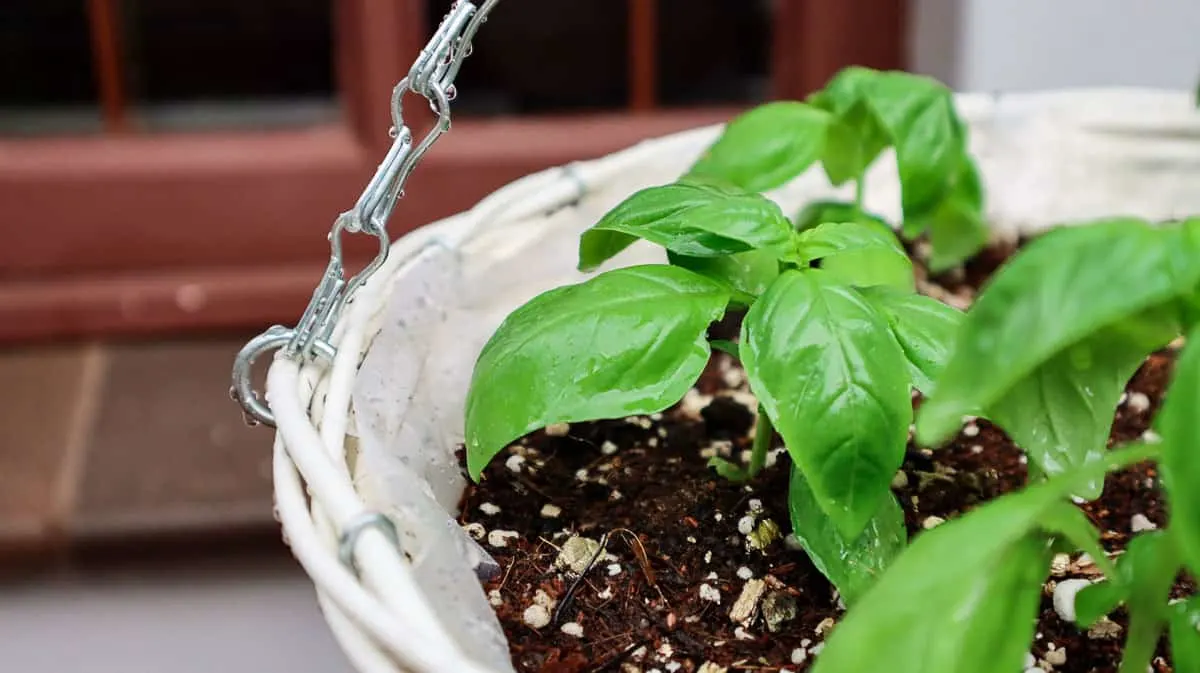
We’ve chosen basil – a great companion for tomatoes (here are some more great tomato companions) and one that won’t take up too much space in the pot. You can choose another shallow-rooted herb or plant more cherry tomato seedlings in the top for an even larger harvest.

Once planted, fill in the remaining gaps until the pot is filled just below the rim. Leave a few inches of space to stop soil from spilling over when watering.
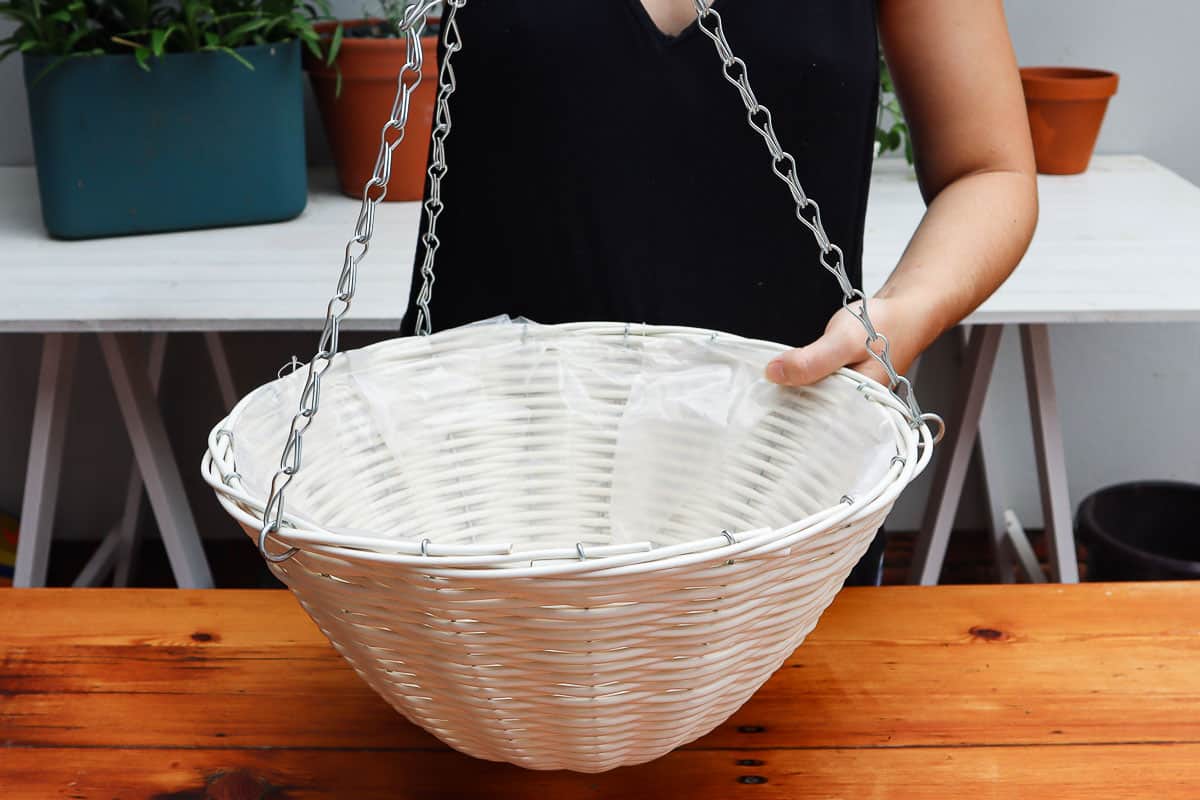
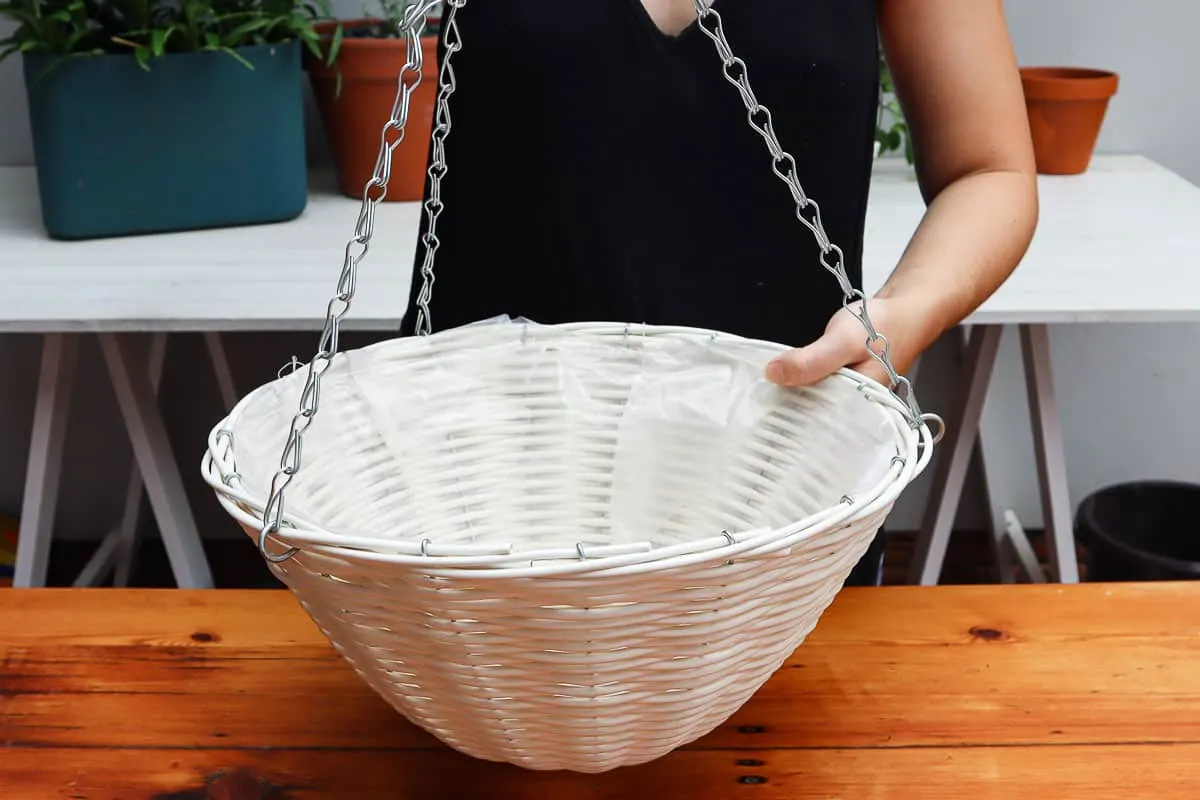
Create The Hanging Basket


Holding the pot slightly off the table to avoid snapping the stem, you can add the hanging basket materials.
If you’ve chosen a plastic hanging basket, this step is not needed. But, if you’re recycling a different pot, you can use a metal ring and some strong rope to make your own.
Those with creative flair can also attempt a macrame hanger if the pot is light enough.
Hang Your Pot
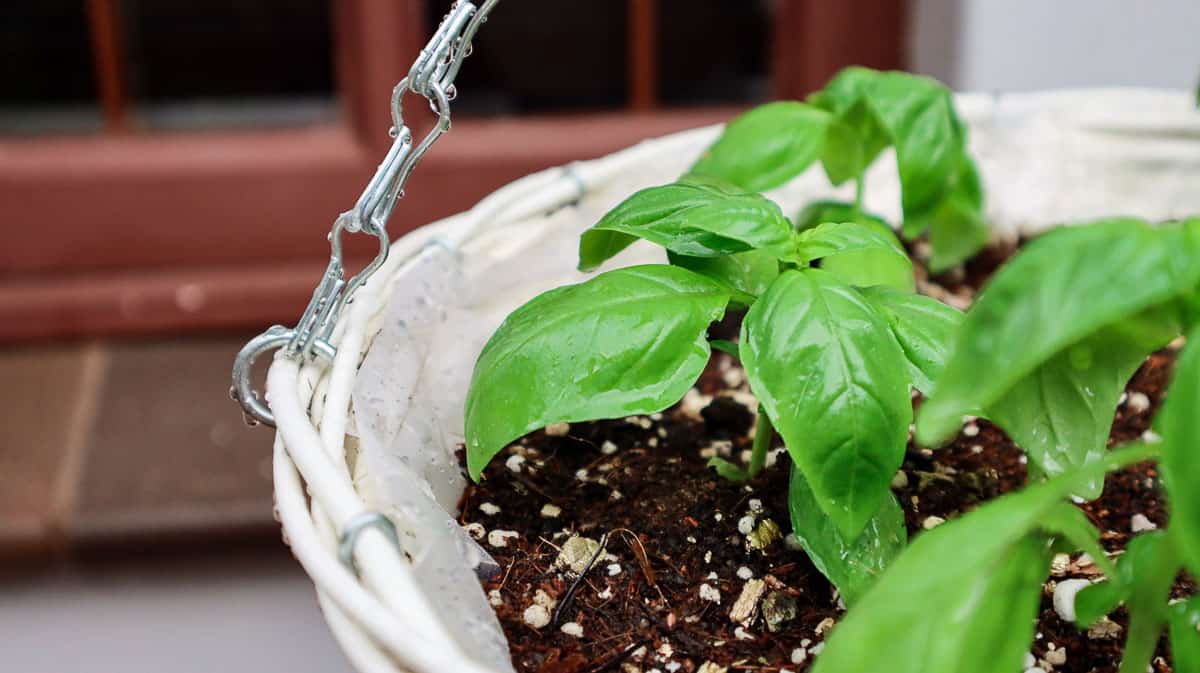
Once planted, hang your upside-down planter in a bright, sunny spot at eye level.
Don’t hang it too high or it will become difficult to water and care for. At the same time, it shouldn’t hang too low, as the vines that grow upside-down may quickly droop and reach close to the floor or in the way of foot traffic.
Keep your pot well-watered – hanging baskets dry out quickly. When the weather warms, they may require watering as often as twice a day to produce juicy, delicious fruits.
If soil sits on the leaves, be sure to rinse it off with a spray bottle filled with water. This will stop any soil from preventing photosynthesis or encouraging disease on the foliage.
A Note On Upside Down Tomato Plants
While this is a fun DIY and exciting growing experiment, it’s important to clarify that this is certainly not the best way to grow tomatoes. It is not great for their health and can cause a host of problems that, if not mitigated, will ruin your harvest.
The glaringly obvious problem is watering. Following best watering practices for regular tomatoes, water should stay off the leaves and fruits and only focus on the soil. However, when planted upside down, the leaves are frequently covered in water.
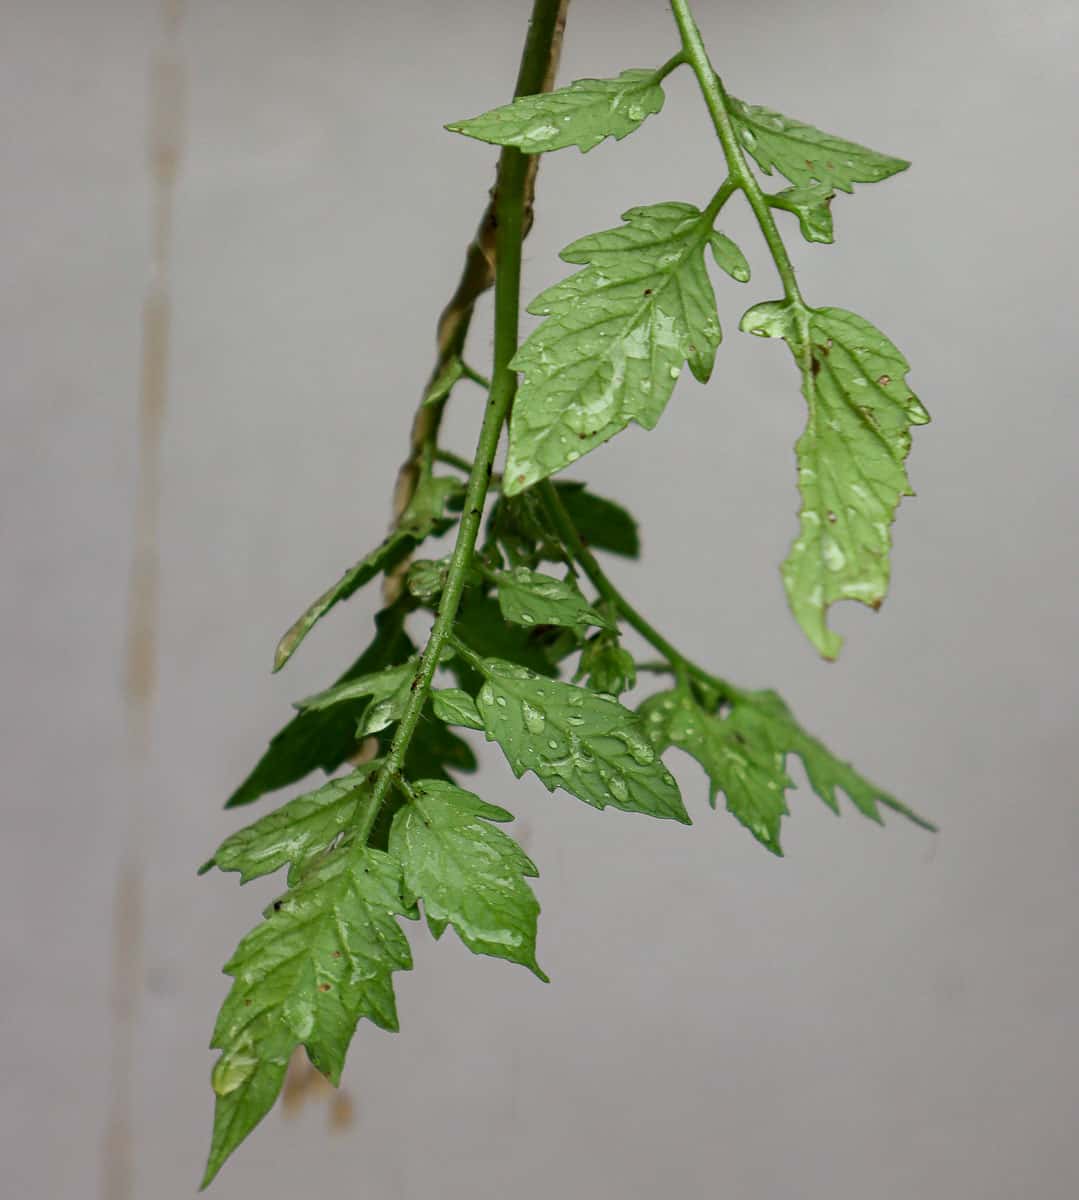
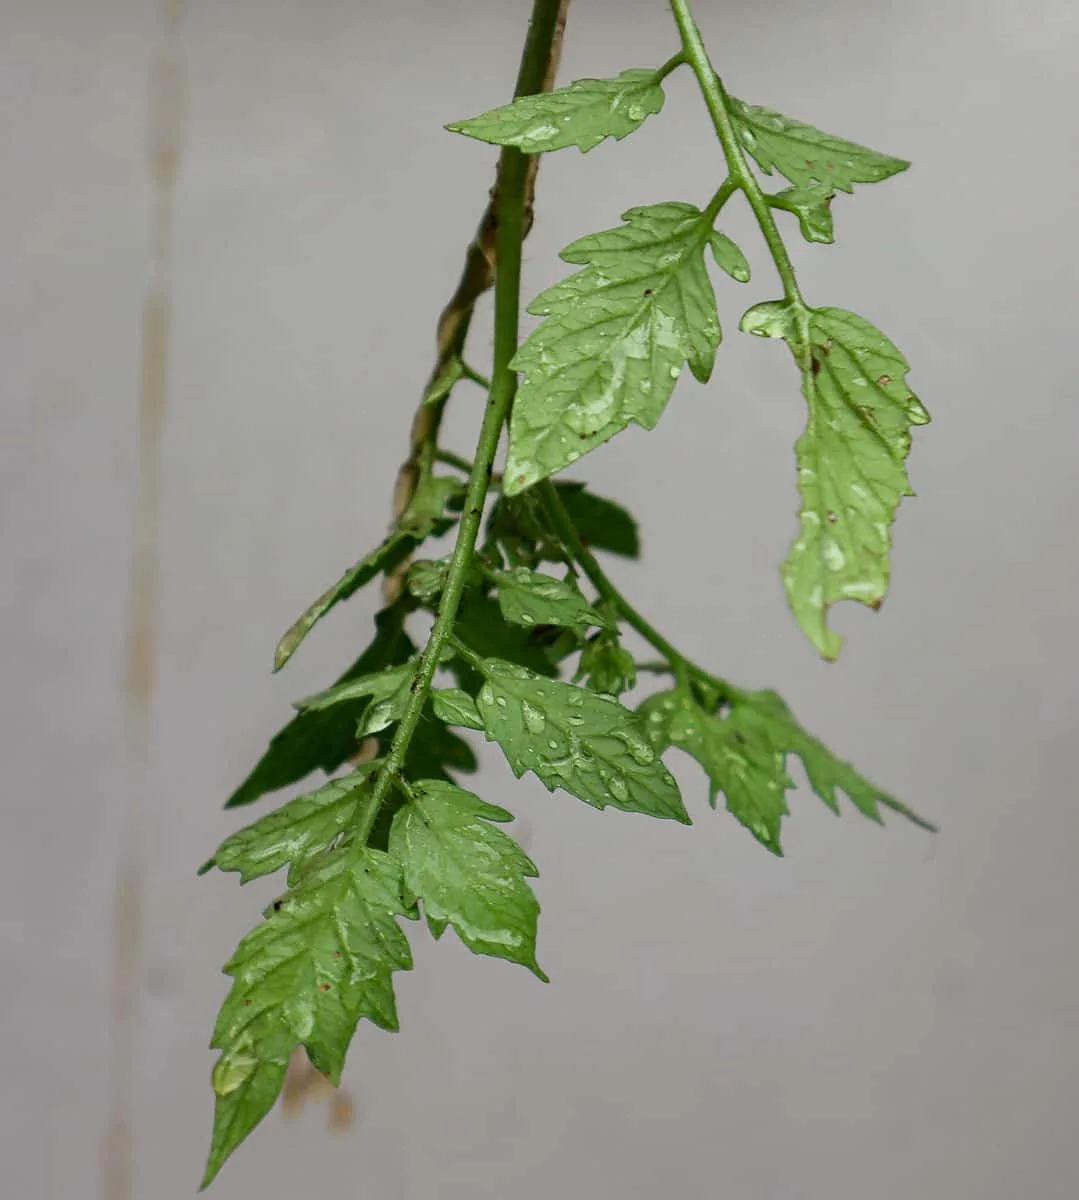
That’s why full sun is essential when hanging upside-down tomato planters. The water should evaporate as quickly as possible to prevent any issues with powdery mildew or mold growth that can plague tomatoes.
Similarly, it’s helpful to spray the leaves often with water to get rid of any soil debris that ends up on the leaves. This extra step may seem tedious, but it goes a long way to preventing diseases and stopping pests from settling on your plants.
Ultimately, if you’re looking for a guaranteed harvest, this is not the way to go. But, if you’re content with seeing where it goes and trying a new weekend planting project, there’s no harm in giving it a try