
Most gardeners around the world dream of growing their own veggie patch, filled with plants you can pick fresh and carry to the kitchen for dinner. This desire is boosted by the many gardeners online that share inspiration from their stunning backyards and healthy dinners made with fresh produce that makes our mouths water (I’m looking at you, PlantTok).
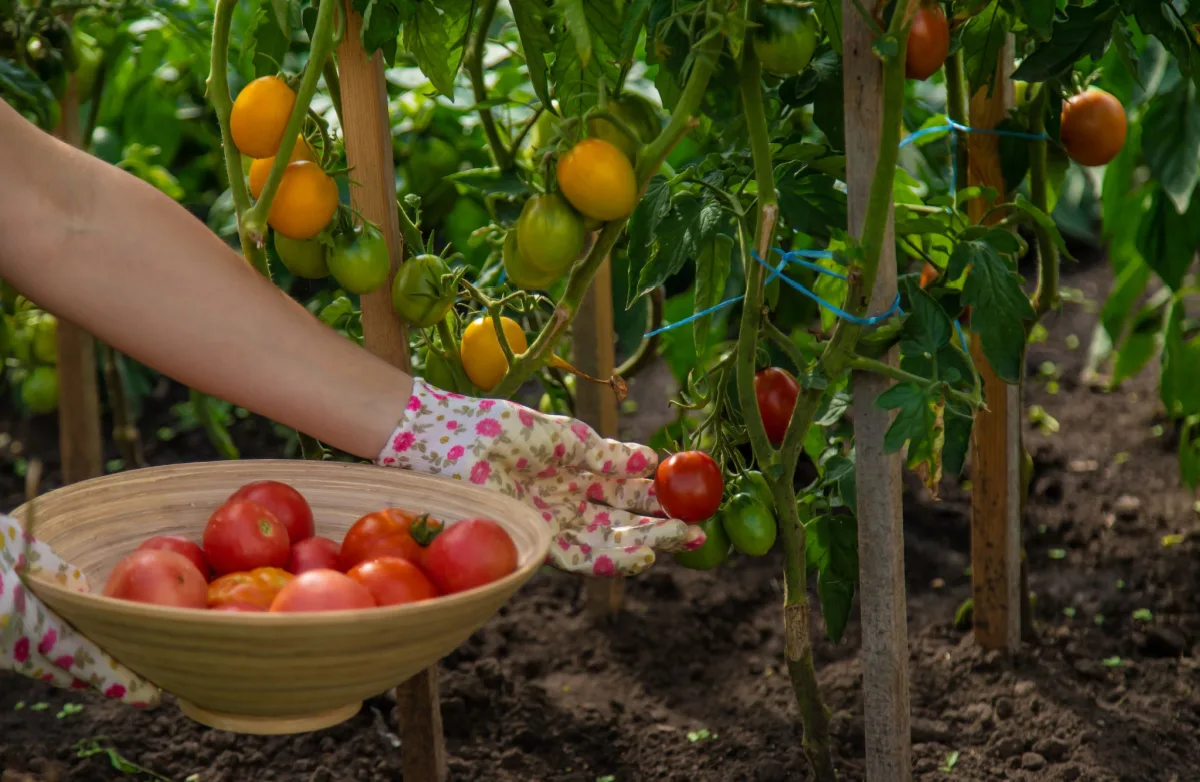
Whether you’re new to edible gardening or have plenty of experience, the one plant we all typically consider growing first is tomatoes. Widely available and incredibly versatile in the kitchen, tomatoes are considered the ideal beginner’s plant for a vegetable garden.
But be prepared: tomatoes are not a ‘plant it and forget it’ kind of crop.

The right environment and care are vital for a strong harvest at the end of the season. This complete guide will cover everything you need to know about growing tomatoes – from choosing a type to planting, care and harvesting – to make the most of these wonderful edible plants
Choosing The Right Tomato
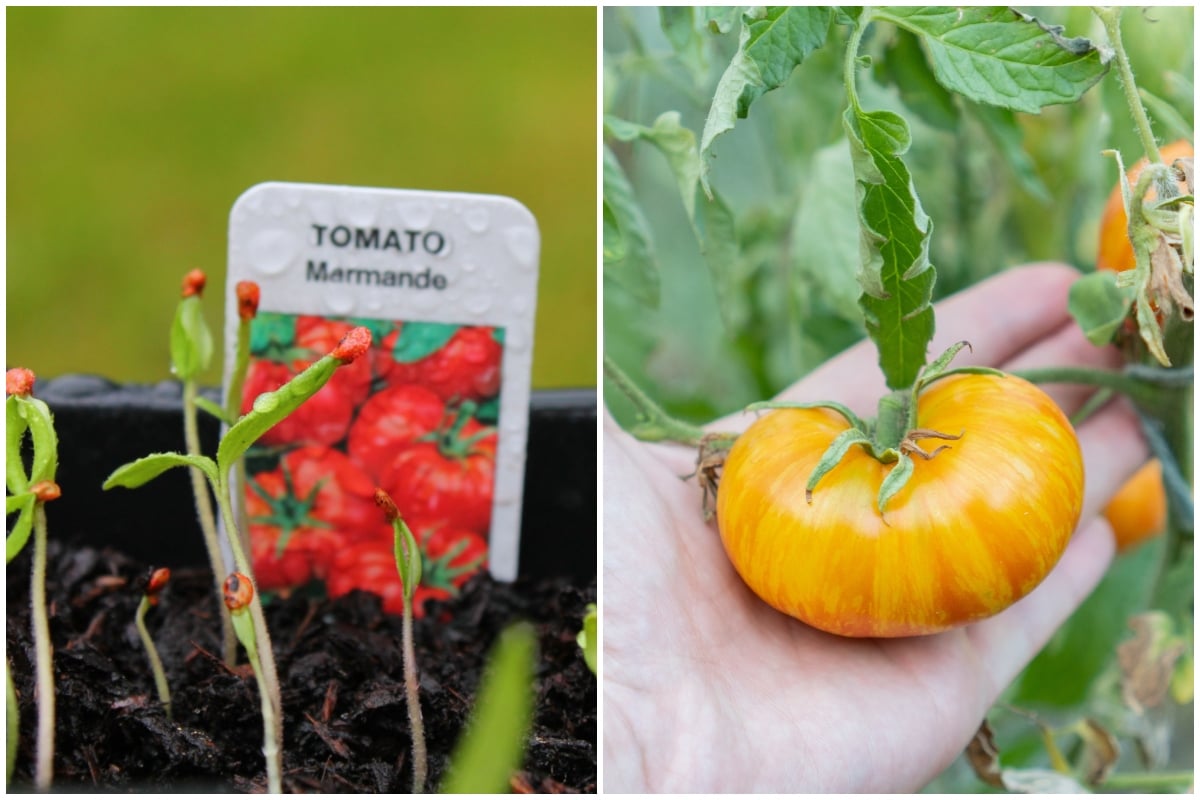
Your tomato growing journey should start with choosing the right tomato variety. There are hundreds of different tomatoes to choose from, each with slightly different characteristics that suit different gardens. Make sure you identify the right type not only for growing, but also for use in the kitchen.
Your Garden Environment

To start narrowing down your ideal tomato choice, you’ll need to answer a few questions about your garden environment.
The first thing to consider is how much space you have. Large tomato patches suit almost any variety, but if you’ve only got the area for a small potted tomato, that will limit what options you have.
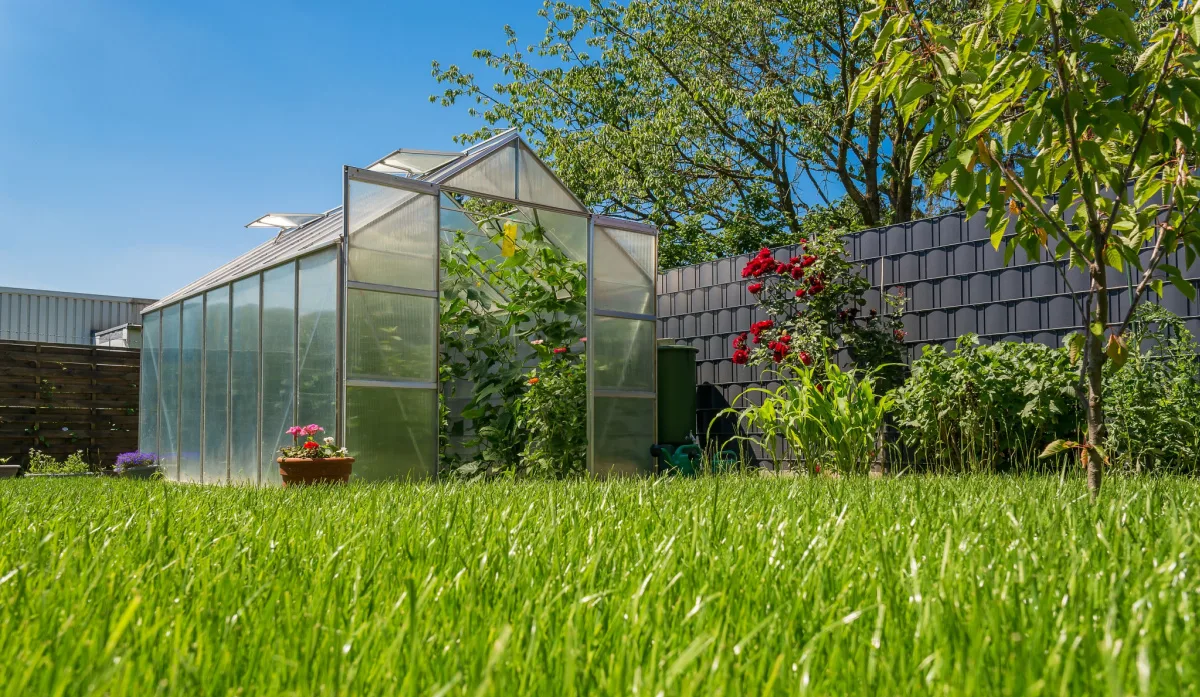
Those without any outdoor space can also think about growing tomatoes indoors. This process is slightly more technical and requires a few gadgets, but does allow you to harvest tomatoes year-round.
Climate and conditions are another factor. Tomatoes love warmth and need plenty of sun to produce fruits. If your space is slightly shaded throughout the day, choose a variety that will still fruit even when conditions are not ideal. On the other hand, if you live in an area with scorching sun, you’ll need to choose types that can handle the heat.
If you continuously have problems with certain pests and diseases in your backyard, it’s also recommended to look for resistant tomato varieties. Although these do not guarantee disease prevention, your plants will have a much better chance of surviving and a far lower risk overall.
Indeterminate vs Determinate

Determinate tomatoes ripen all at once and grow to a pre-determined height. These are great options for growing in containers as you can manage their growth well. They’re also perfect for preserving as you’ll end up will a full harvest all at the same time. Plus, many of the dwarf varieties don’t require any staking and can largely support themselves.
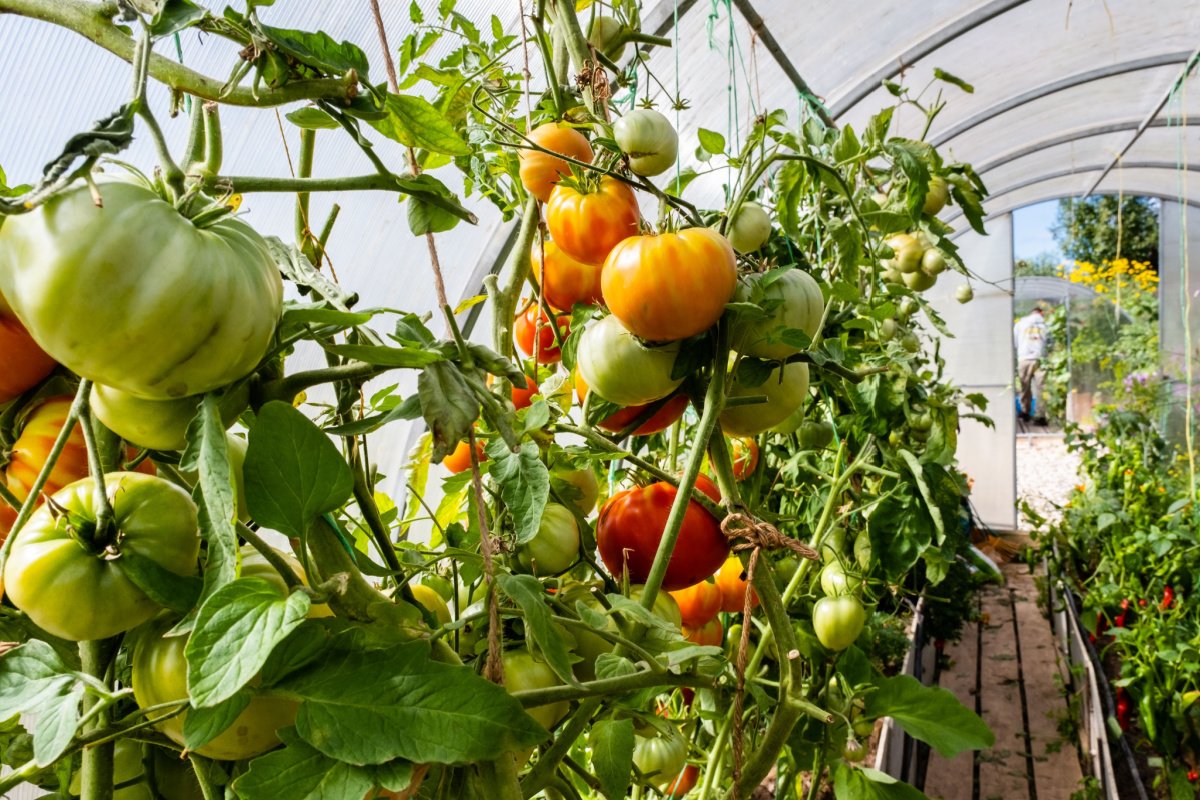
Indeterminate tomatoes continue to grow throughout the season until frost kills off the vine. They can reach several feet tall, requiring some kind of support, and produce fruits continuously. If you have the space, this is ideal for those who frequently harvest as you’ll always have fruits to choose from throughout the summer.
Tomato Characteristics
While indeterminate vs determinate describes the plant itself, there are also characteristics of the fruits to think about.
Flavor is one of the most important, as you should only grow tomatoes you’ll actually use in the kitchen. Some are sweeter, others smoky, while many have interesting notes that make them stand out from the rest.
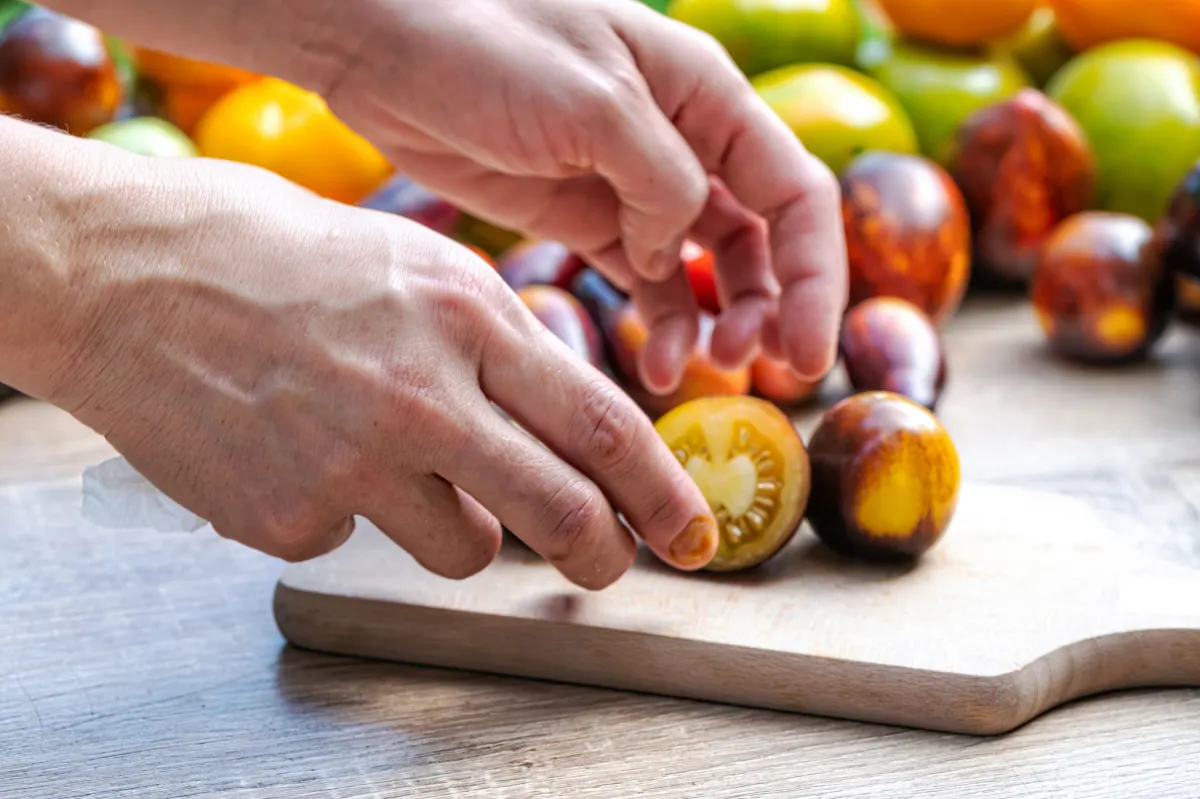
For visual appeal, you can also look for varieties in different shapes and colors. You may picture tomatoes as standard round and red, but there are many more options out there when growing from seed.
Texture is another factor that plays a role in how best to use your tomatoes. Some varieties are great for making sauces or pastes and others are better eaten fresh in sandwiches or salads. Make sure you match your chosen type to what you will ultimately use it for.
If you’re still stuck, here are some crowd favorites to consider:
- Black Krim
- Early Girl
- Celebrity
- Sun Gold
- San Marzano
- Brandywine
- Cherokee Purple
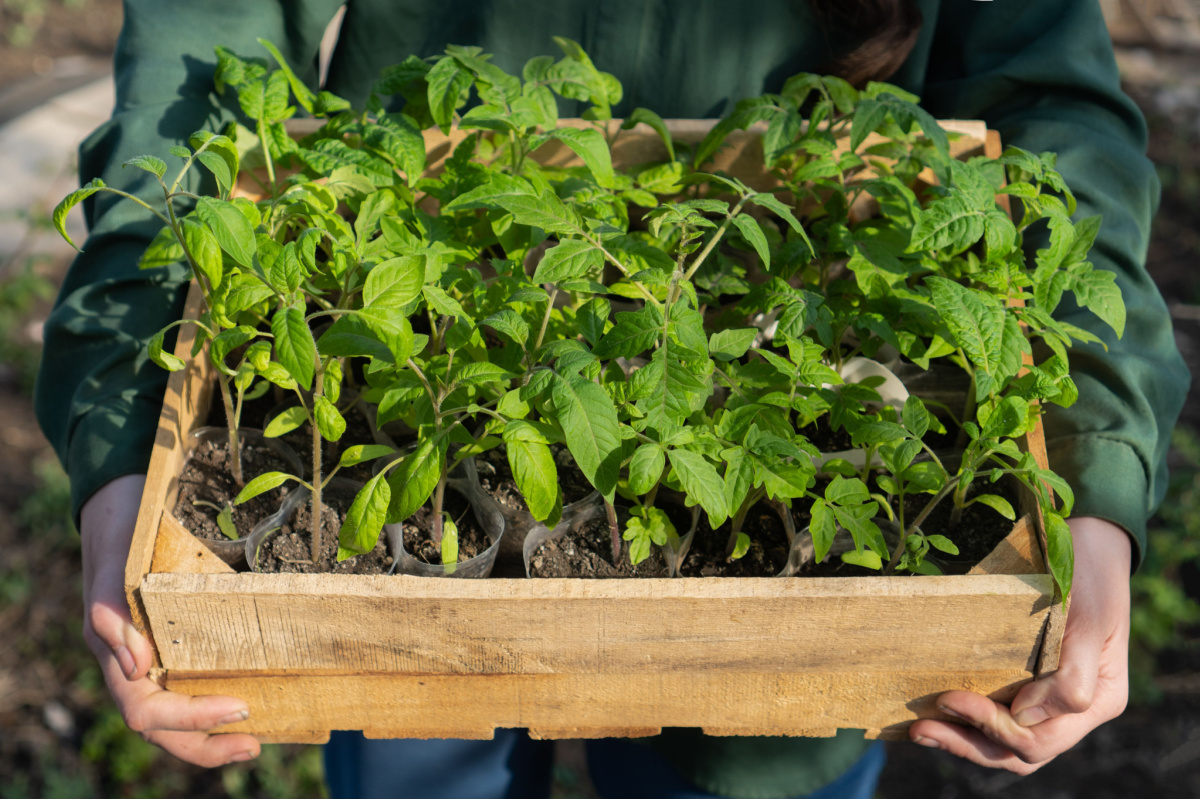
Starting Seeds
Once you’ve chosen your variety, you’ll need to purchase seeds to sow. While some nurseries sell tomato seedlings to transplant, you’re far more likely to find the specific tomato you’re looking for when growing from seed.
Where To Buy Seeds

As one of the most popular vegetables to grow in home gardens, tomato seeds are easy to come by. You will find plenty of variety in your local nursery and even more from online retailers. If you are looking for a rare variety it may take some searching, but these online seed sellers will likely have what you need:
When To Sow Tomato Seeds

Those who want to make the most of their tomato harvest should get the plants in the ground as soon as possible. Tomatoes should only be planted in spring once the soil has warmed to protect the vulnerable young seedlings from frost damage.
In warmer areas, you can wait until the start of spring when the weather warms to sow straight into the ground.
However, if you live in a colder region and want to plant your tomatoes as soon as you can, it’s best to sow them indoors around 6 weeks before the last frost date. This will ensure they are ready for transplanting at the perfect time to continue growth outdoors.
How To Sow Tomato Seeds
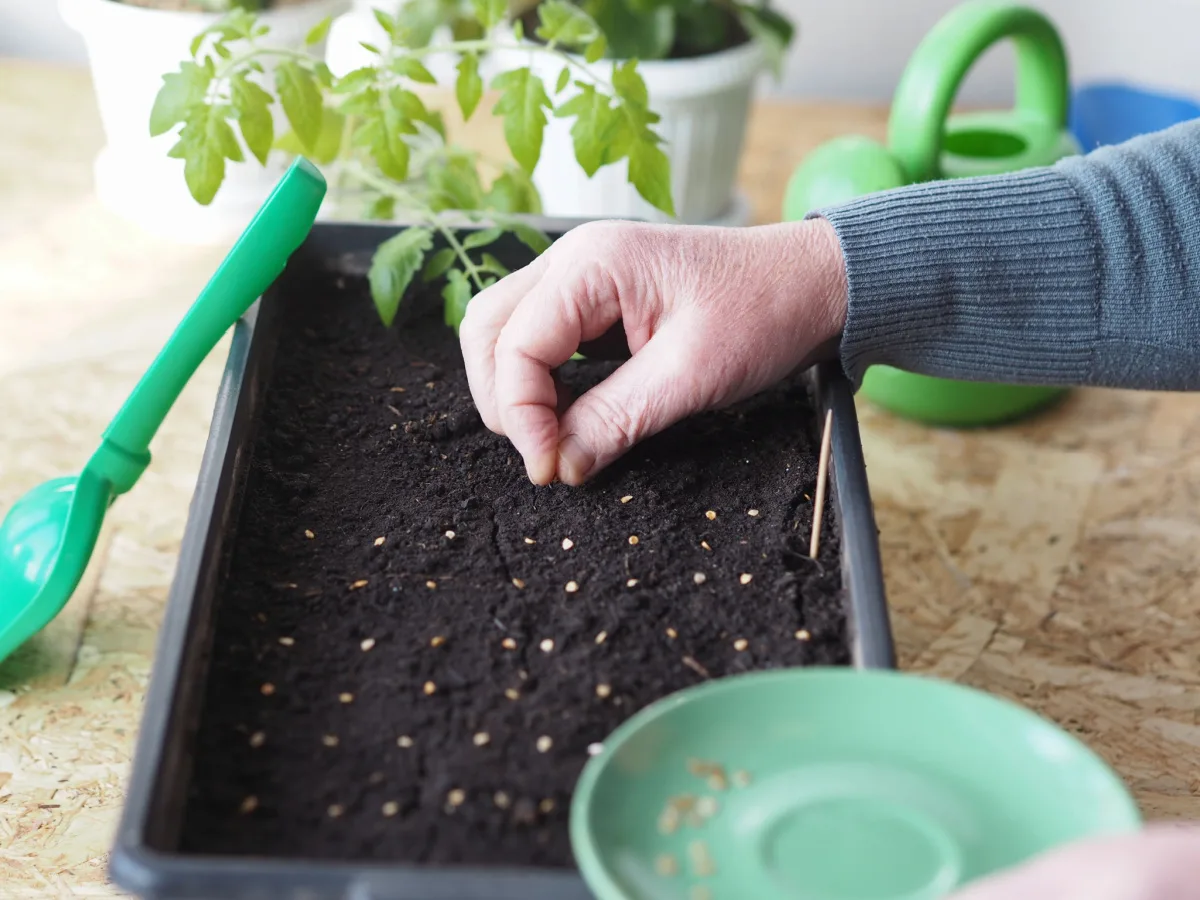
To sow tomato seeds, follow these easy steps:
- Grab a clean seedling tray and fill it with a seed starting mix. You can find these at nurseries or make your own by combining coconut coir, perlite and a small amount of compost.
- Moisten the mixture until the medium is soaked through.
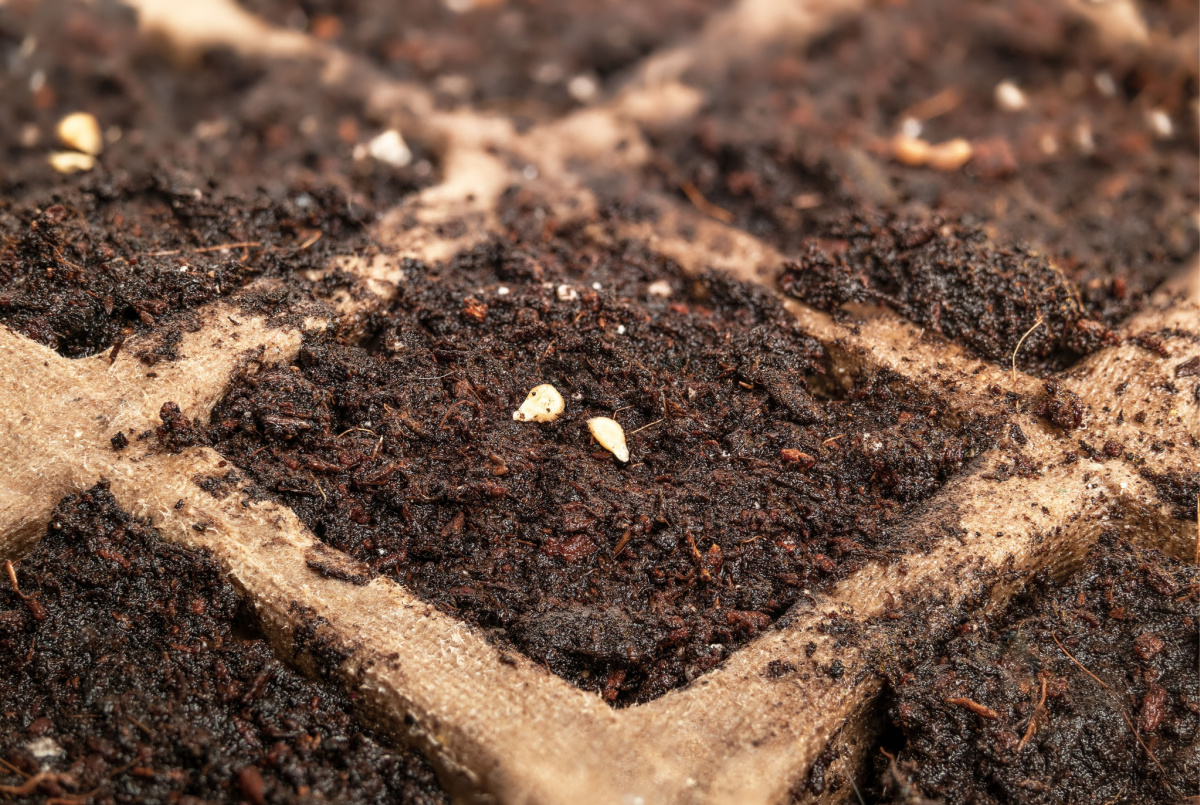
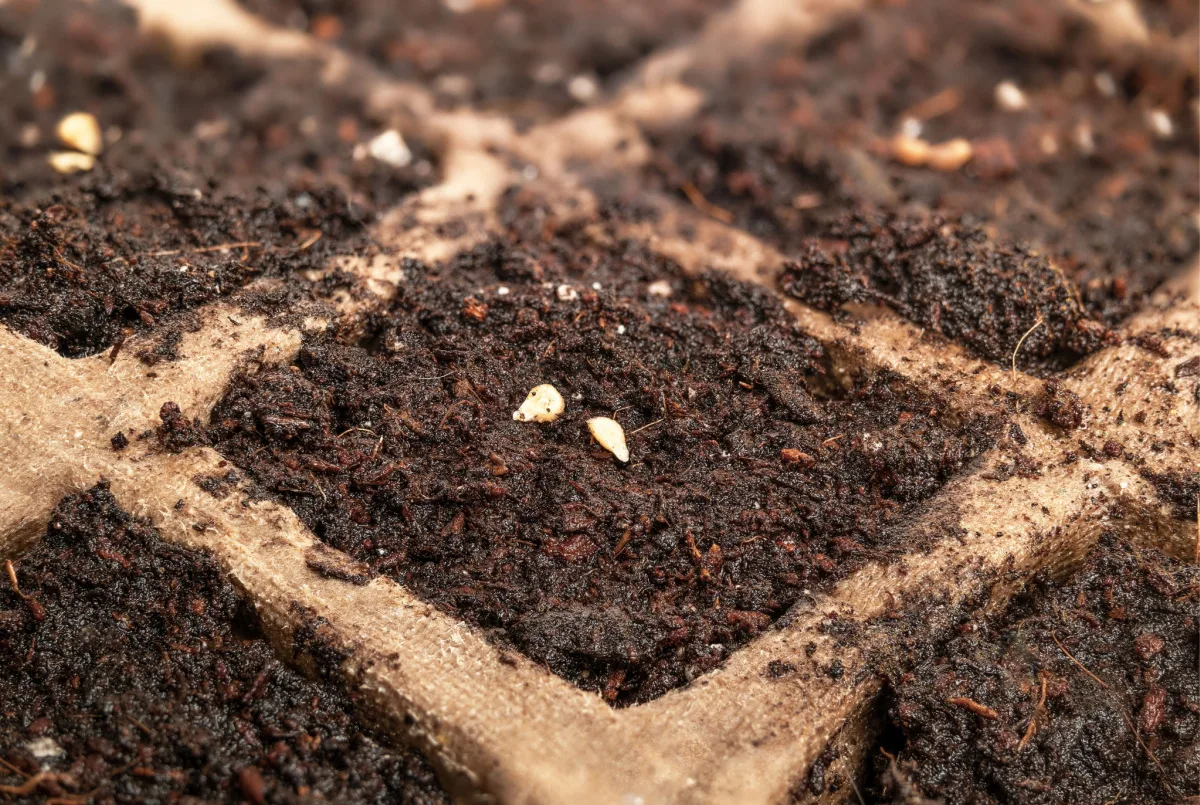
- Make a small hole in the center of each cell with your finger or a pencil.
- Plant two seeds in each hole, cover with the mixture and press down gently.
- Keep the soil warm and give the seedlings at least 6 hours of light per day to develop. Keep the soil lightly moist but not waterlogged.
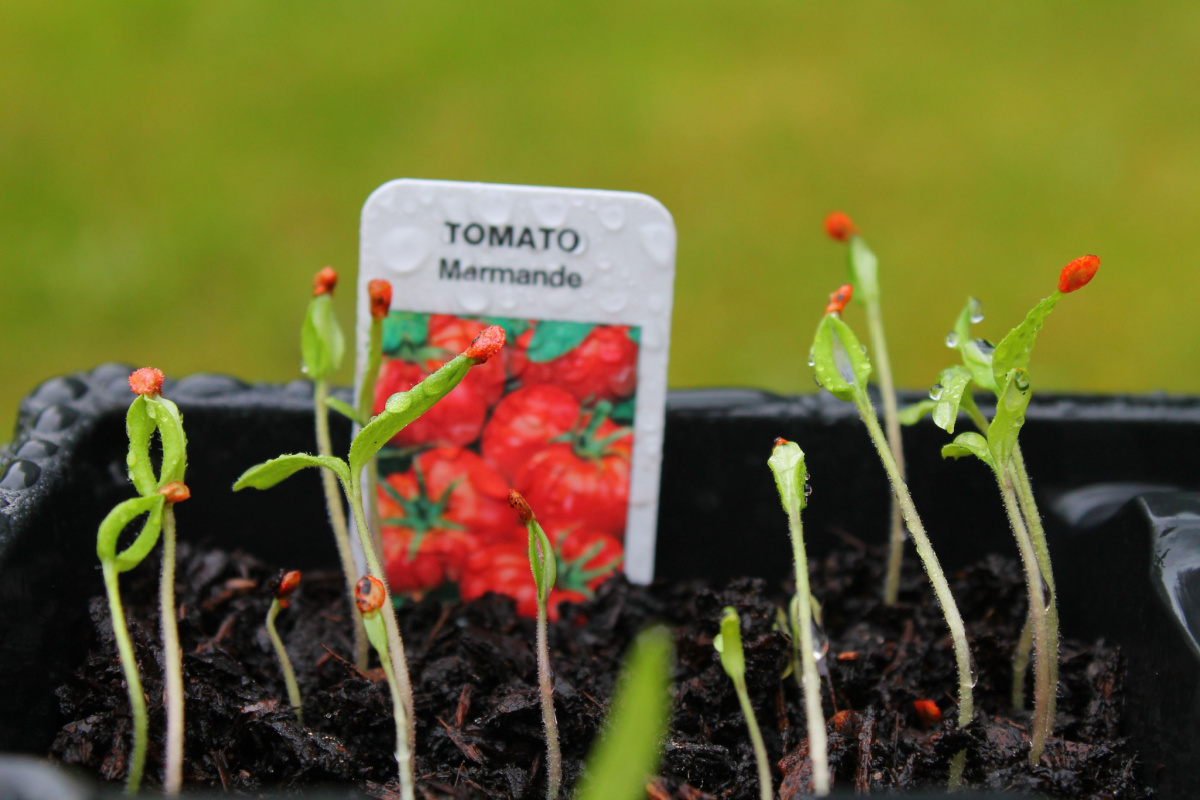
Your tomatoes should germinate within a week or two. Once they are a few inches tall, thin the seedlings by removing the weakest performing one in each cell. As much as it hurts to throw those little seedlings into the compost, this will give you the strongest possible crop in the long run.
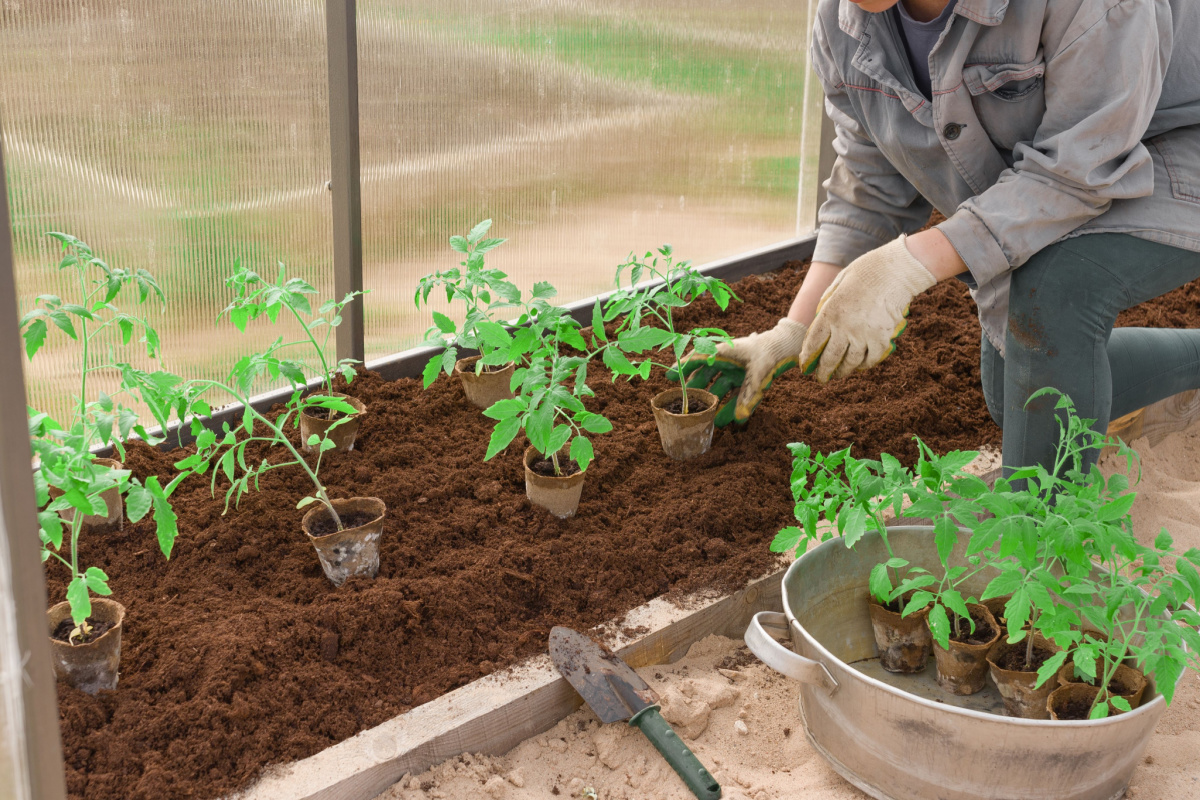
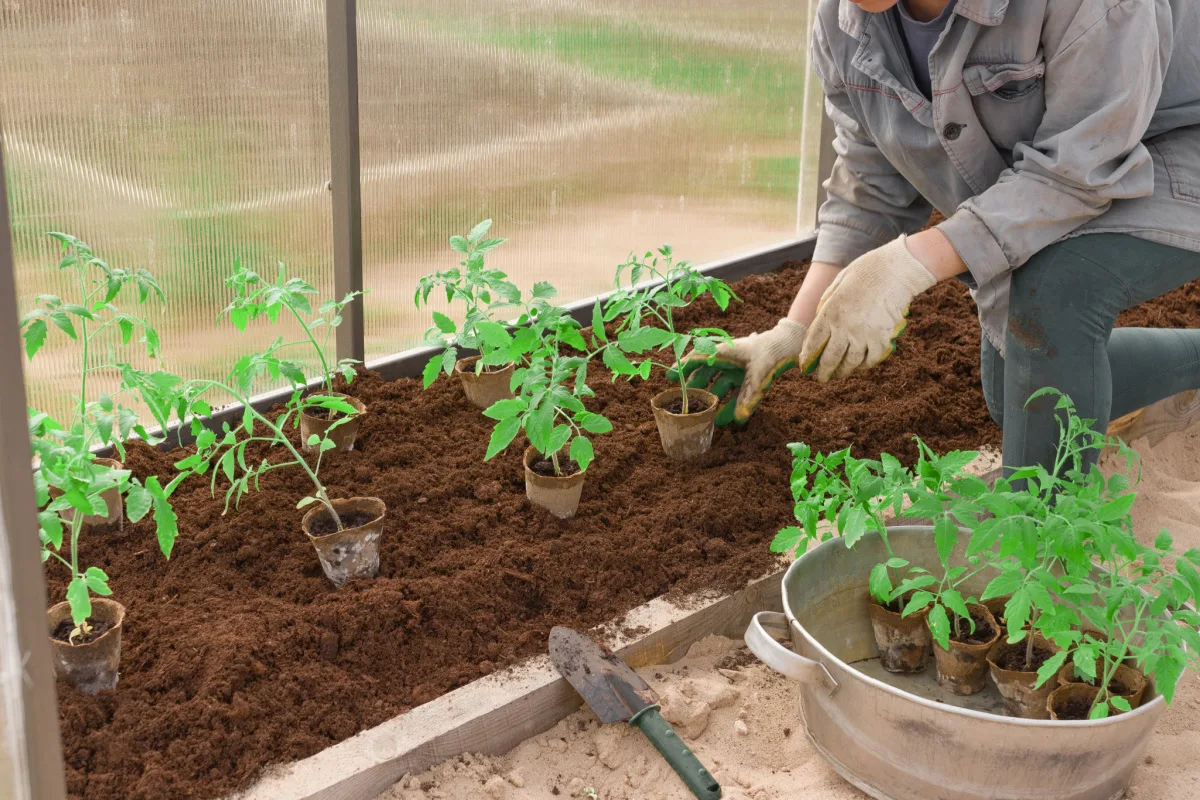
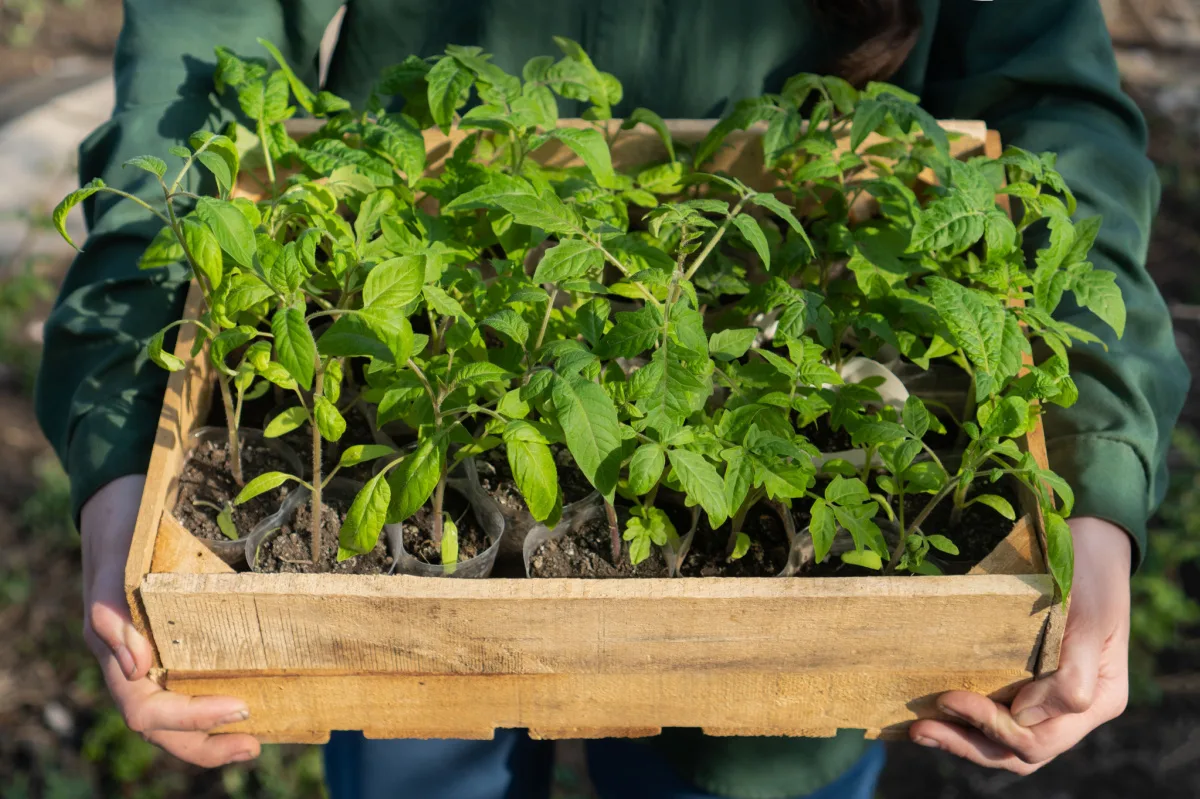
Transplanting
After a couple of weeks, your tomatoes will nearly be ready for transplanting.
If you’ve sown indoors, allow the seedlings to adjust to outdoor conditions before you get them in the ground. This is known as hardening off and helps prevent transplant shock and ensure a smooth transition to outdoor growth.
Around two weeks before you plan on transplanting, move your seedlings outdoors for about an hour during the warmest part of the day. Increase the time spent outdoors each day until you are ready to transplant.
Choosing The Right Location

Where you plant your tomatoes is one of the most important parts of the transplanting process. Roots don’t like to be disturbed or moved, so it’s vital you get this right the first time around.
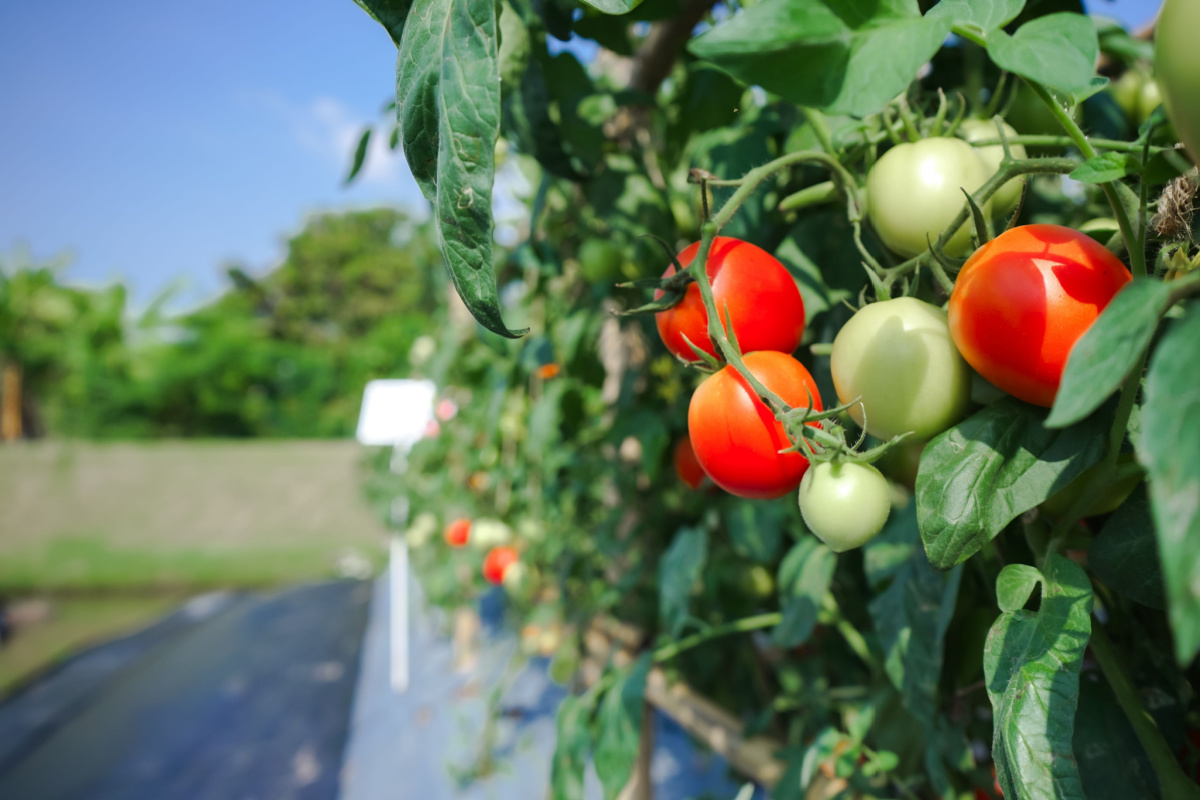
Start by identifying a sunny spot with at least six hours of direct sun per day. Eight hours or more is preferred, but they will survive with a minimum of six hours with no trouble.
Choose an area with rich soil that drains well. The deep root systems of tomato plants may rot if the soil is frequently waterlogged. Also avoid low-lying areas where water tends to collect after rainy periods.
Wind is another factor to think about. Although tomatoes are trained with supports, the hanging branches are still susceptible to wind damage in extreme conditions. Avoid very windy spots or plan to reinforce the vines strongly if a windy area is the only place available.
Tomato Plant Spacing
The right spacing is determined by your chosen tomato variety. Smaller determinate tomatoes are typically planted about a foot apart, while larger indeterminate varieties need two or three feet of space to grow.
If you’re using cages as supports, you can place your indeterminate tomatoes slightly closer together as their growth will be contained. But, when using stakes, aim for two feet minimum between each plant and around four feet between each row.
Soil Amendments
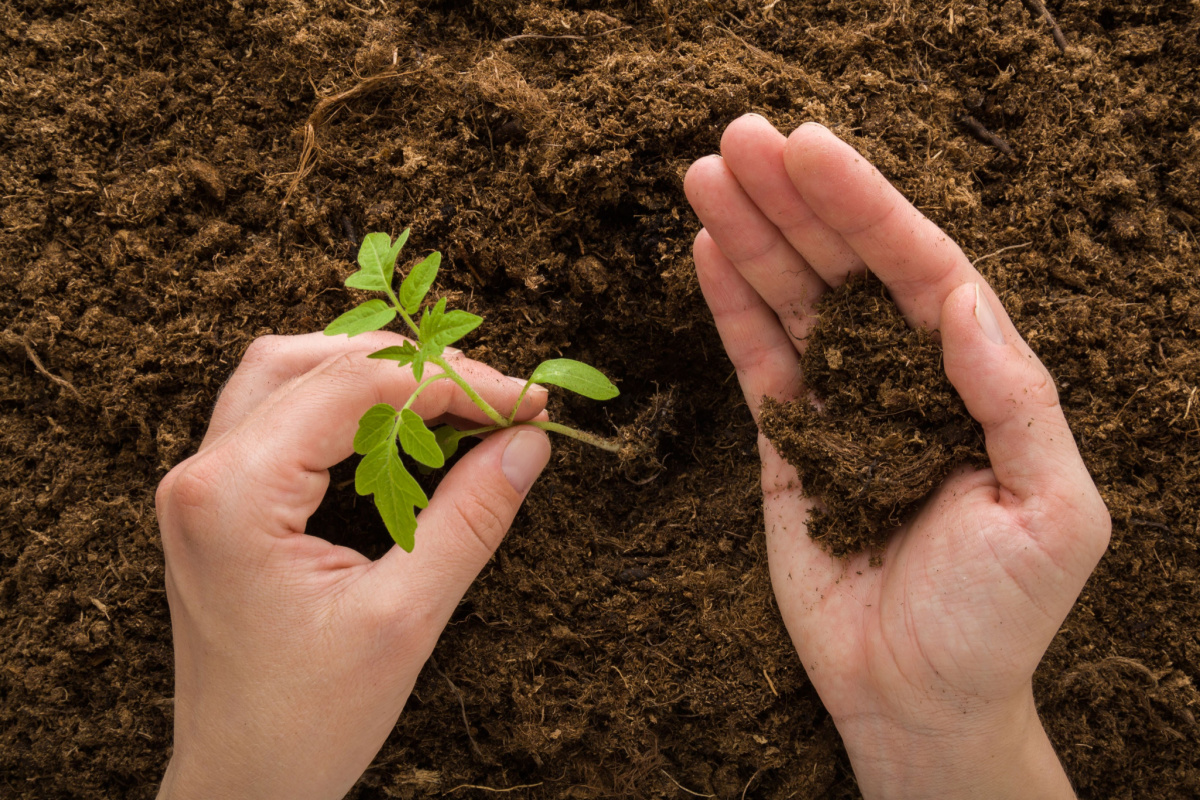

Before you get your seedlings in the ground (or in a pot), make sure the soil conditions are perfect. Great soil contributes to great plants and is much harder to amend after planting than before.
Start by mixing in some compost with the soil. This improves texture and nutrient levels, contributing to overall soil health. Worm castings are another great addition if you have them available to improve nutrients. Mix the worm castings with the soil in the bottom of the planting hole to reach the roots.
Other things you can consider placing at the bottom of your tomato planting hole are eggshells, bonemeal and Epsom salts. However, these amendments aren’t always needed and may have some downsides, so read the complete guide here before choosing what’s right for you.
There are also a couple of things you should avoid for various reasons. These include:
- Baking soda
- Banana peels
- Fish heads
- Whole egg
- Aspirin
The Trick To Successful Tomato Planting
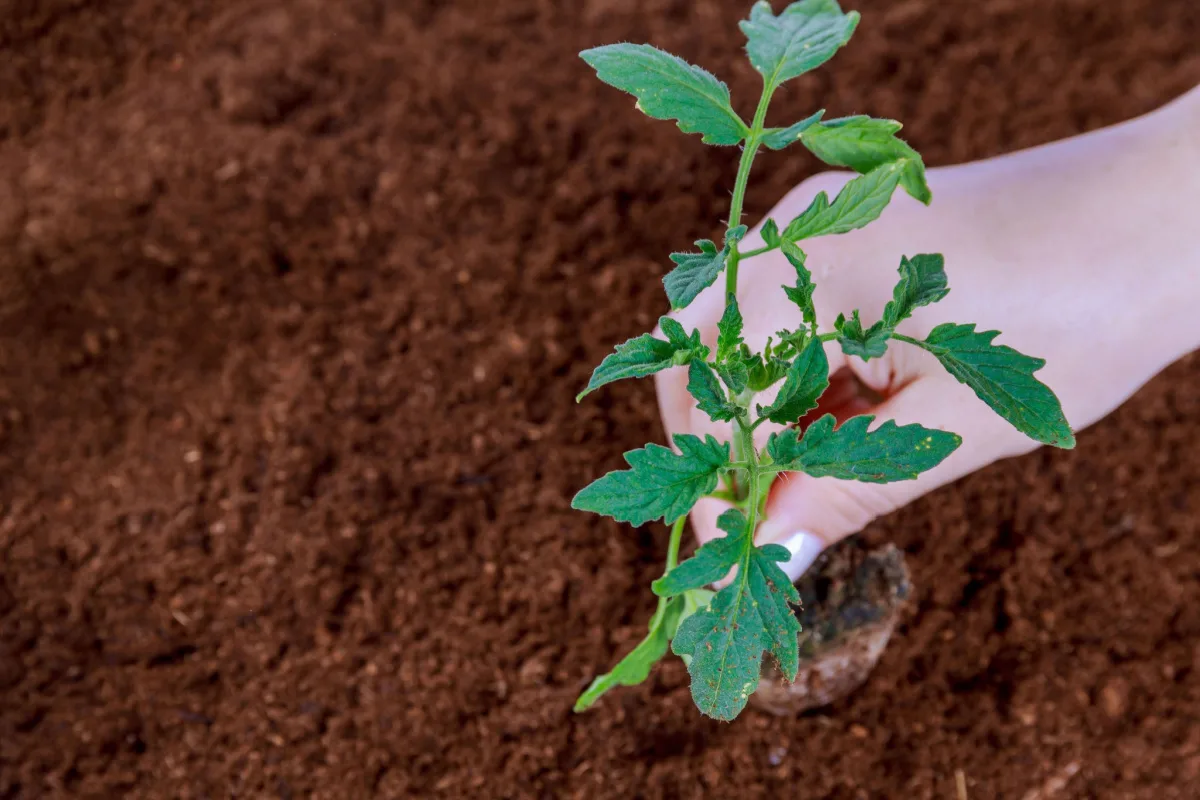
There is one small trick that can make all the difference in your tomato-growing journey – planting tomatoes deep or sideways.
Tomato stems have adventitious roots (essentially roots that form from non-root tissue). When the stems are exposed to soil and moisture, they will develop new roots, strengthening the root system. The deeper the root system, the more moisture and nutrients the plant will have access to, ultimately improving growth.
To trigger this root growth, simply plant your tomatoes in an extra deep hole, or sideways in a trench. Bury around two-thirds of the stem of your seedling for the best results.
Adding Supports

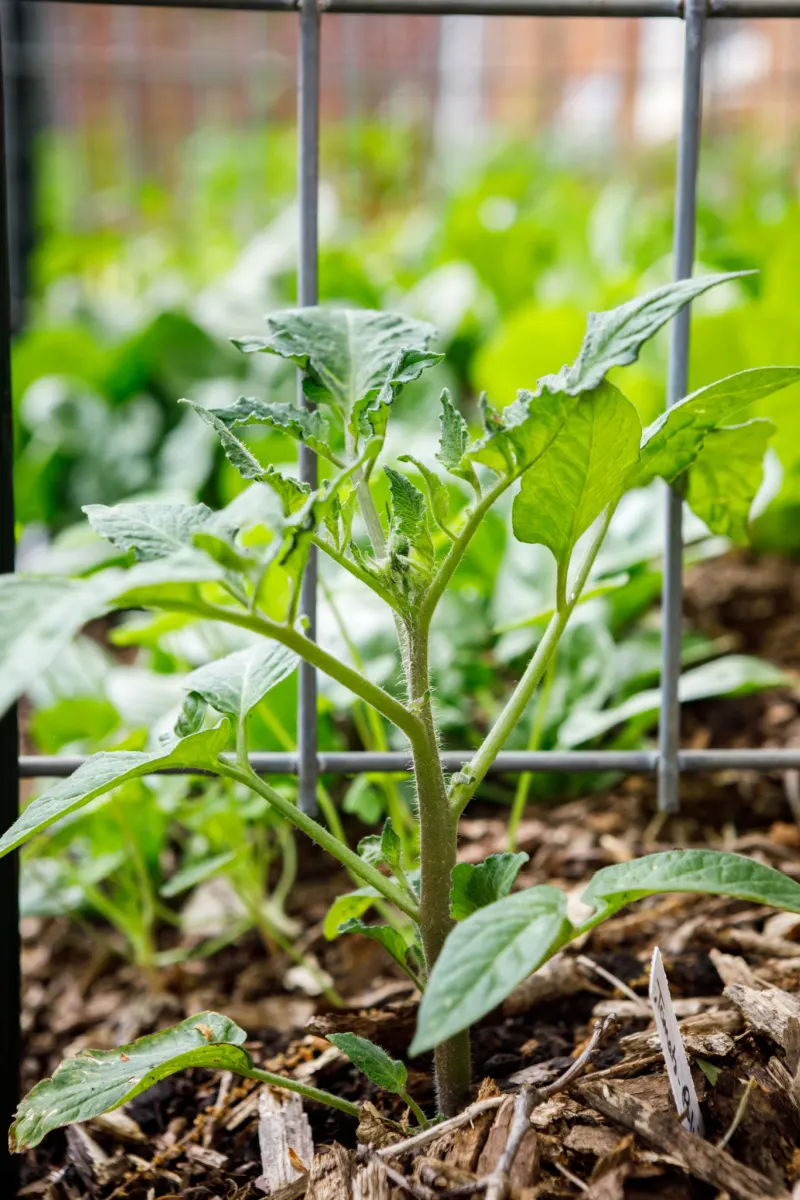
The final step in the planting process is adding supports. Most tomato varieties, except a select few determinate ones, need support to grow well. This keeps the vines off the ground, limiting the spread of the disease, and stops stems from snapping under the weight of the fruit.
Supports should be added at the time of planting to protect the root system. You won’t need to tie the stems to the support right away, but placing the supports now will stop you from accidentally damaging the roots during placement later on.
The two most common options are stakes and cages. However, there are many innovative options to try depending on the size of the plant and the size of your tomato patch.
Tomato Companions
Companion planting is an established gardening practice that involves placing compatible plants together to improve the growth of both. Applied to your tomato plants, it can repel pests and improve flavor.
What To Plant


To reap the full benefits of a full veggie patch, plant your tomatoes next to these plants:
- Basil: The perfect pair in the garden and the kitchen, believed to improve tomato flavor.
- Garlic: Repels common tomato pests like aphids.
- Nasturtiums: Draws pests away, acting as a trap crop.
- Marigolds: These are considered a tomato plants best friends and it’s easy to see why.
Those are the most common pairings, but certainly not the only ones. Take a look at this list to expand your companion planting options.
What Not To Plant

Although there are ideal pairings, there are also certain vegetables that should never be planted near tomatoes. They may attract the same pests, compete for nutrients or generally negatively impact growth.
Keep these plants well away from your tomatoes:
- Cabbage
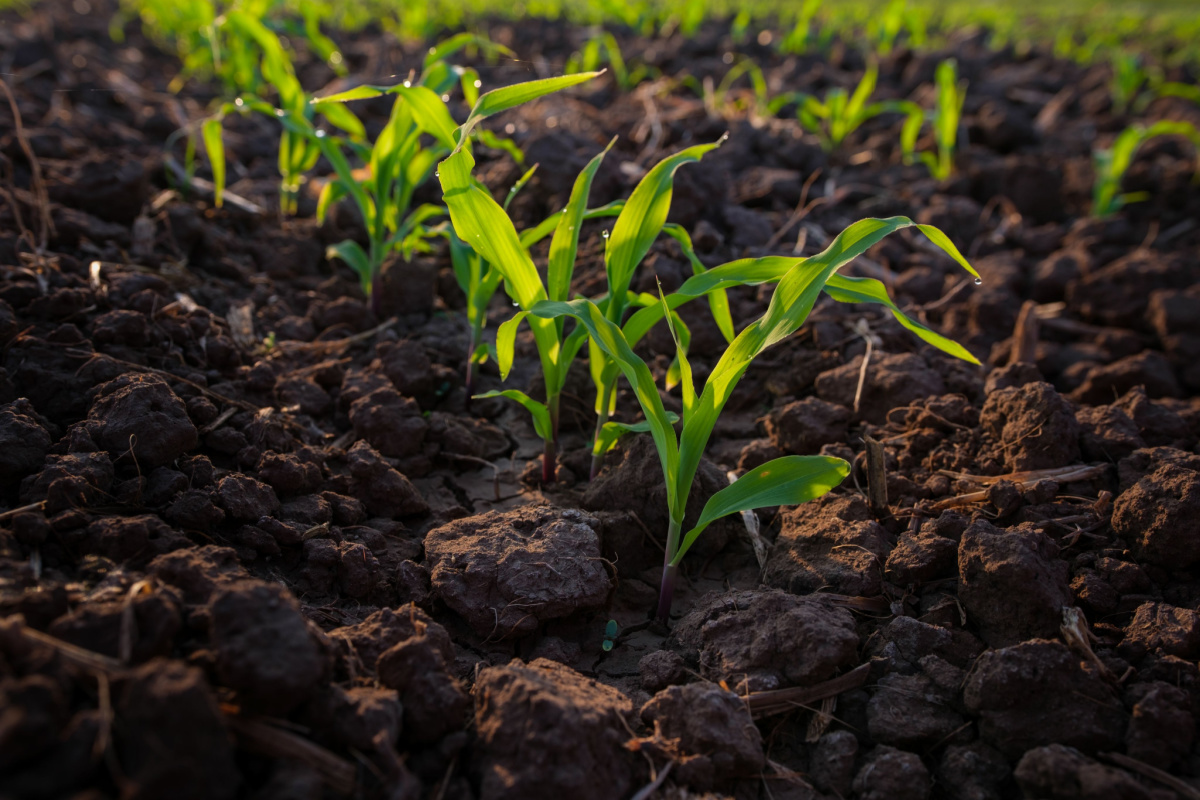
- Corn
- Fennel
- Dill
- And more
Tomato Plant Care
Watering
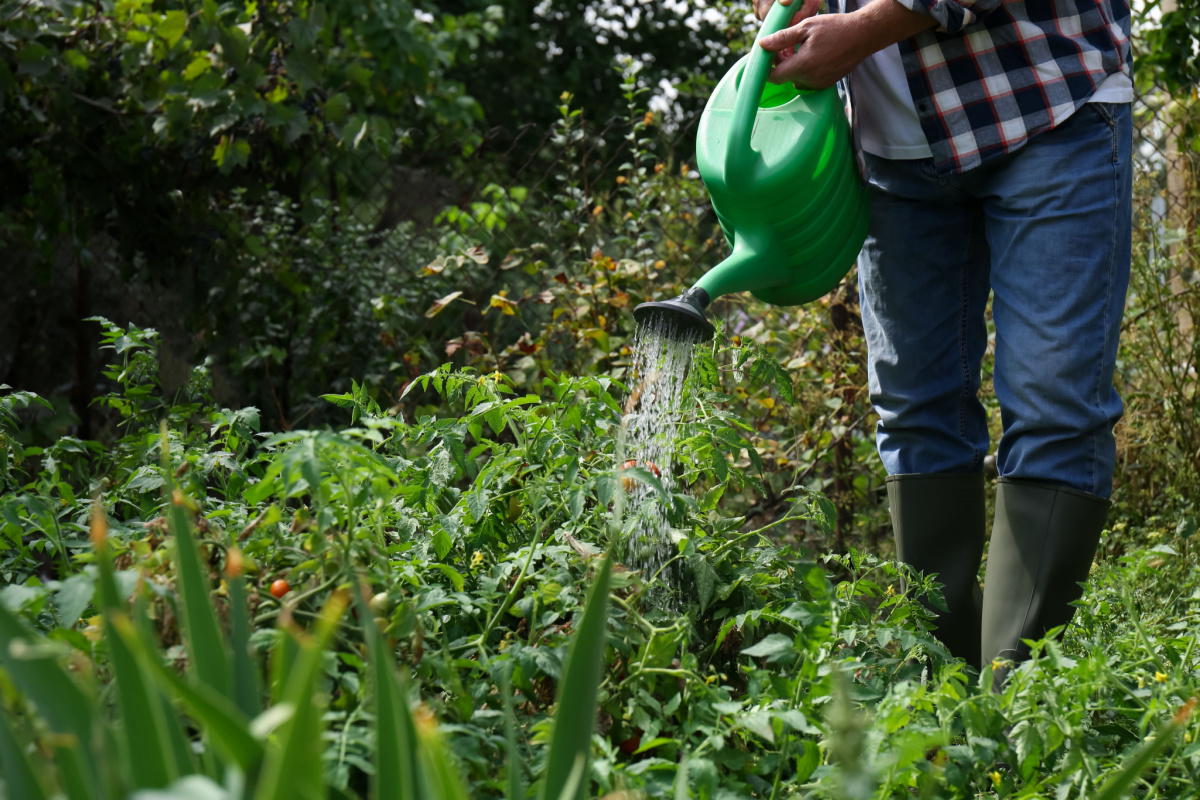
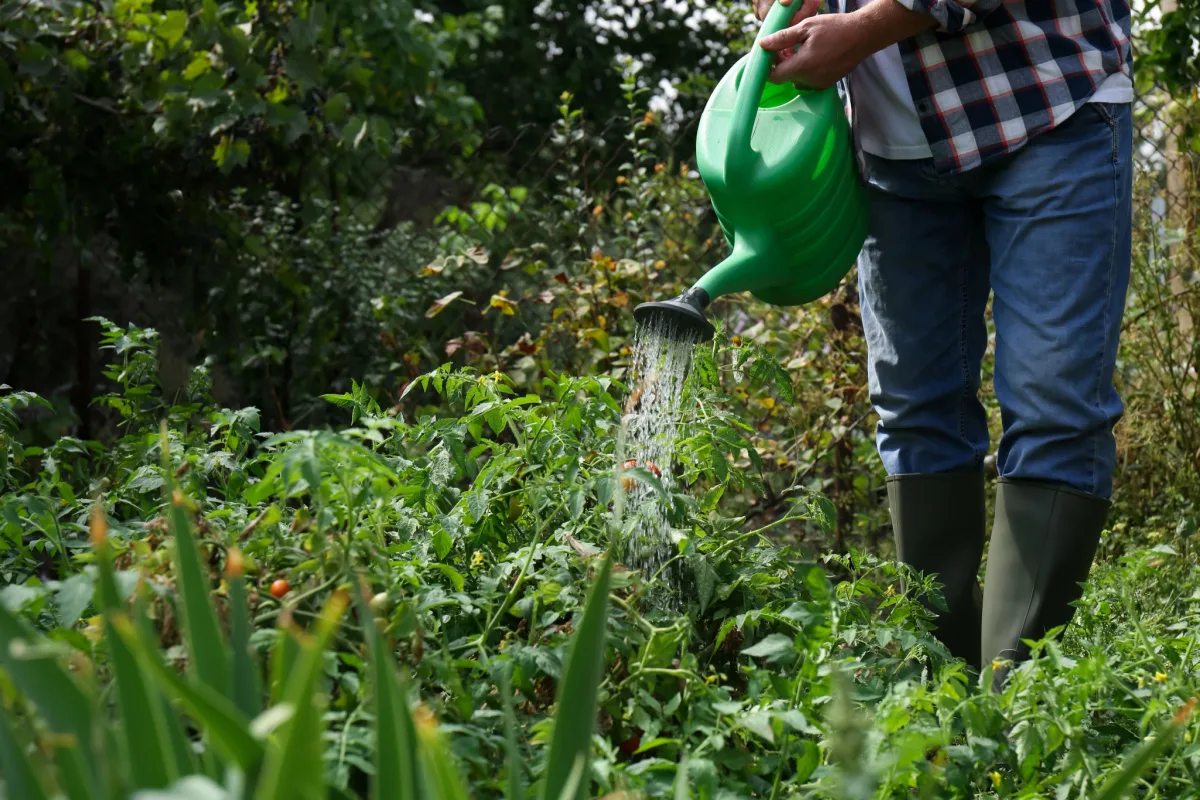
Tomatoes need plenty of water to produce their juicy delicious fruits. Without it, your plants are at risk of becoming stressed and the fruits may crack or lack flavor. In your care routine, watering is the most important factor to consider.
Soon after planting, your young seedlings will need plenty of moisture to develop their deep root systems. Expect to water every couple of days and far more often when planting in pots. Once they have matured, you can water deeply around once per week, depending on temperatures and rainfall in your area.
How you water your tomatoes is just as important as how much water you give them. Always water deeply and slowly to penetrate the soil lower down and reach all of the roots. Also focus the stream of water on the soil, not the leaves, to prevent fungal disease.
Mulching can help retain moisture in the soil to keep the roots happy and comes with a number of other benefits. Take a look at the best mulches for tomatoes here.
Fertilizing

Although tomatoes are often labeled heavy feeders, they do not need consistent fertilizing to grow their best. Using the right fertilizer at the right times will cover all the bases without risking your chances of overfertilizing.
The first fertilizer application should be done around a month after transplanting. This avoids the risk of root damage that comes with fertilizing at planting time, but is still early enough to promote strong growth in young plants. This fertilizer should have a balanced NPK ratio, or you can choose one slightly higher in nitrogen to promote leaf and stem growth.
The second application comes just before fruiting. Using a fertilizer with lower nitrogen values will help flower and fruit development at this time, improving your overall yield. Apply according to instructions, never using more than recommended.
Pruning
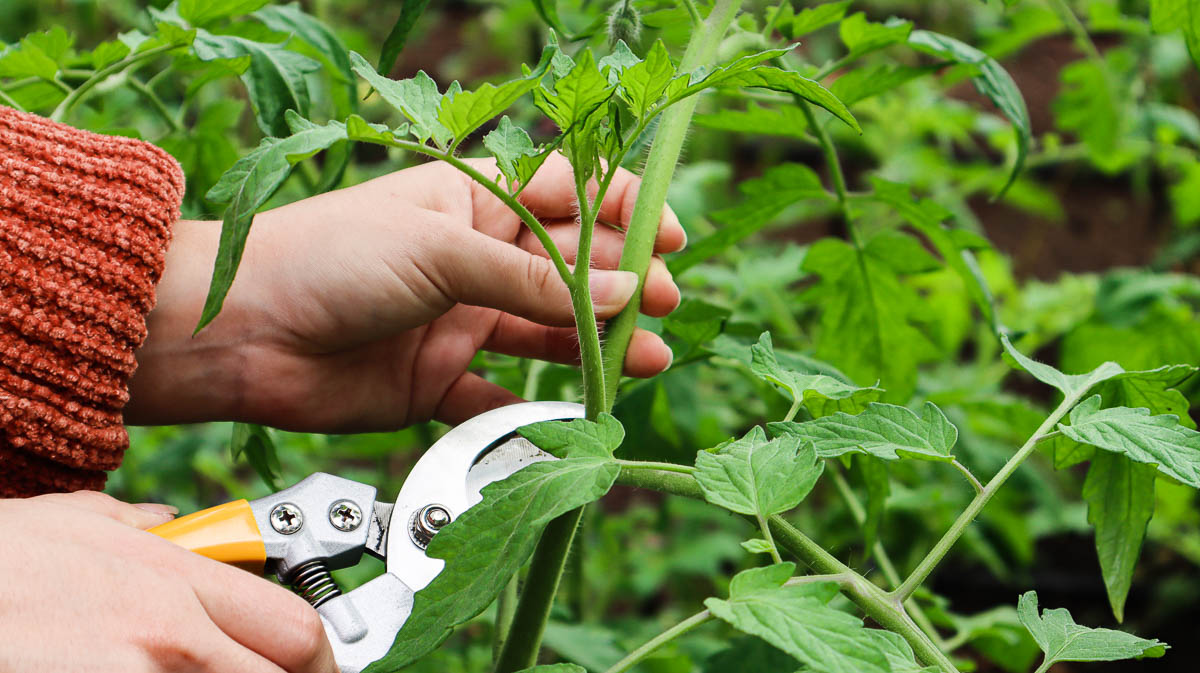

Pruning is not a task typically associated with tomatoes. But, when done correctly, it can contribute majorly to the growth and shape of your plants.
The first step involves removing suckers. These are stems that emerge diagonally, eventually becoming full vines. Removing some of these early on prevents overcrowding and improves the shape of the plant. For indeterminate tomatoes that continually produce suckers, this removal can also help direct the energy of the plant toward fruit development instead of leaf and stem production.
It’s also important to remove damaged and diseased stems as soon as they appear. Tomatoes are prone to many diseases that can be hard or even impossible to control at advanced stages. Removing these early prevents the spread of the problem and limits your risk later on.
Finally, trim stems lower down on the plant that hang along the ground or areas of dense growth. Both of these actions help prevent risk of disease in your plant by promoting airflow and limiting contact with the soil. Toward the end of the season, if you need the remaining fruits to ripen before frost, top the plant.
Pollinating

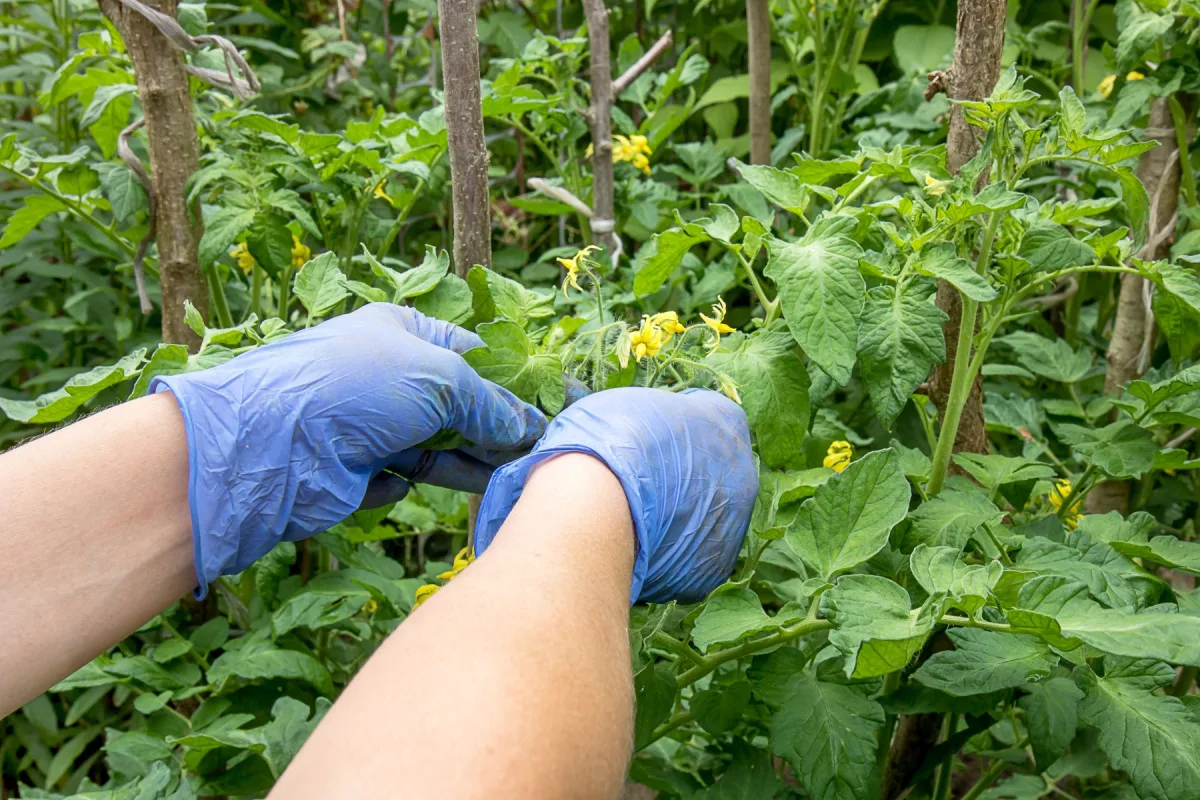
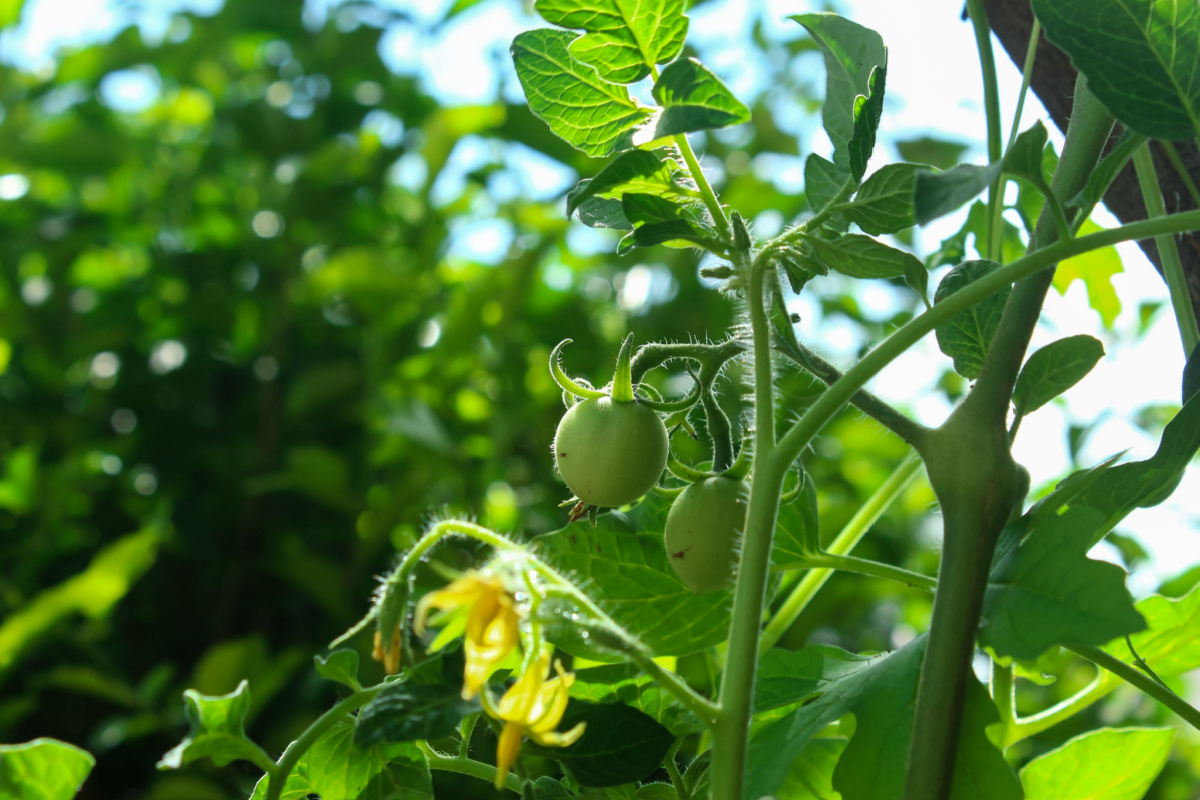
Tomatoes are self-pollinating and don’t require any assistance to produce fruits. But, if humidity and temperatures are high and pollen becomes sticky, it may not be transported around the plant, leading to blossom drop.
In these cases, you can take matters into your own hands and pollinate your tomatoes manually. There are a number of ways to achieve this, from simply shaking the stems to using an electric toothbrush, simulating the buzzing of bees.
Hand pollination, although not always necessary, will help improve your overall yield.
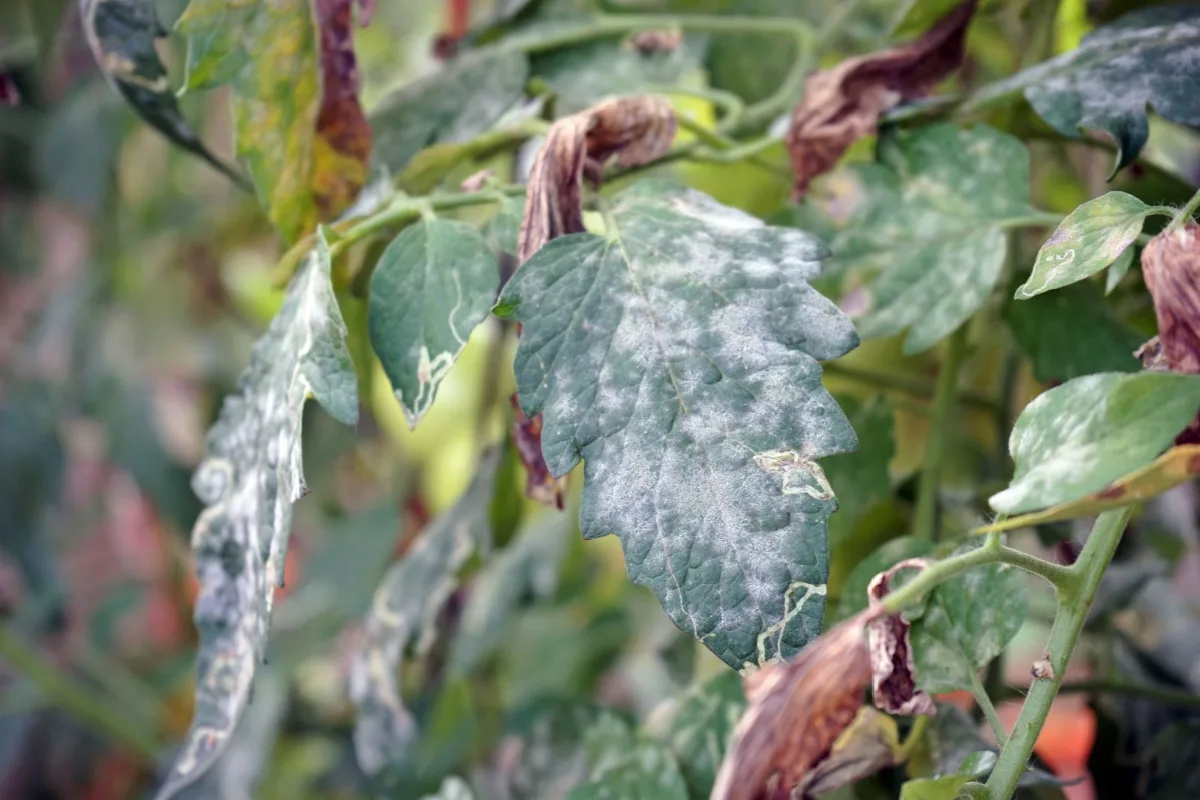
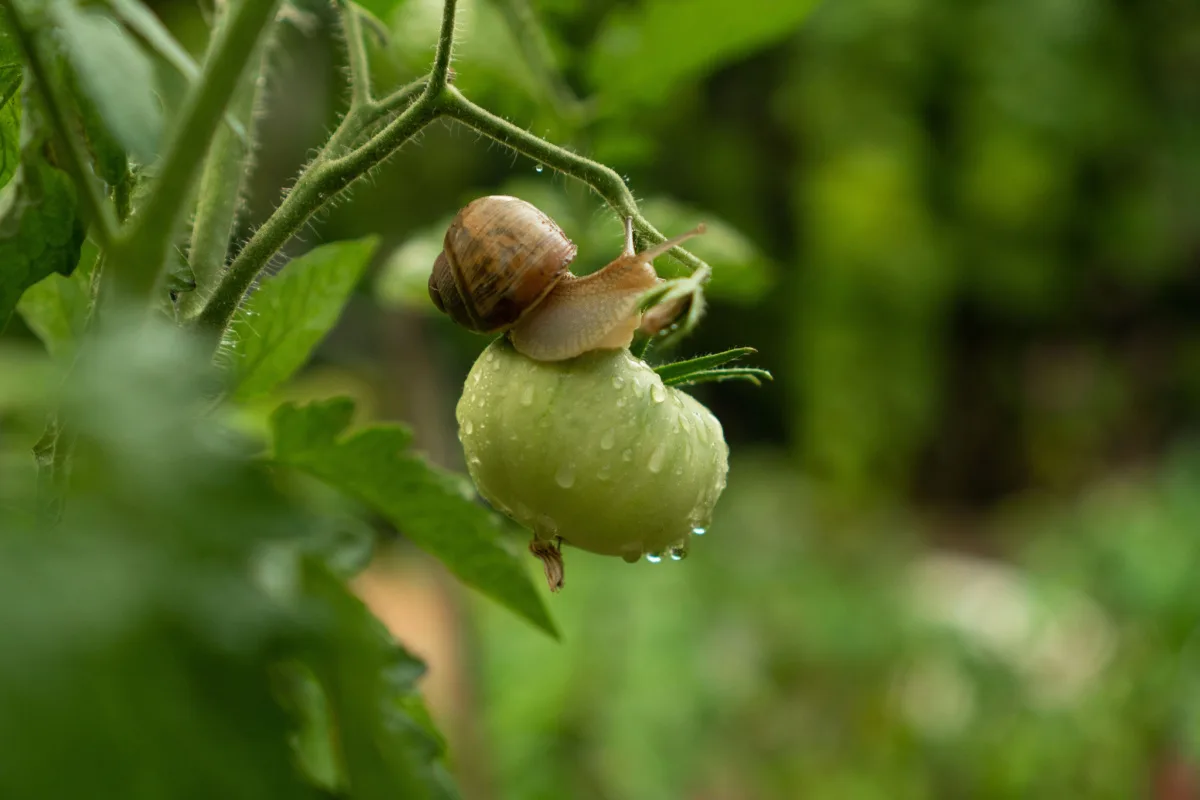
Tomato Pests & Diseases
Unfortunately, gardeners growing tomatoes should become well-acquainted with the long list of pest and disease problems that may occur. These can quickly demolish an entire tomato plant if not resolved and are best caught early or prevented completely where possible.

- Early Blight
- Late Blight
- Septoria Leaf Spot
- Fusarium Wilt
- Powdery Mildew

- Tomato hornworms
- Aphids
- Flea beetles
- Spider mites
- Nematodes
Other tomato problems:
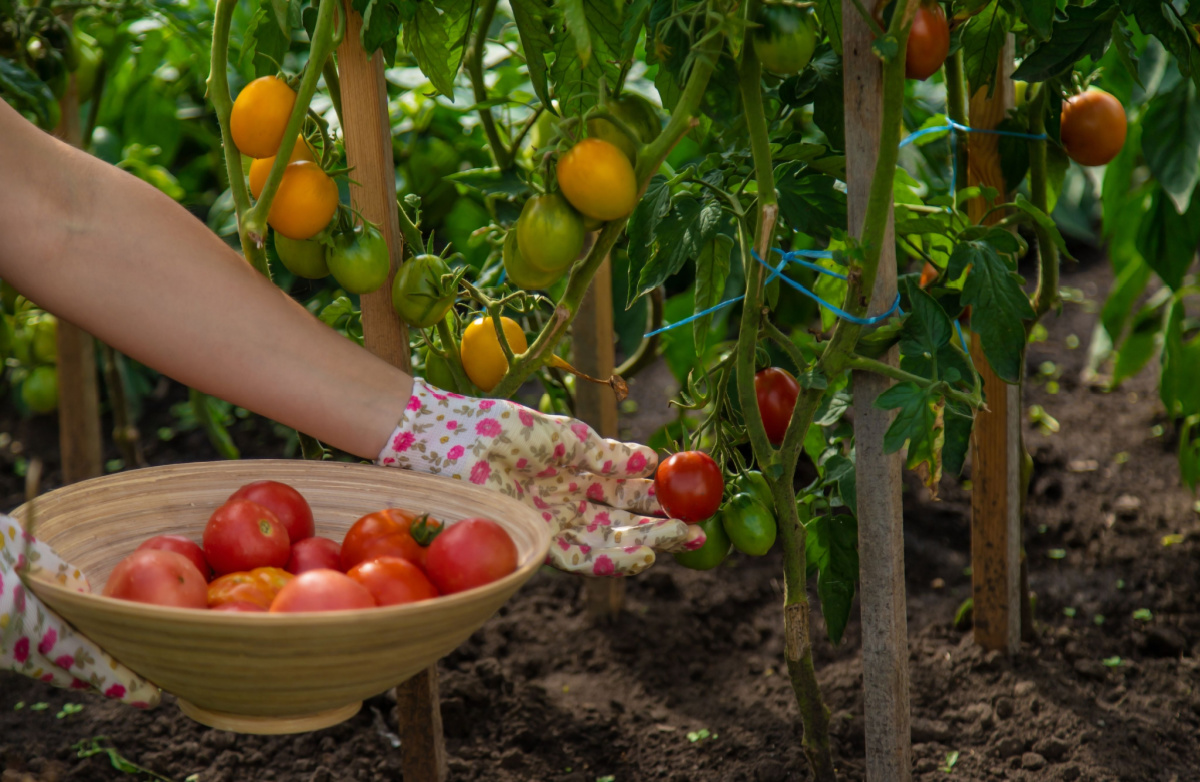
Harvesting

When To Harvest Tomatoes
Exact harvesting time will depend on your chosen tomato variety. Some may be ready to harvest in as little as 40 days, typically called early season varieties, while others may take up to 90 days to fully produce fruits.
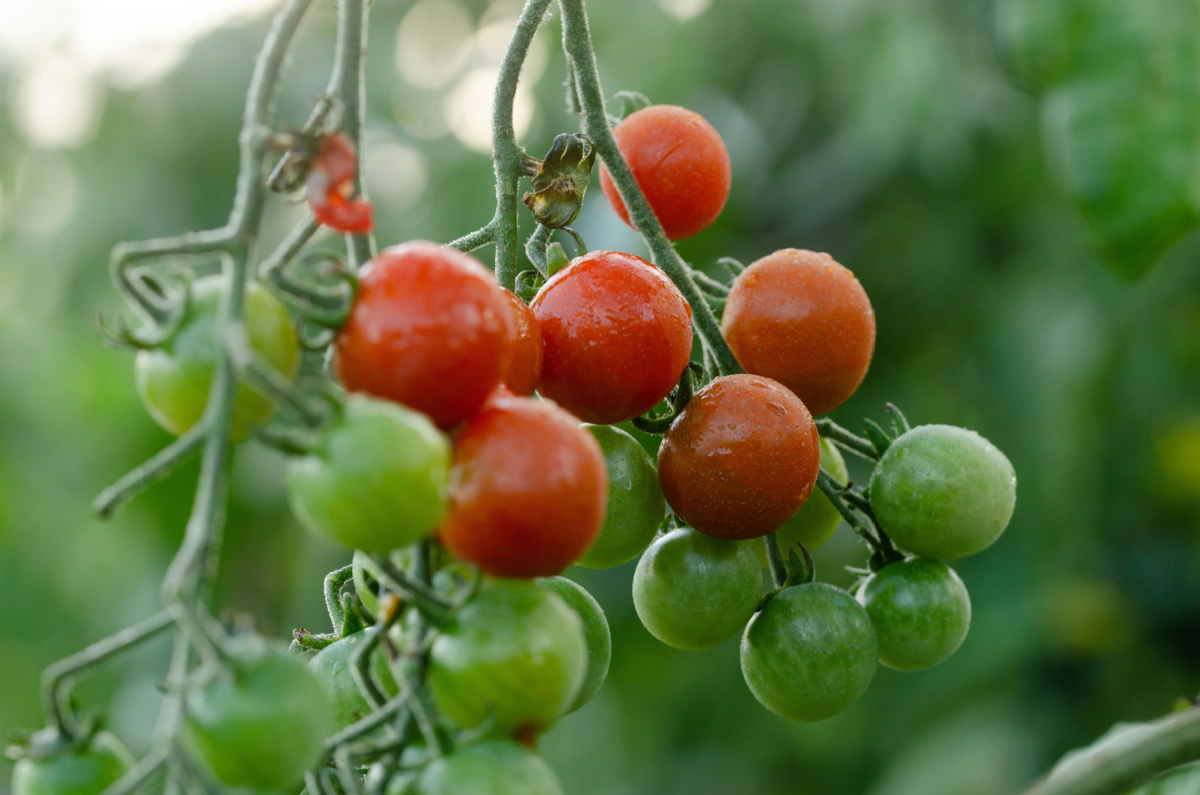
How To Tell When Tomatoes Are Ripe

Color change is usually the first indicator that tomatoes are ripe. This isn’t always the classic red we recognize, and may be purple, yellow or even green depending on your variety. Make sure you check the expected color so you know when to start picking.
There are also other indicators that your fruits are ready for harvesting. The flesh will be firm and shiny with an even rather than patchy color. You can also snip off one of the fruits and simply taste it to see if it’s ready or not.
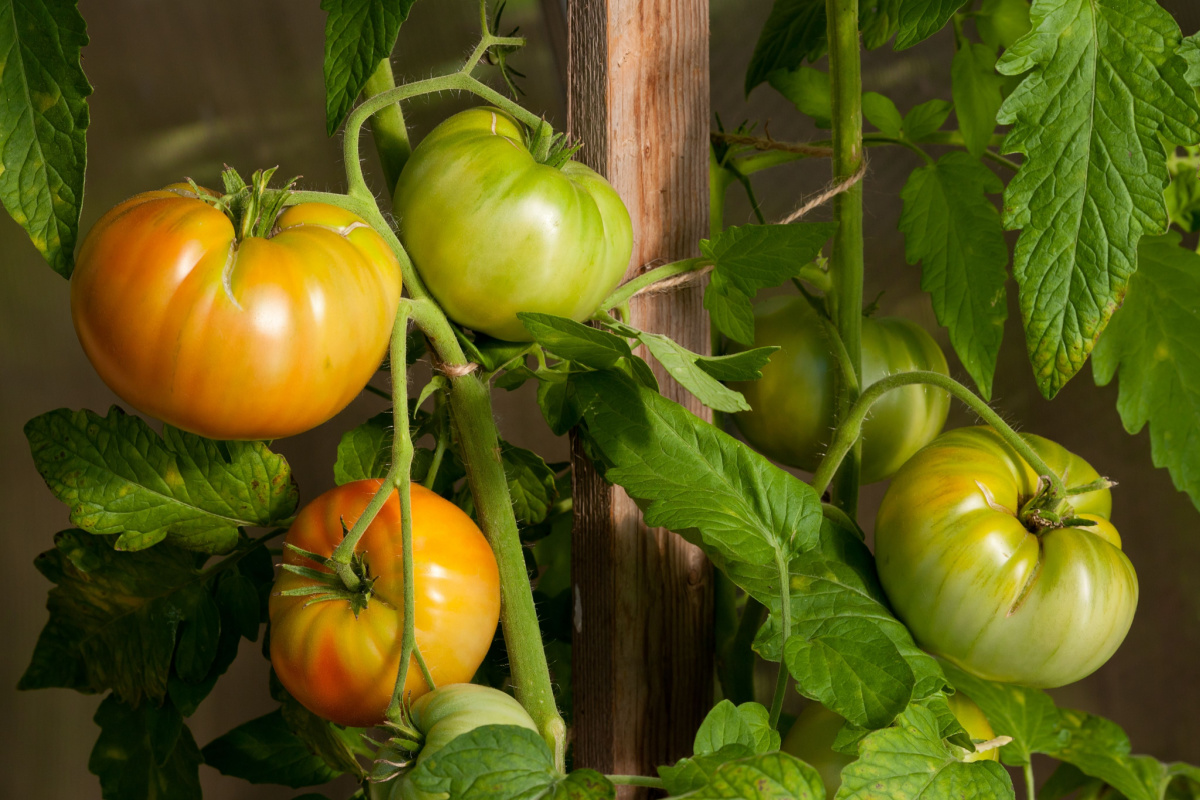
Do Tomatoes Have To Ripen On The Vine?
Tomatoes produce a gas called ethylene that facilitates ripening. Much like bananas and apples, they continue to produce this gas, even when removed from the vine. As long as you remove the fruit at the right time, you can ripen the fruits on or off the vine – the choice is yours.
It’s best to wait for the breaker stage – the point where the fruit just begins to change color – before removing them. At this point, the fruits won’t receive any more moisture or nutrients from the vine, so removing them now or once they are ripe won’t impact texture or flavor.
Some choose to ripen on the vine for convenience or supposed improved flavor. If you choose this option, take steps to protect your crop from birds to avoid losing your entire harvest.
Uses For Tomatoes

Once you’ve harvested masses of tomatoes, you’ll likely be looking for things to do with them beyond a salad or a snack. Luckily, there are several recipes out there that require plenty of tomatoes, allowing you to preserve your harvest beyond the summer season:
- Homemade tomato sauce
- Tomato relish
- Tomato salsa
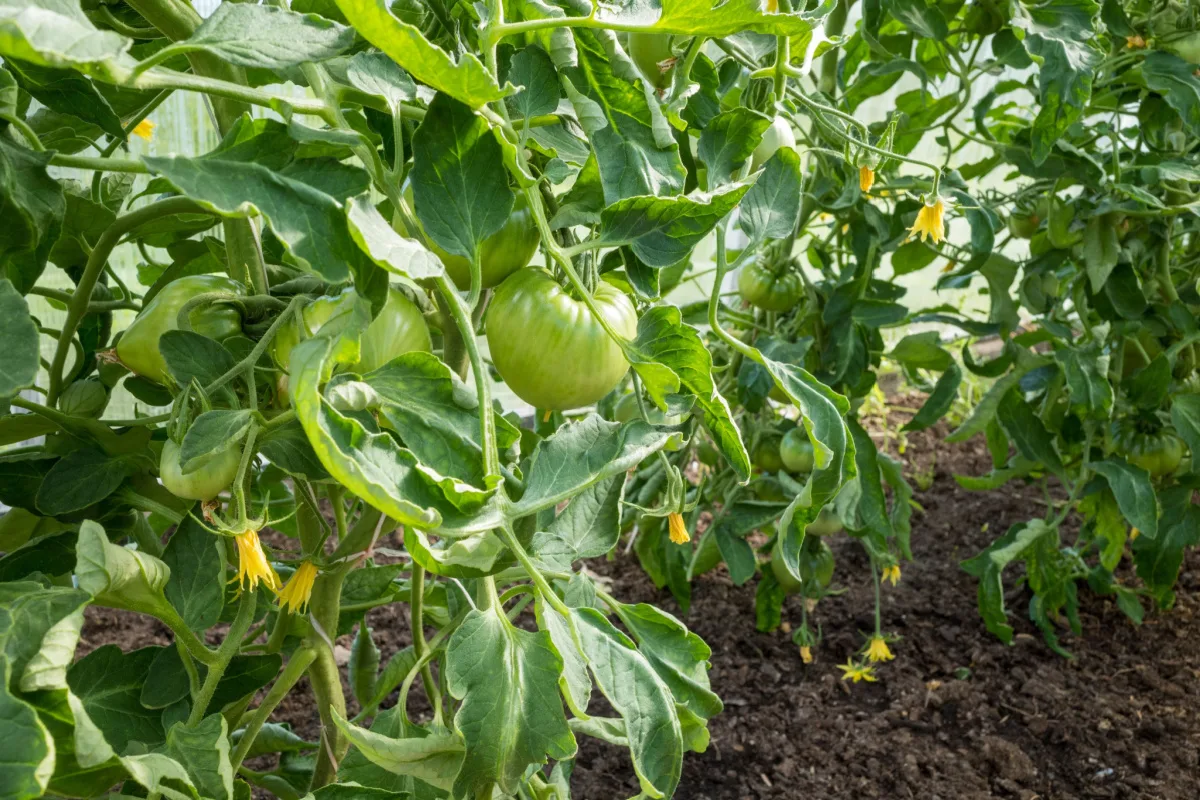
If you have a couple of green tomatoes that haven’t ripened, you can use those too:
And if you’re really adventurous in the kitchen, you should also consider using the leaves of your tomato plant around your home. But save these for the end of the season – the plants need them more while they grow.