Green side up!
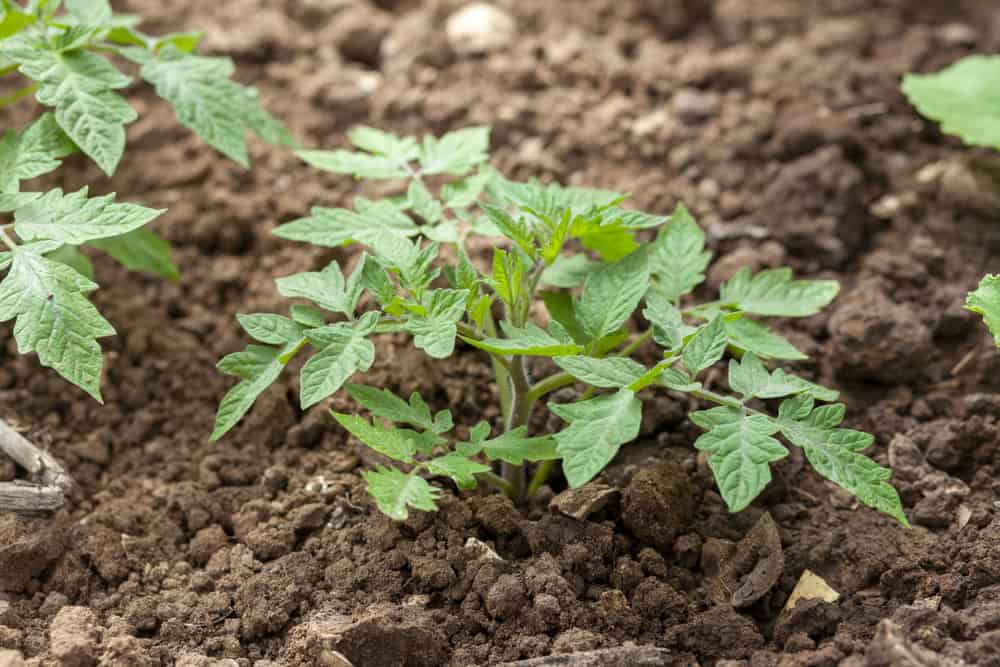
Okay, there is a little more to it than that. Luckily, tomatoes are incredibly forgiving and resilient plants that tolerate many growing conditions. You may get large plants and a reasonable harvest following very simple planting techniques.
Below, we will share how to plant out your young tomato plants step-by-step so they grow strong and healthy. This way, you can help them produce delicious bountiful tomatoes.
The #1 Mistake Tomato Growers Make: Planting Out Too Early!
Tomato plants, especially young plants, hate the cold. It’s wrong to think of tomato plants as frost intolerant, they are actually cold intolerant and will become stressed at temperatures under 60°F.
It’s important to wait until your soil achieves a minimum temperature of 60°F before deciding to transplant your tomatoes outside.
The costliest mistake any tomato gardener can make is transplanting outside too soon because there is no way to recover your precious plants from a cold snap.
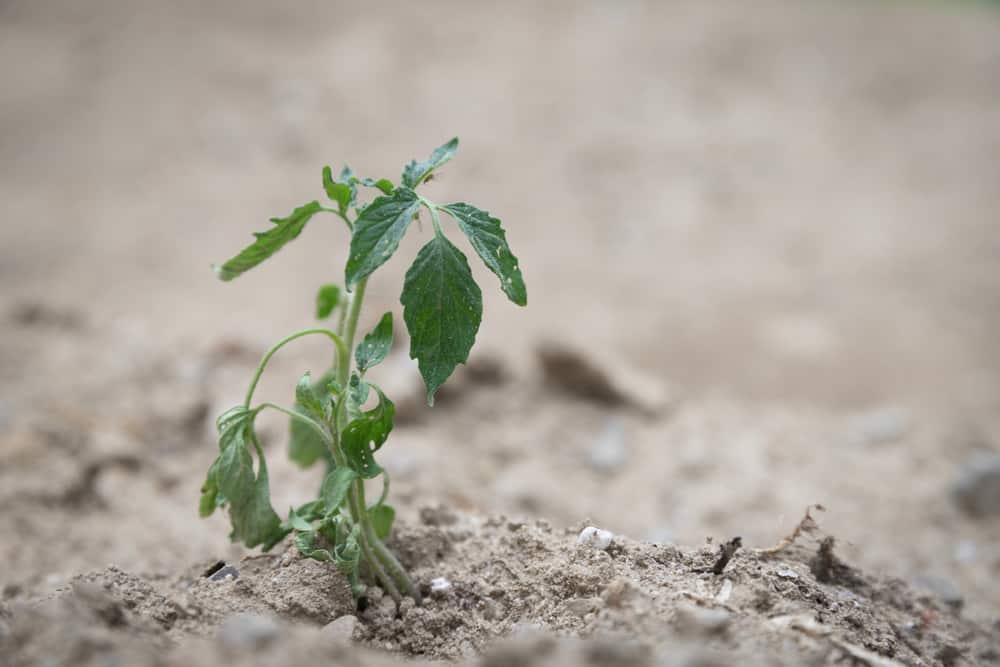
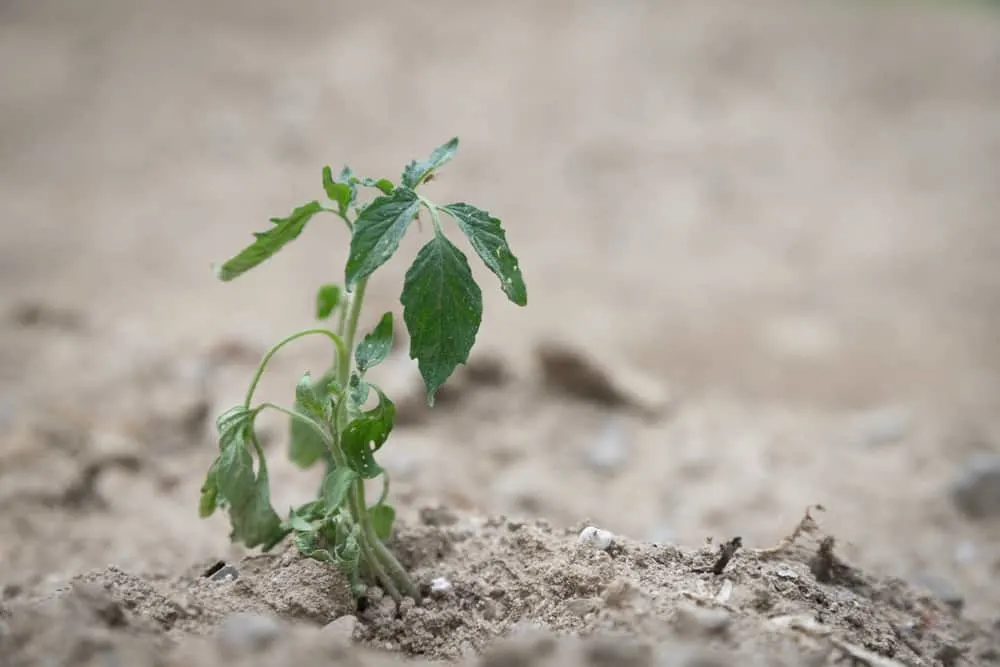
Your transplants will be happiest in soil that has warmed to 60°F (15°C). You may be able to speed this process by placing black mulch or black plastic film over your soil, but please make sure the soil won’t drop in temperature once it is removed.
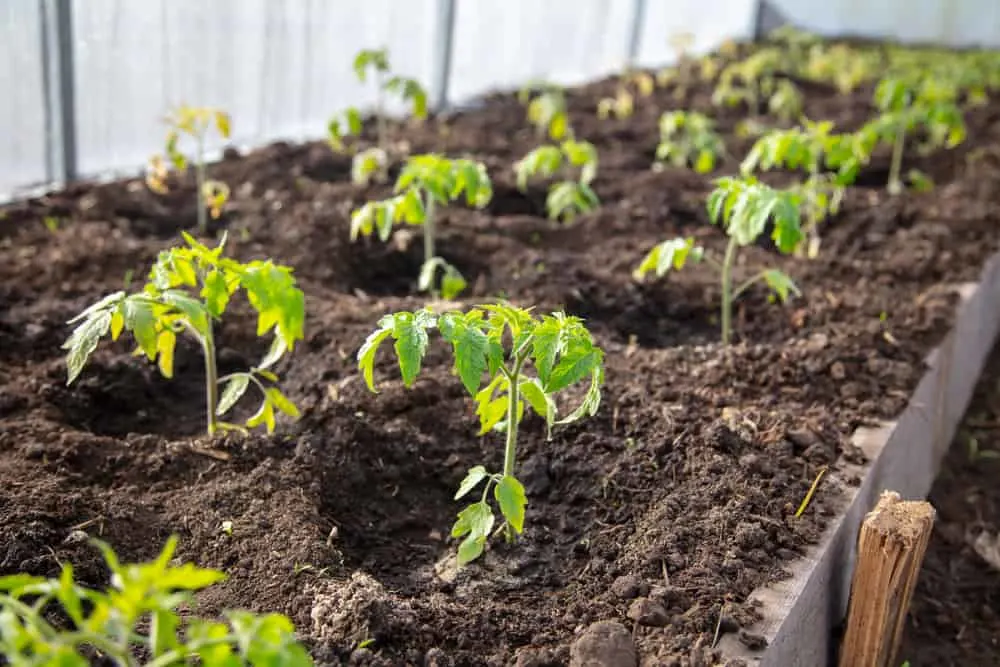
8 Steps To Planting Tomato Transplants
1. Harden Off Your Young Plants
Make sure your tomato transplants have been toughened up enough to face life outside. Plants going directly from a sunny window or greenhouse out into the ground may suffer transplant shock.
About two weeks before planting time is when I get them ready for the outside world. Outdoor tomatoes grow in unpredictable weather, so they must be tough. Even in the greenhouse though, you want plants that can hold up many delicious pounds of tomatoes, so tough tomato plants are never a bad thing.

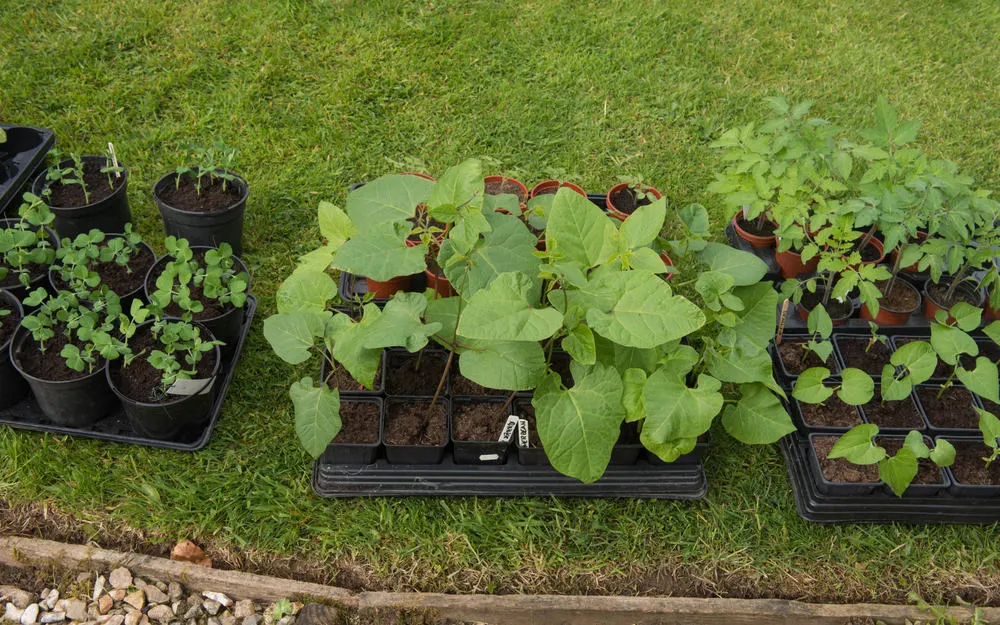
Start moving the little guys outside for the day in nice weather. Bring them back inside for the evenings. They will surprisingly benefit from some gentle wind. If there is no wind, brush your hands over the plants once or twice a day.
This signals to the plants and the root system to buck up and grow strong. You will be grateful when those tough, healthy branches that are holding fast to big bunches of juicy, delicious tomatoes.
2. Choose The Right Location
It has been said before, it will be said again. Finding a happy place for your tomatoes to grow is important because it needs many things to grow happy, yummy tomatoes.
Tomatoes need:
Sun
A sunny location is paramount for tomatoes to bear fruit. It also helps tomatoes ripen on the vine.
Adequate Space
This depends on the style of your garden and your choice of tomato plants.
Some tomato plants are huge and grow 6 to 12 feet tall and wide. These are often the vine or indeterminate types and can be spaced 2 to 3 feet apart. This is the spacing I use in my outdoor, inground garden. These need adequate supports or trellises because otherwise they’ll be falling all over the place by the end of July.
Bush or determinate types may grow 2 to 4 feet tall and could be spaced closer together. They are great choices for growing in containers, hanging baskets, or raised bed gardens.
Now is also a great time to consider what will be growing near your tomato plants. There are lots of beneficial companions that can grow alongside your tomatoes, but there also some plants that should be nowhere near.
Related Reading: Tomato Plant Spacing: How Far Apart To Plant Tomatoes?
3. Tidy Up the Tomato Transplant
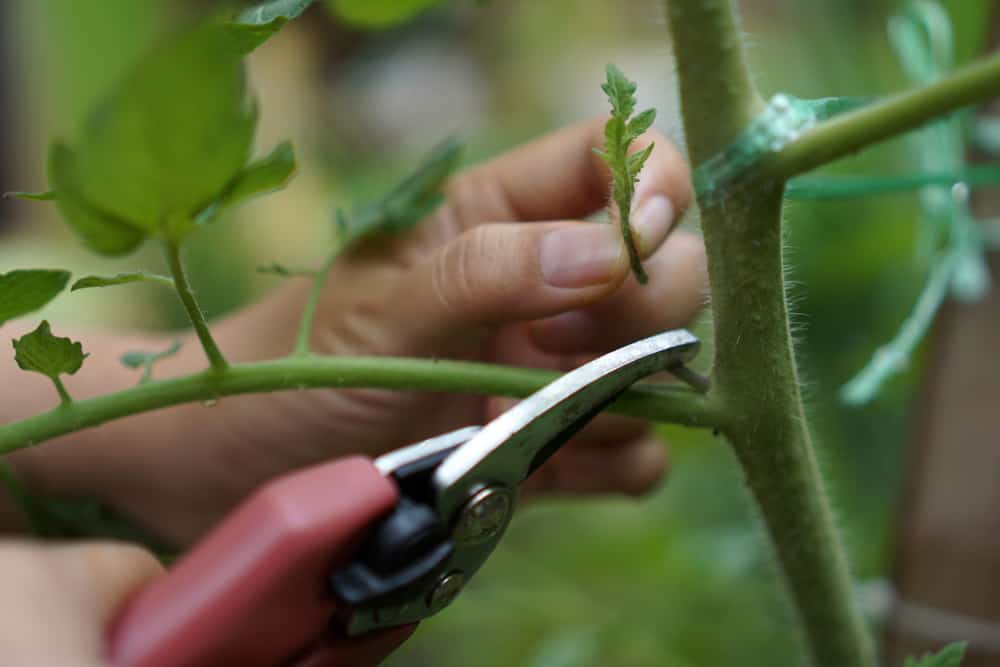

Remove bottom leaves and suckers either by pinching or with clean scissors. It seems against all rational thought, but removing any early flowers will help your tomato plant put its energy into settling into its new home.
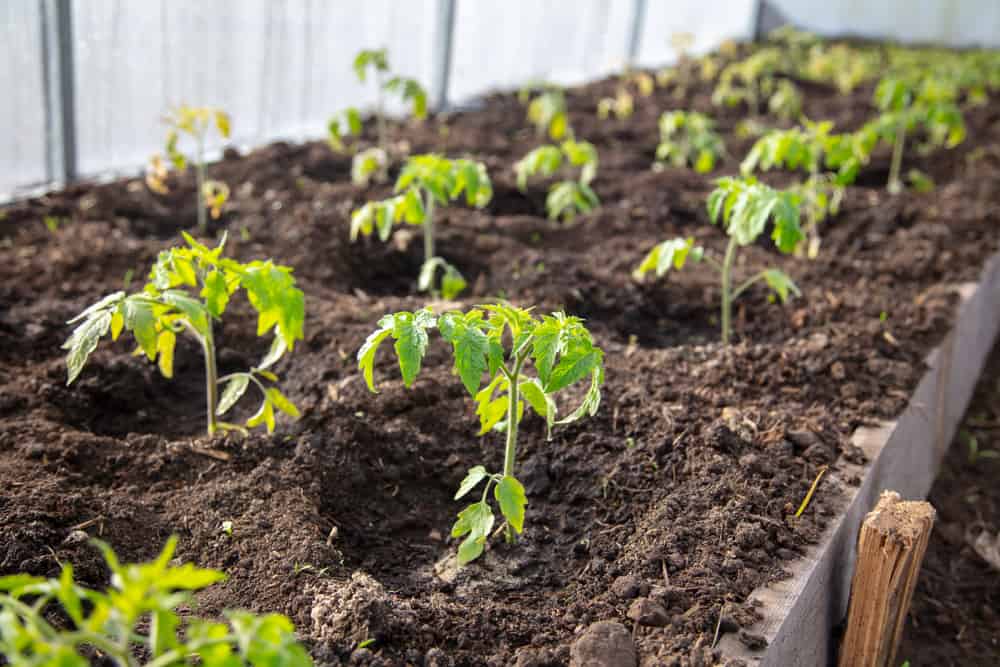
4. Dig Hole and Amend Soil

You want to dig a large hole to accommodate your young tomato plant – it should be at least twice as wide as the pot you are transferring from.
Digging large holes allows the soil to loosen up where the roots will grow. Having air pockets in the soil, known as soil porosity, allows the roots to breathe and provides excellent drainage.
A large hole also allows you to mix in soil amendments and gives your tomato transplant direct access to the extra nutrition. Amendments containing phosphorus, such as bone meal, are great for root development. It is a soil component that roots need to have direct contact with to be able to absorb, so placing it right in the hole is excellent.

Planting time is an opportunity to try different soil amendments, depending on the current condition of your soil. Things to experiment with might be bone meal, gypsum, Epsom salt, peat moss, diatomaceous earth or eggshells (although evidence for eggshells being beneficial is slim).
Here’s a guide to things you should (and shouldn’t) put in your tomato planting hole.
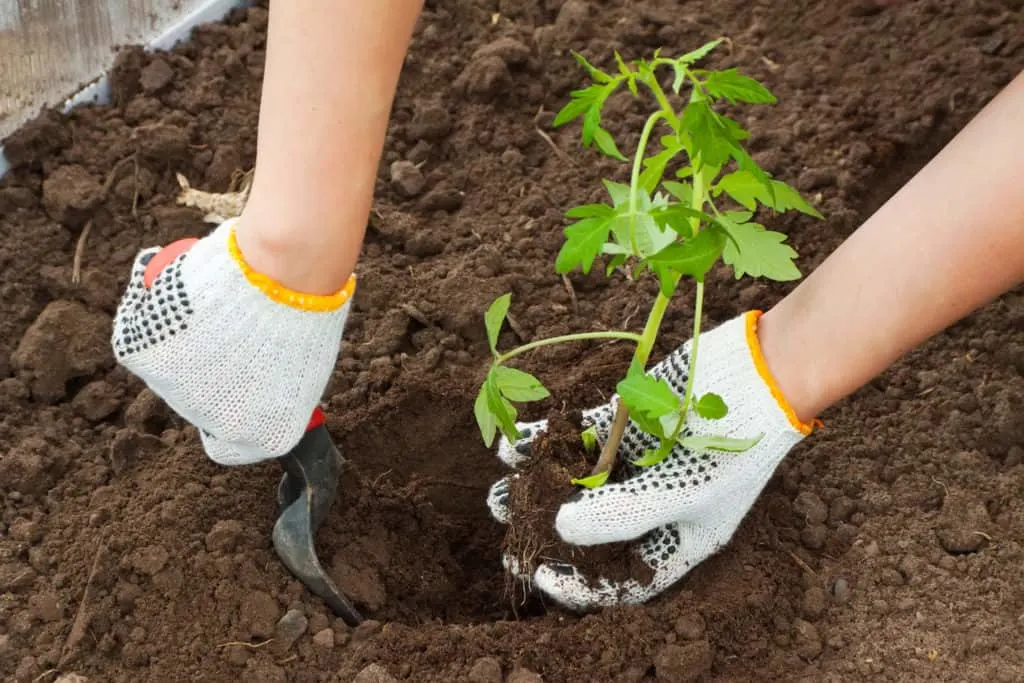
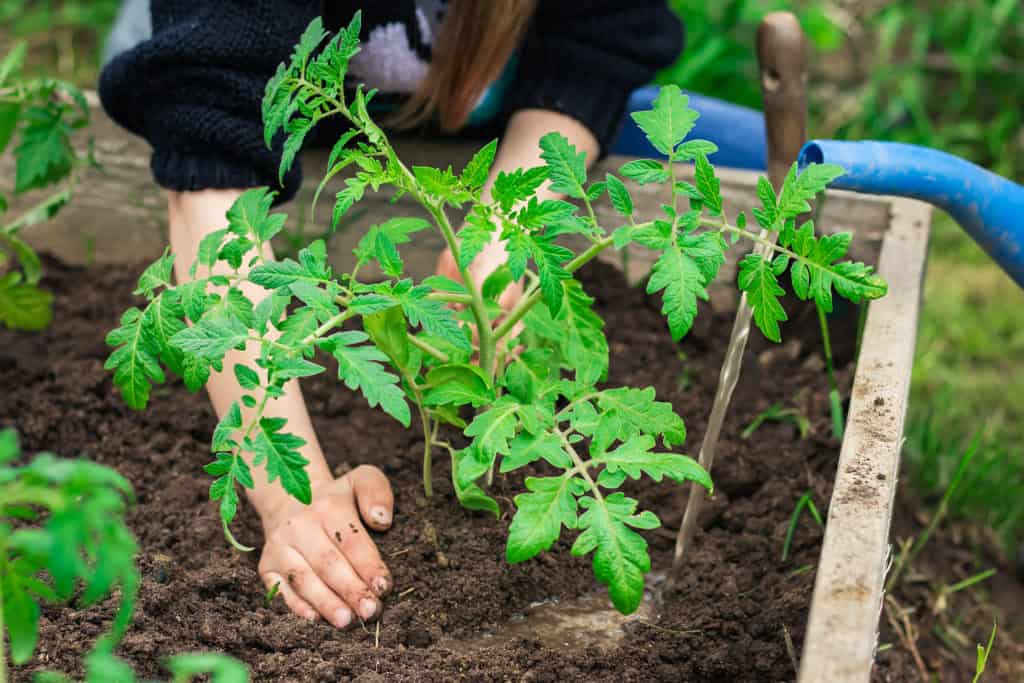
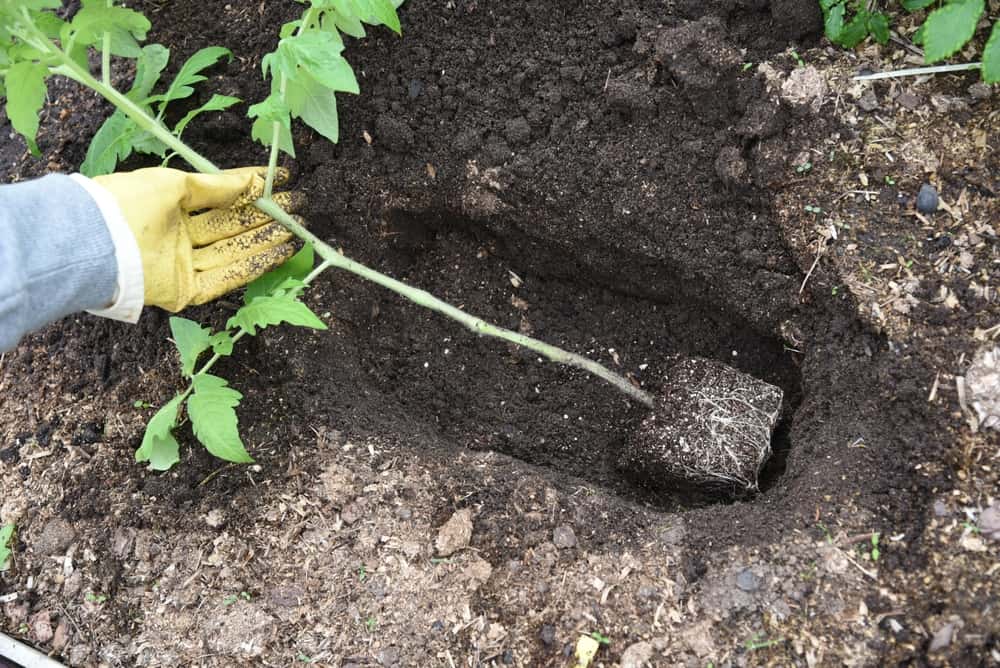
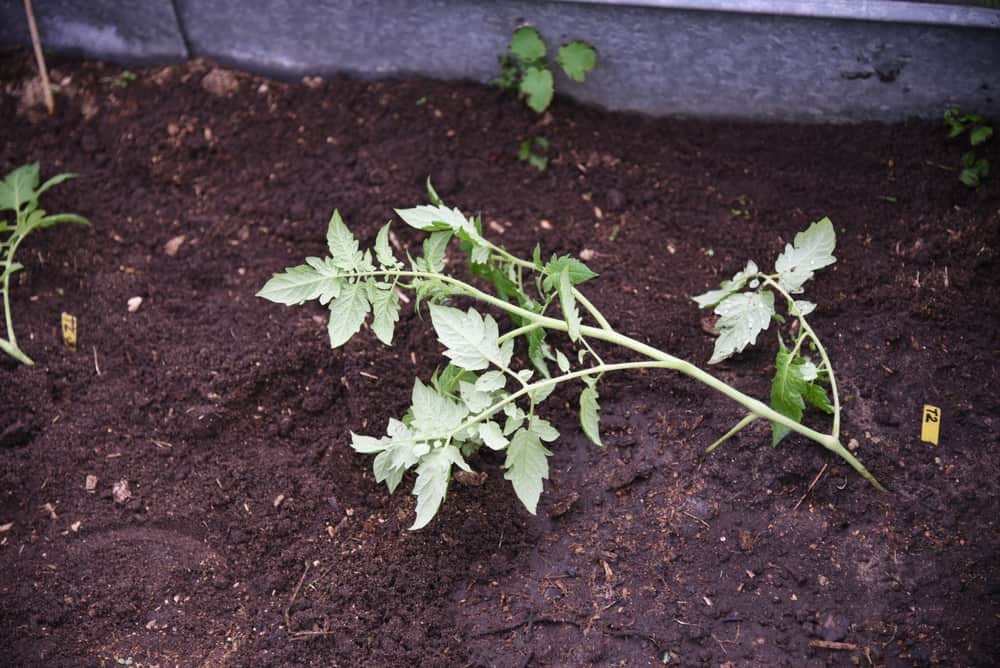
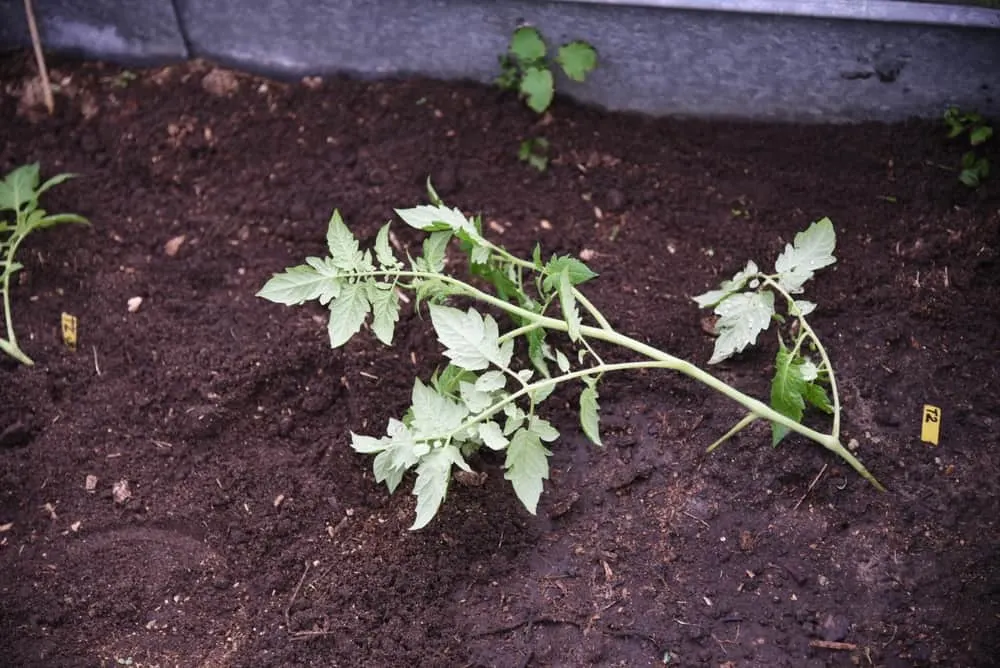
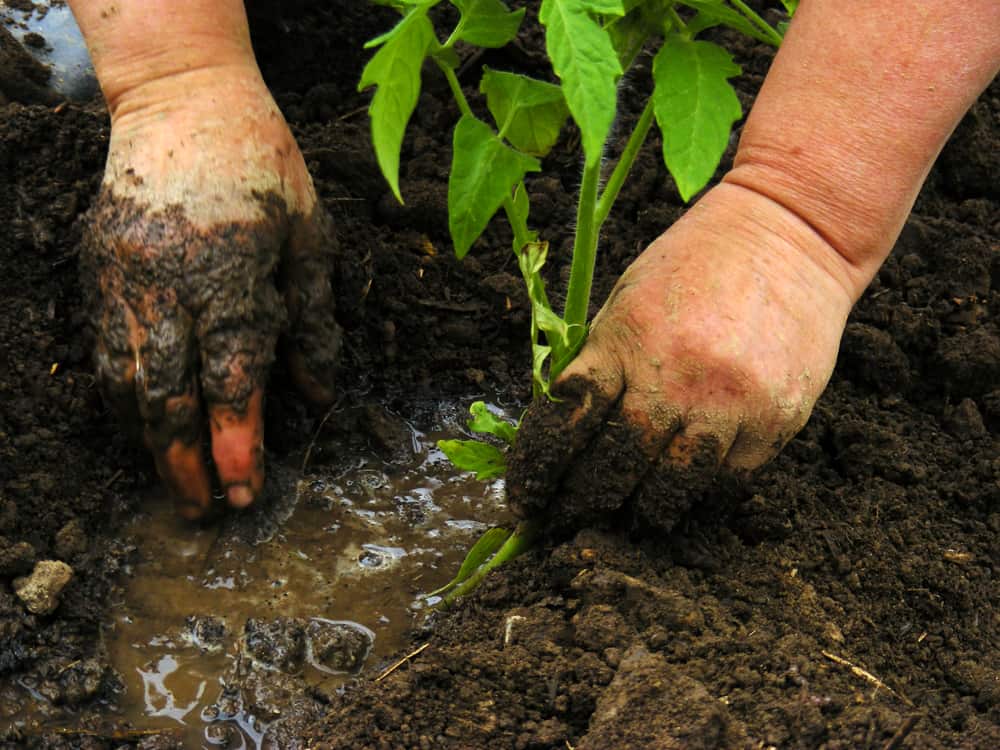
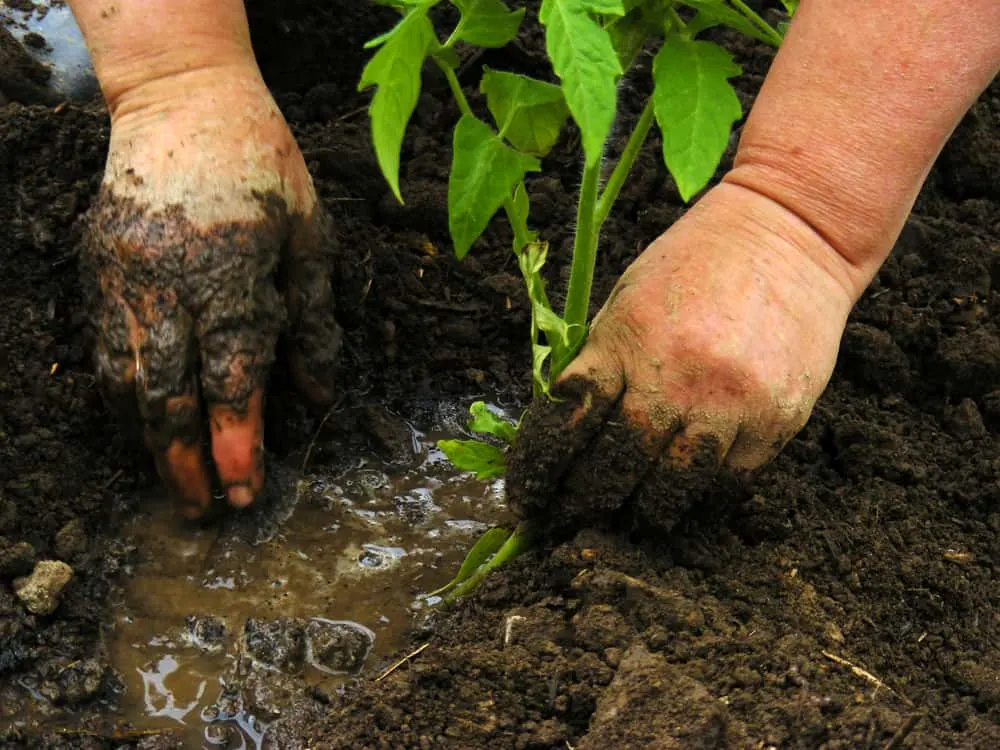
5. Bury Your Tomato Plant Deep – Or Plant Sideways
Gently tap your young tomato plant out of the pot it has been happily growing in and place the roots and as much of the soil as possible into your planting hole.
Bury a significant amount of the stem under the soil line – at least half, but up to two thirds of the stem. You can even remove the lower leaves to submerge more of the stem.

This is because tomato plants have adventitious roots. Roots can form all the way along the stems of tomato plants.
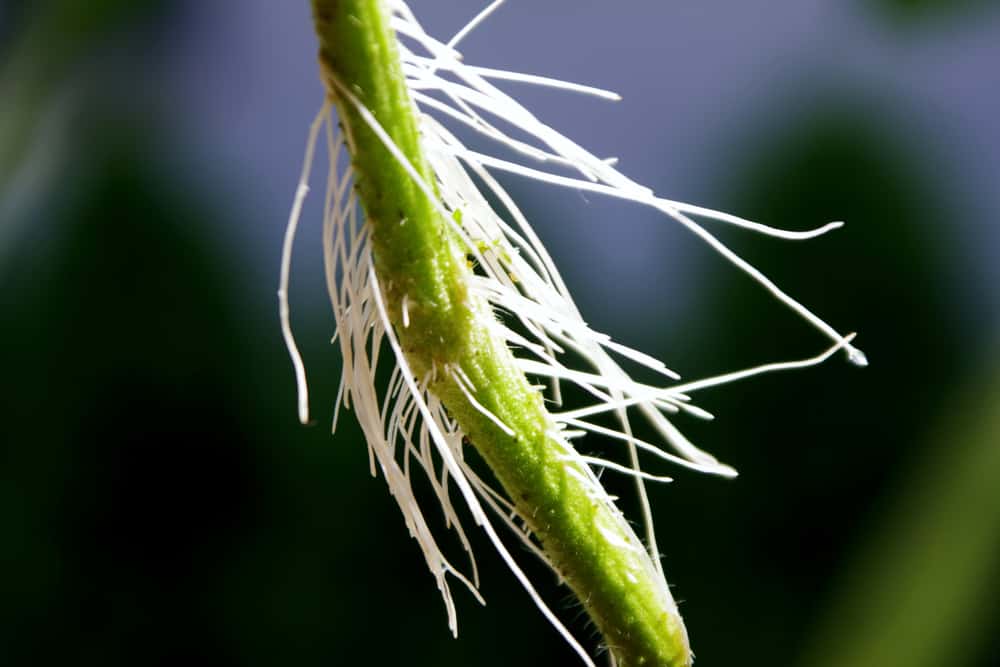

At planting time, your robust plant might even be forming roots above the soil line, or you may see bumps along the stems. Some plants do this because, in their wild environment, they would grow along the ground, putting down roots wherever they could. Tomatoes are one of these plants.
Take advantage of this adaptation and bury a significant portion of the stem to help support the whole tomato plant as it grows.
Fill soil in snugly around root ball and stem. Tamp soil gently so roots have contact with soil, and there are no large air pockets around the roots. Make sure to not compact the soil too much.
If desired, make a hill and moat around your tomato plant.
This is a great little planting trick to help prevent diseases. Basically, you mound the soil up around the stem and make a well or moat 6 to 8 inches in diameter around the base.
The well or moat helps collect water. And remember those adventitious roots? This gives them a little more room too. When it rains or when the tomato plant is watered, the water splashes away from the stem, helping to prevent soil-borne diseases splashing up on the stem and bottom leaves.
An alternative approach to planting deep is to plant sideways. It might sound weird but it takes advantage of the adventitious roots and allows roots to form all the way along the stem.

Your plants will eventually start reaching for the sky but with a much healthier root structure in place.
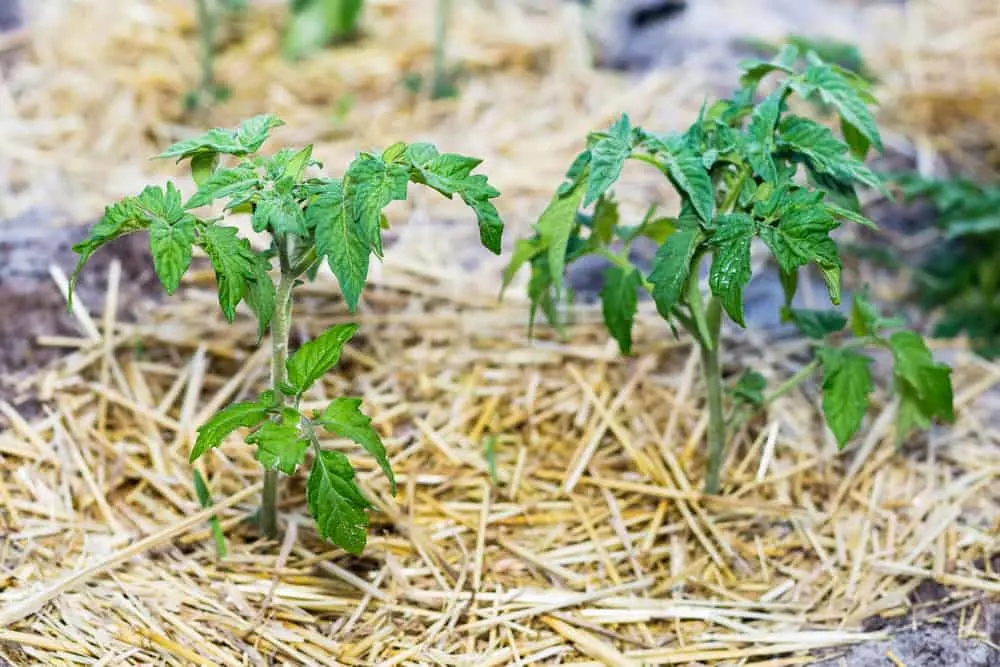
6. Mulch (Or Don’t Mulch!)
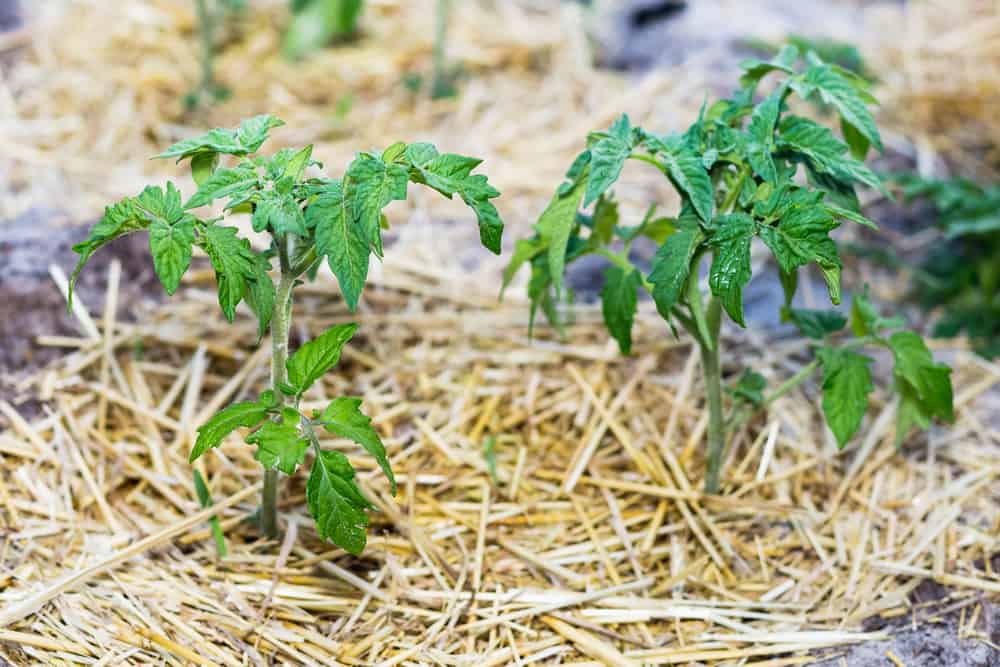
The pros of mulching are:
- Mulching helps to retain soil moisture and maintain soil temperature.
- It can minimize soil-borne disease from splashing up on stems and plant parts.
- A thick layer of mulch can help reduce weed competition.
The cons of mulching are:
- Mulch may keep soil temperatures too low.
- Thick mulch may keep soil too damp.
- A layer of mulch can impede soil aeration.
- Mulch can harbor insect pests such as slugs and snails.
My confession. I don’t mulch tomatoes. I mulch most of the garden but not tomatoes. In my climate, it takes a long time to get the soil temperature up. If I lived in a warmer place where I need to protect the tomato roots from too much heat, I certainly would mulch. Here, I need every ounce of warmth around the tomatoes, so I keep the soil well cultivated with as much sun on them as possible.
If mulching is the right choice for you, then here are five types of organic mulch you could consider, plus how to use them.
Choosing to add mulch can be done at any time. If soil temperature is still cool, you could wait until later in the season to add mulch.
7. Water, Water, Water!
Water is your number one tool to aid your transplants in establishing healthy strong growth. At least once a day for the first two weeks. And remember, rain is often not enough for new plantings.
Here’s our guide to watering your tomato plants correctly.
8. Support Your Tomato Plant
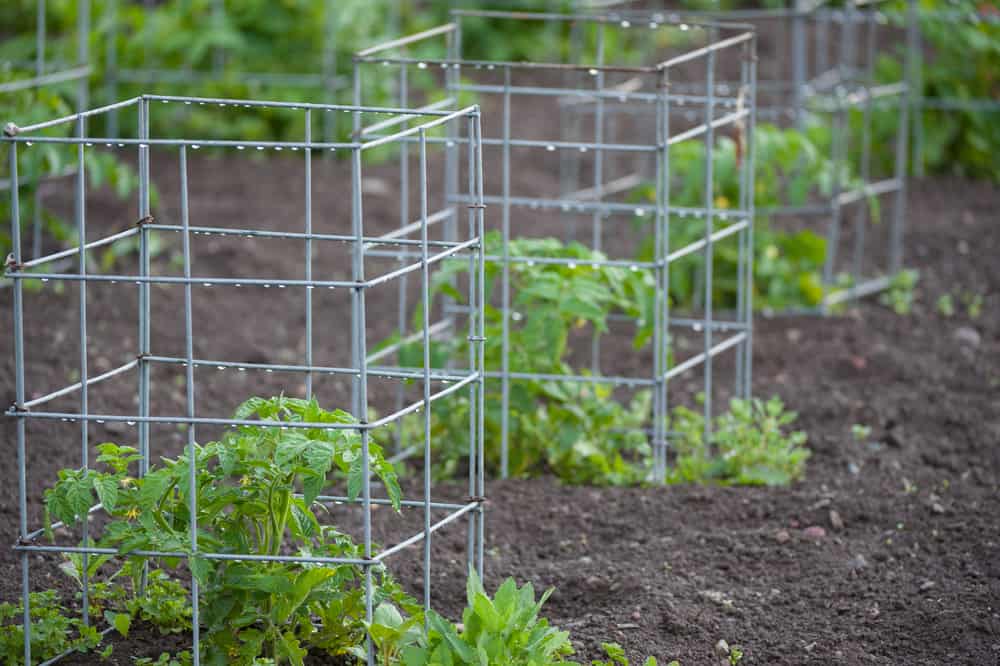

After all the hard work of planting, putting cages or stakes close to the new plants is much easier now. Once they have grown up a bit, it does get harder to put trellises, cages, or stakes in, and it is easier to break branches and roots in the process.
Take a look at our article to see whether stakes or cages are the right choice for your tomato plants. And also read our guide to properly using a tomato cage and the best and worst to use.
And Now We Wait
Patience is a virtue; they say, and yours will now be tested. Keep your tomatoes well-watered, weed free, and tied up to their supports while waiting for the days of the first flowers, little green glowing balls that blush into tasty, mouthwatering treats.