
For the novice or experienced gardener, there are few more fulfilling activities than growing your own tomato plants from seed.
Imagine harvesting your first sun-warmed tomato from a plant you nurtured from seed.
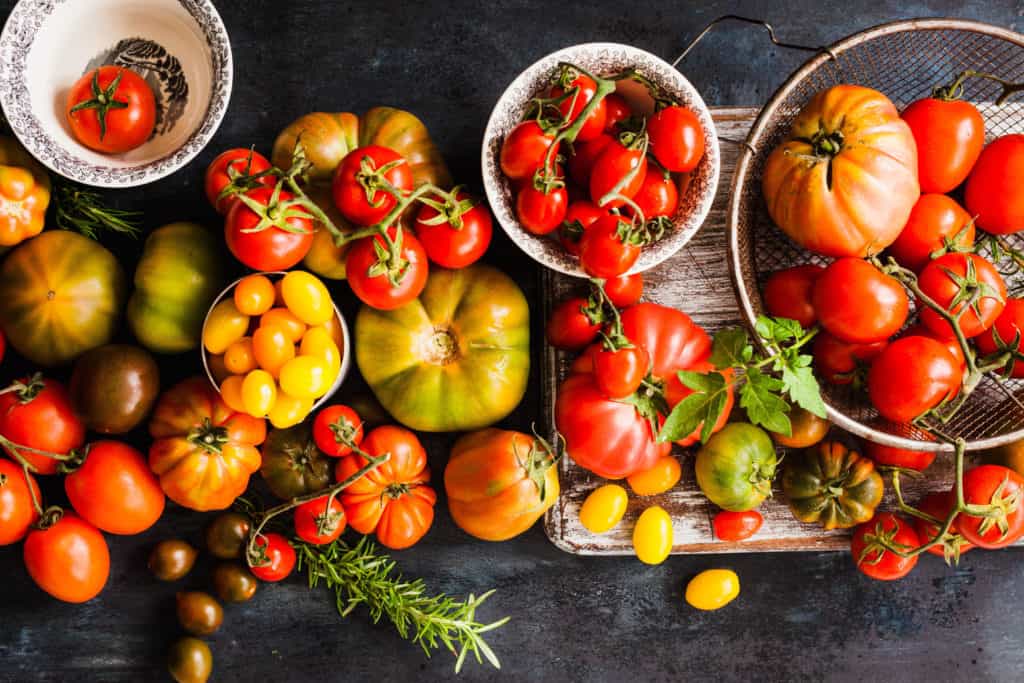
Growing your own tomatoes from seed allows you to choose from the ginormous number of delectable varieties and mix and matching old favorites with new kinds of tomatoes.
With these you can create splendid flavor blends and profiles to add to all your meals. This is in your future if you are planning to start tomato plants from seed.
Choosing Tomato Seeds
First, you need to decide which type of tomato plant you want to grow. Determinate or indeterminate?
Determinate tomatoes are bush-like and lower in maintenance. They flush out most of their produce all at the same time. Some of these types can be grown in containers, hanging baskets, and smaller gardens.
Indeterminate tomatoes grow tall and require a little more thoughtfulness because they need staking and pruning. Indeterminate tomato plants can grow over 15 feet tall and produce tomatoes of all shapes and sizes (depending on variety of course) for as long as the frost-free dates allow.

3 Ways To Source Tomato Seeds
1. Purchase Seeds

Purchasing tomato seeds can give you the ultimate amount of control over the types of tomatoes you want to grow.
There are giant beefsteak tomatoes that might be 1 to 3 pounds (450 to 1350 g) each, to tiny, currant types of cherry tomatoes that are, well, the size of currants. And everything in between.
There are paste tomatoes if canning and sauce making is your dream. There are slicers perfect for the ultimate BLT, and super prolific cherries gorgeous for gorging to your hearts content.
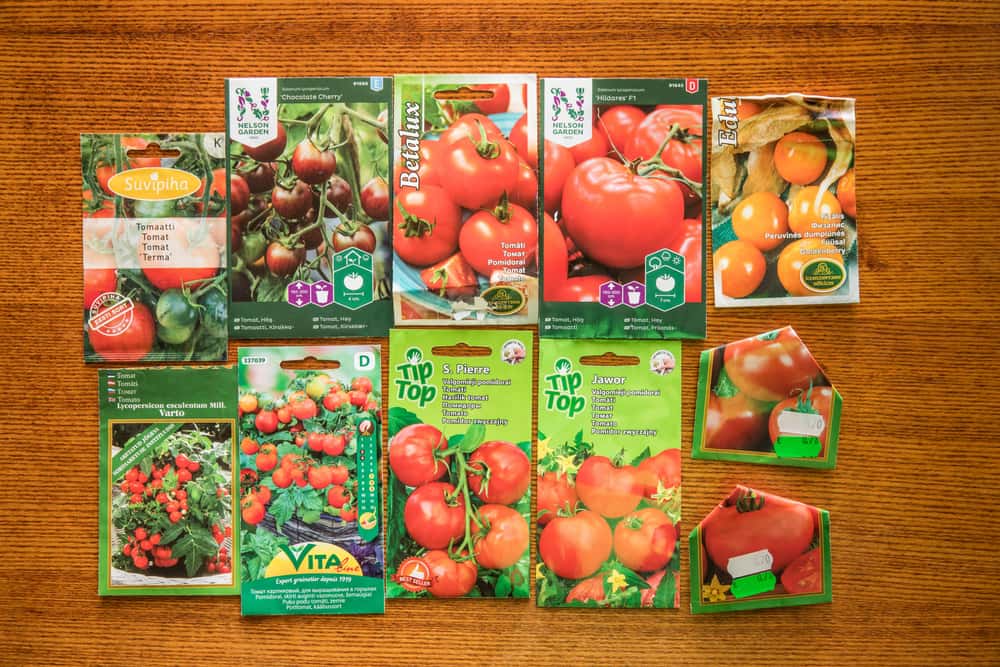
Your local garden center will offer a number of popular tomato varieties, but you can also purchase many heirloom varieties from specialist suppliers, such as Baker Creek Seeds.
2. Starting Seeds from Tomatoes Purchased at the Store or Farmer’s Market.

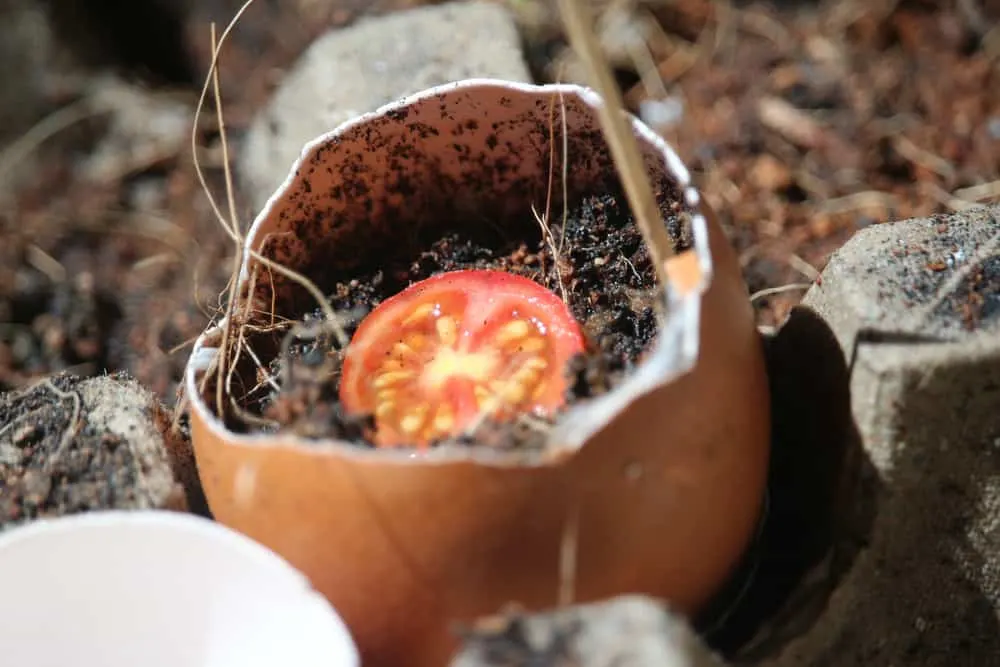
I see YouTube videos sharing this sport of tomato growing from tomatoes purchased at the store or farmer’s market. Although tomatoes don’t cross pollinate super easily, they still do, so you can’t be absolutely sure that the tomato plant you grow will be the same as the one you saved seed from.
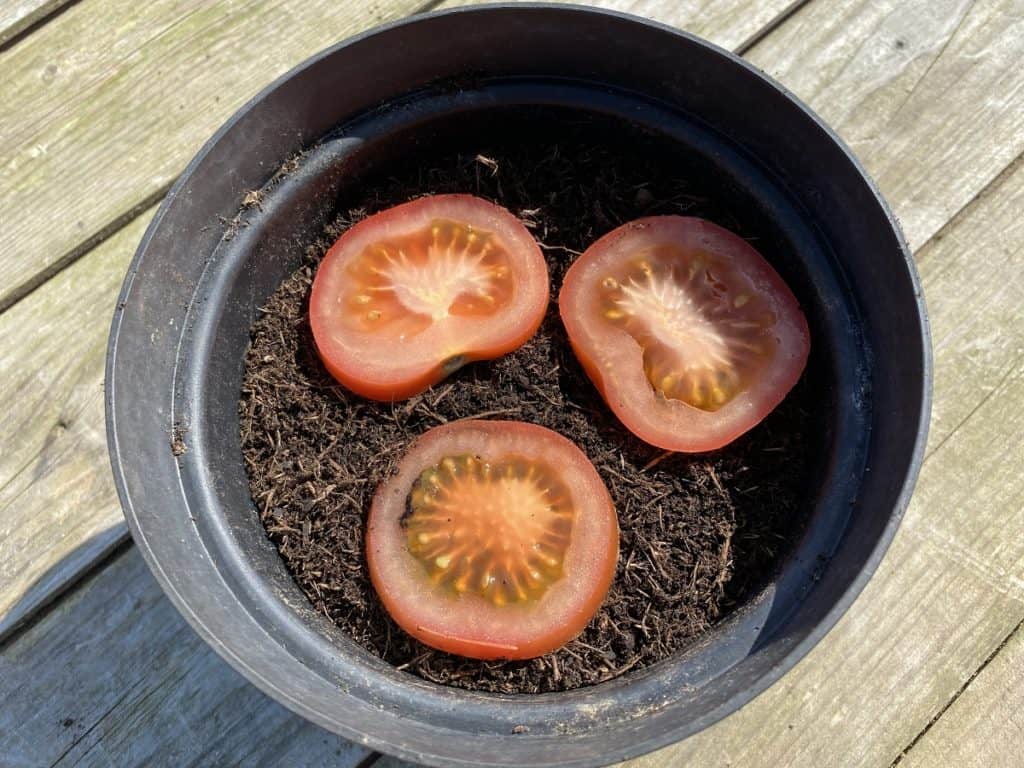

This might be a risk you are willing to take, and an adventure in a possible hybrid that is gorgeous and delicious. It may also make a hybrid that is bland, mealy, and covered in spots.
If you have time and space to experiment, I wish you good luck.
Take a look at our guide to starting tomato seeds from tomato slices.
3. Saved Tomato Seeds
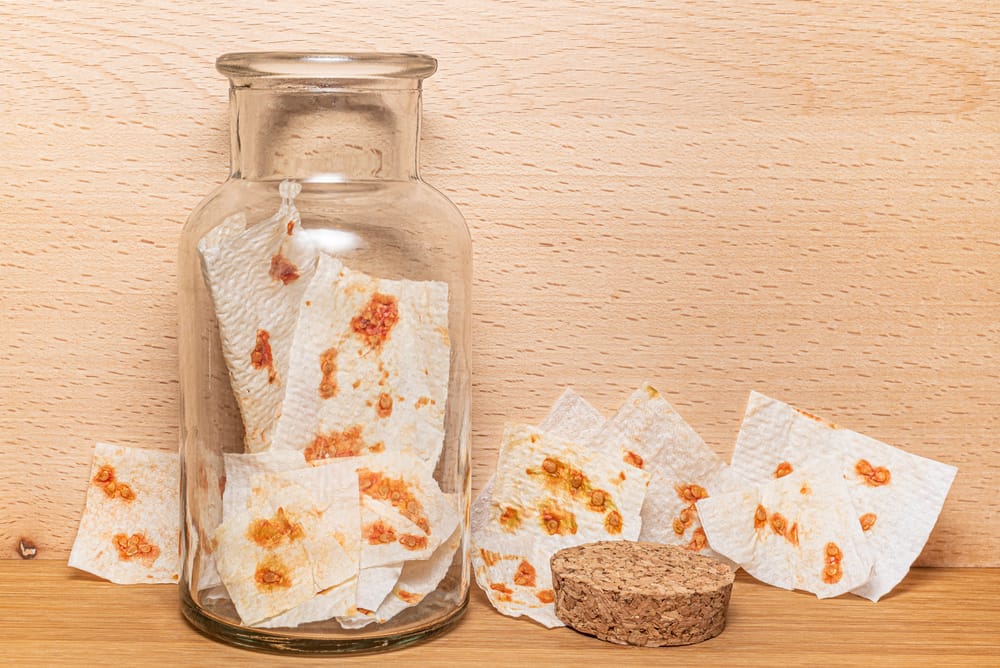
To the previous point, there is an art to saving seeds. Many plants cross pollinate with each other, so their offspring are a little of each parent, sometimes the best parts, when we are lucky. A lot goes into the science of hybridizing plants and thank goodness.
There are tricks to ensure your open-pollinated seeds grow true to the crop you want to grow. In the future, we’ll go into more detail on making sure your saved tomato seeds grow true.
Seed Starting Time: 6 to 8 Weeks Before Your Last Frost-Date

This is where the rubber meets the road! Let’s gather together all the best things to give your tomato babies a great start.
Seed Starting Containers
Seed Starting Trays
Let’s face it, there are a plethora of seed starting trays on the market. Your garden center, plant nursery, and hardware store will have a wide selection. If this is the route you would like to take, it can make for a neat and tidy seed starting experience.
You can mix and match to fit the seed starting area that you have. Many trays available for purchase are durable enough to use year after year.

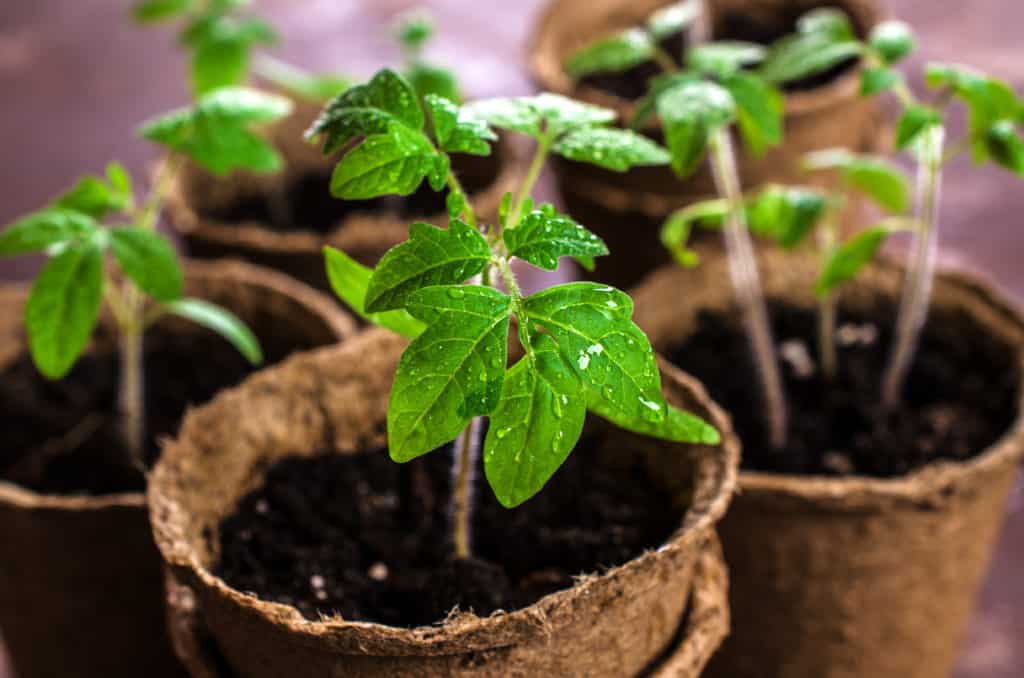
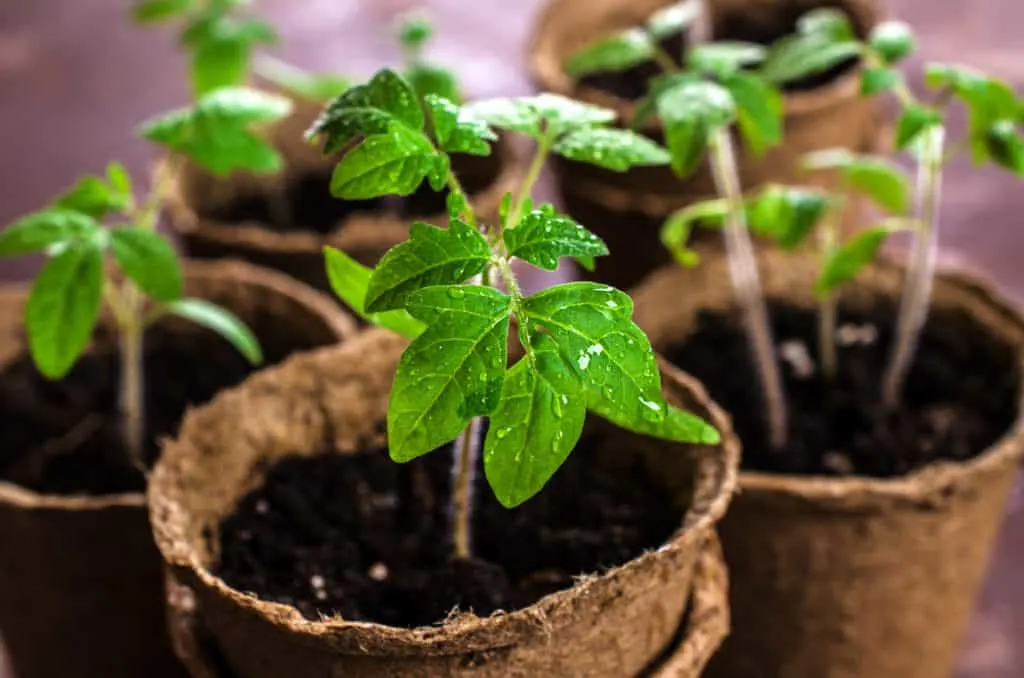
Compostable or plantable containers
Compostable or plantable containers can also fit the bill. These often have nutrients built in and you might avoid some extra plastic use.
I have found some of the plantable seed starters don’t break down all the way in my dry, cool climate. In other places that are humid and warm, they might be falling apart by planting time. For me, I help them along by breaking them up a bit when planting.
Reusable Containers
Make your own seed starting containers from recyclable or reusable materials. Use materials that are as clean and close to sterile as possible for best results.
Egg cartons might work well. I use clean cardboard milk containers, which I cut down throughout the year and keep in bags in the basement for planting time. I know, it’s reminiscent of starting bean seeds in elementary school but it makes me feel good to reuse things.
The important things to remember are drainage, and drainage. If your homemade containers don’t allow moisture to escape, your little hard-won tomato seedlings will drown, rot, and die in a smelly mess.

Seed Starting Medium
After the effort of obtaining the best tomato seeds, giving them a nutritious healthy beginning only makes sense.
A perfect seed starting medium is:
- Light and fluffy for young, inexperienced roots to navigate into.
- Retains moisture so the little guys never get thirsty.
- Is sterile, so there is no competition from weed seeds, and your seedlings don’t get overtaken by fungi and bacteria.
- Holds some nutrition but nothing too strong that might burn little plantlets.
The perfect seed starting medium contains:
- A light, fluffy component such as perlite or vermiculite.
- A moisture retaining ingredient such as peat moss or coconut fiber.
- Sterile materials to prevent unwanted weed seeds, pests, or diseases.
- Well-composted organic matter, worm castings, or mushroom compost to add some gentle nutrition.
The perfect seed starting medium can be made at home or purchased through reputable suppliers. Commercial and homemade potting soil may vary batch to batch. Your local greenhouse or nursery may have wonderful advice when choosing seed starting mixes.
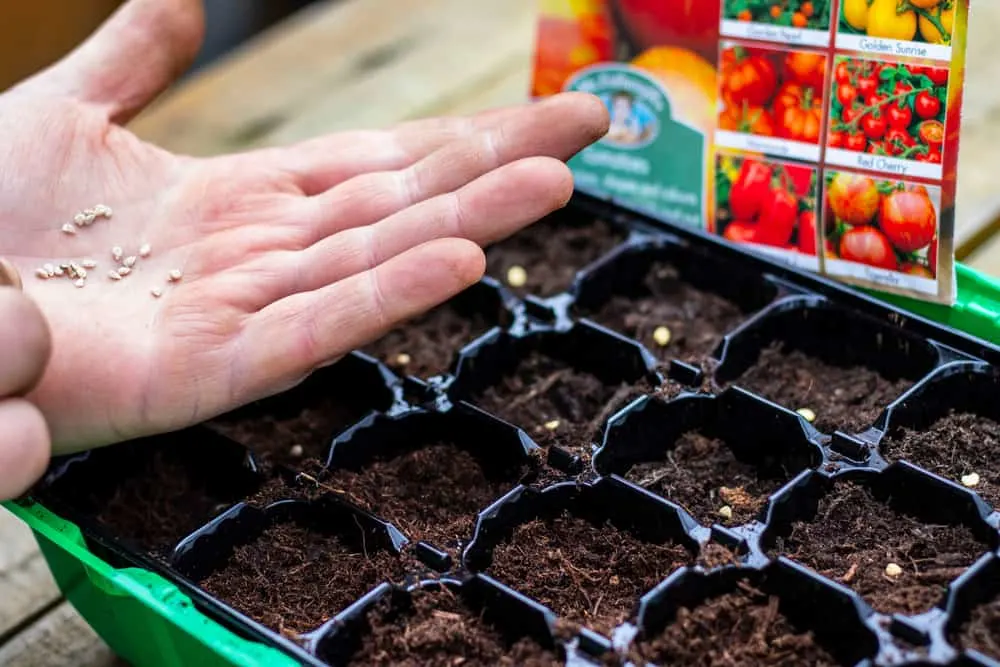
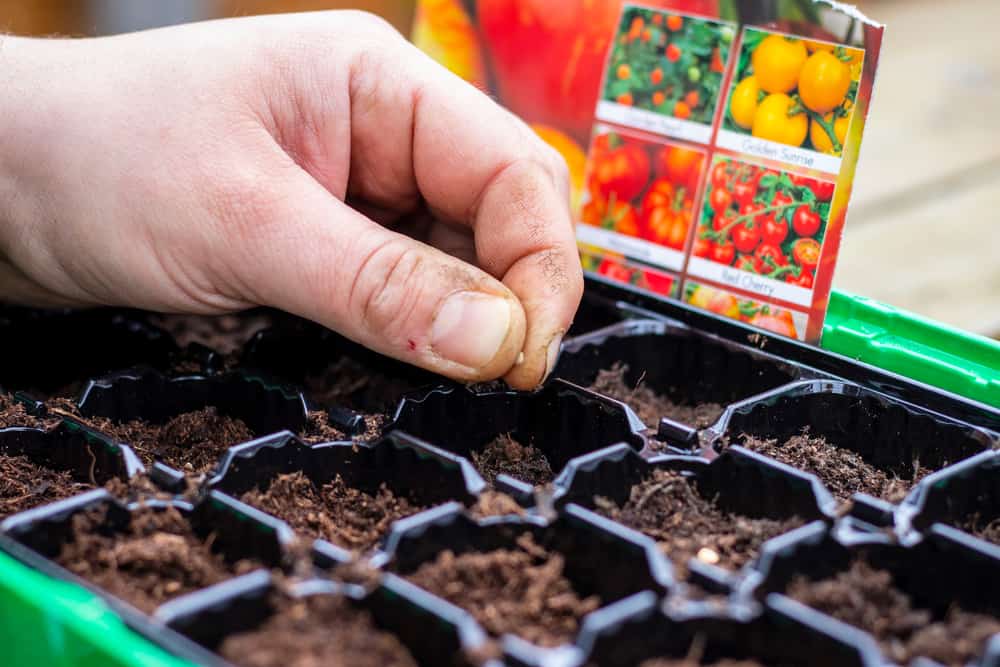
Tomato Seed Starting Step-By-Step
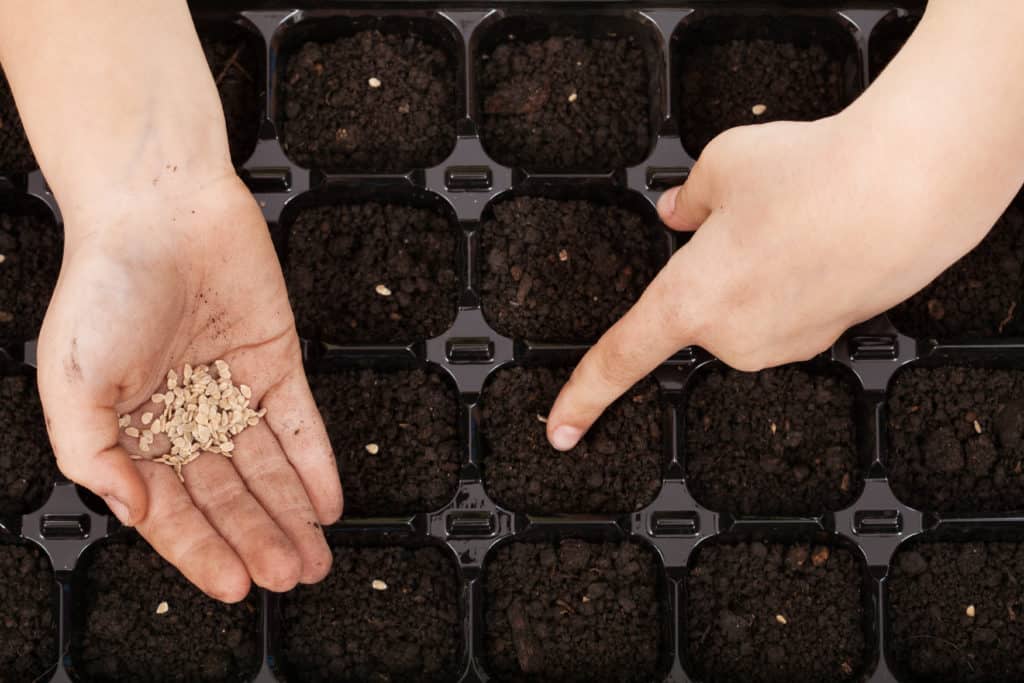
- Fill containers with seed starting medium.
- Moisten and press gently.
- Poke ¼ to ½ inch (1/2 to 1 cm) hole in soil with a finger, pencil, or dibber, 1 to 2 inches (2.5 to 5 cm) apart, or in individual cells.
- Drop 1 seed into each hole.
- Sprinkle more seed starting medium over holes to fill them up. Gently press if needed.
- Water with warm water from underneath or with a fine mist spray.

Where to Put Tomato Seed Starts While They Germinate

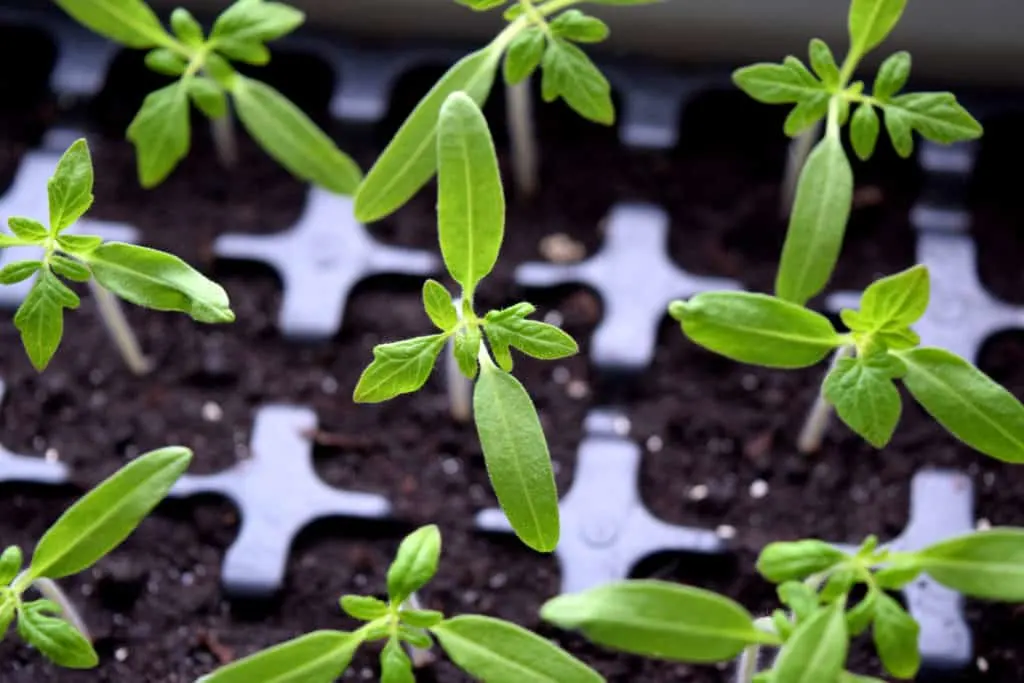
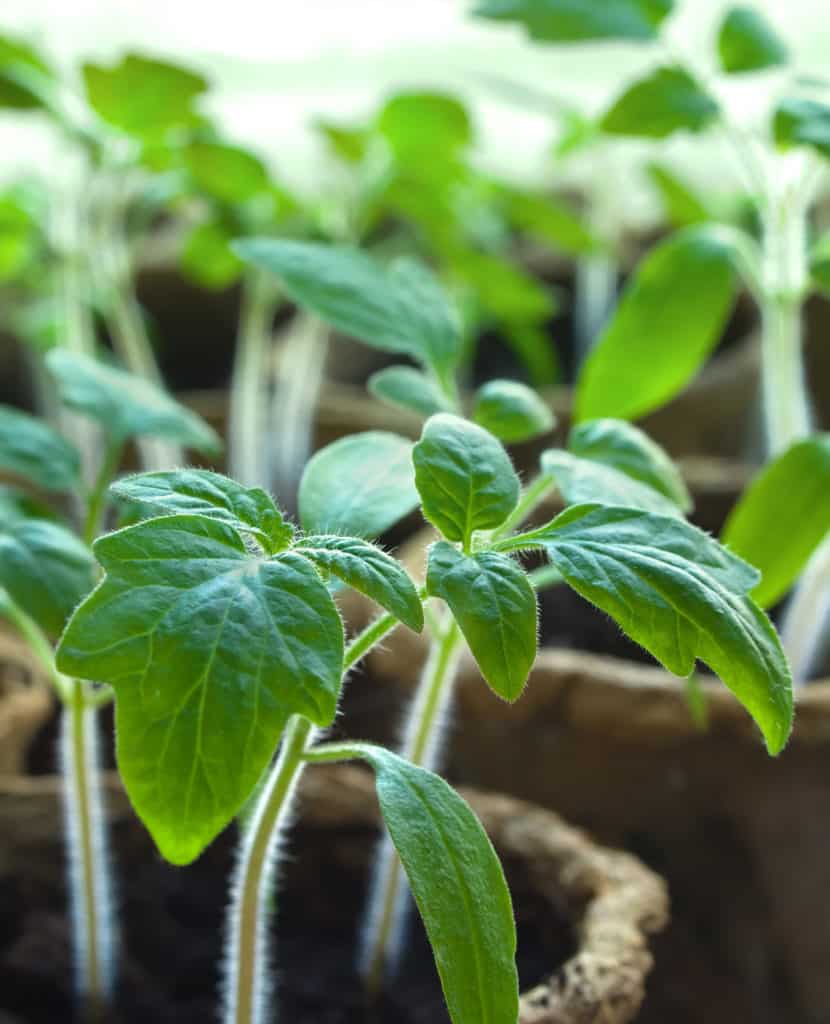
Tomato seeds germinate in about 7 to 10 days. They will germinate in the dark but will need light very soon afterward. They won’t germinate in cold soil. Drying out seeds or seedlings is a death sentence for young tomato plants.
Tomato seeds need three things to germinate:
- Warm soil temperatures between 70° and 80° F (21° to 26° C).
- At least 6 to 8 hours of natural light or 12 to 16 hours of light from grow lights with a daily period of darkness.
- Consistent moisture.
Find a place where you can offer your tomato seedlings these three things and you are well on your way to success.
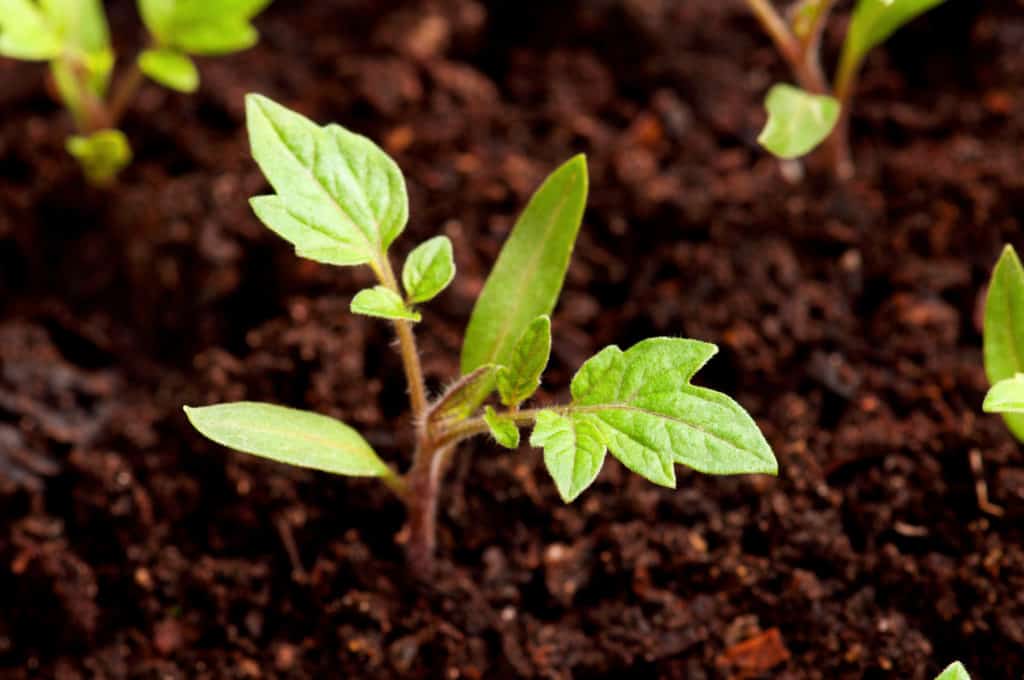
Tomato Seedling Care
Spoil your precious little seedlings. Keep them warm. If they get spindly, give them more light. Gently keep them watered from underneath with room temperature (not cold) water or with a fine mist spray. Never let them sit in standing water, allow for drainage.
When and How to Separate Seedlings

If your tomatoes are well spaced or in individual cells, you can choose to skip this step. It is one way to help give your seedlings a strong start.
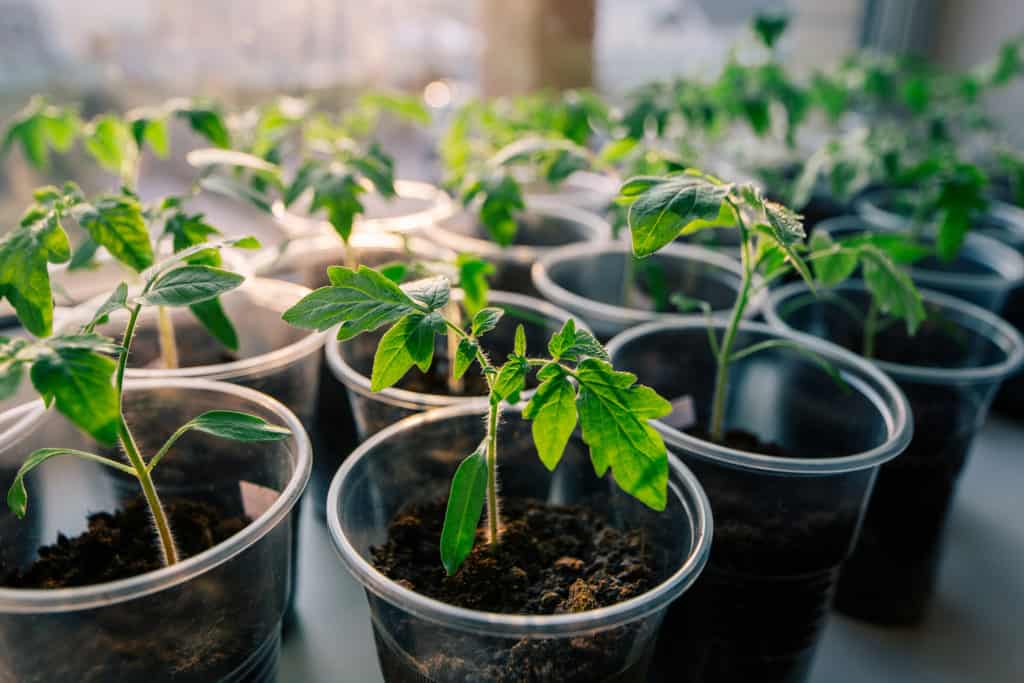
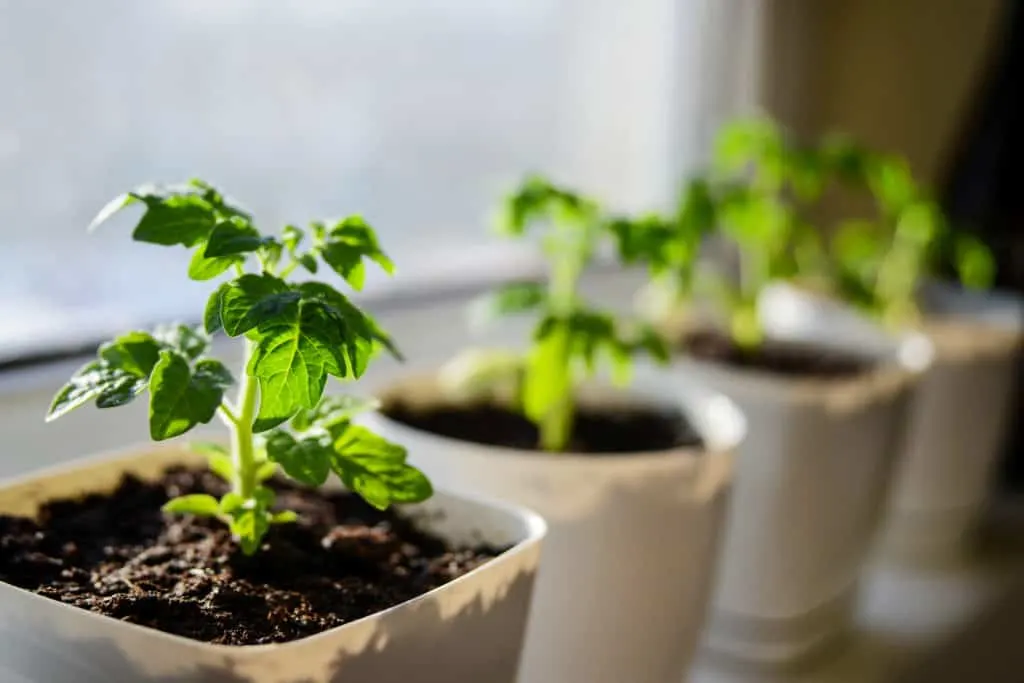
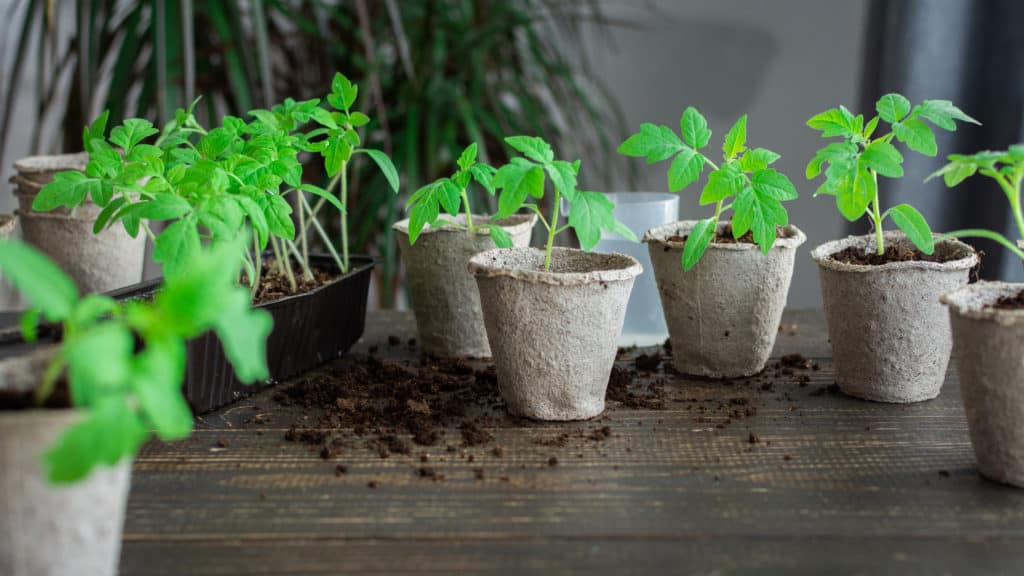
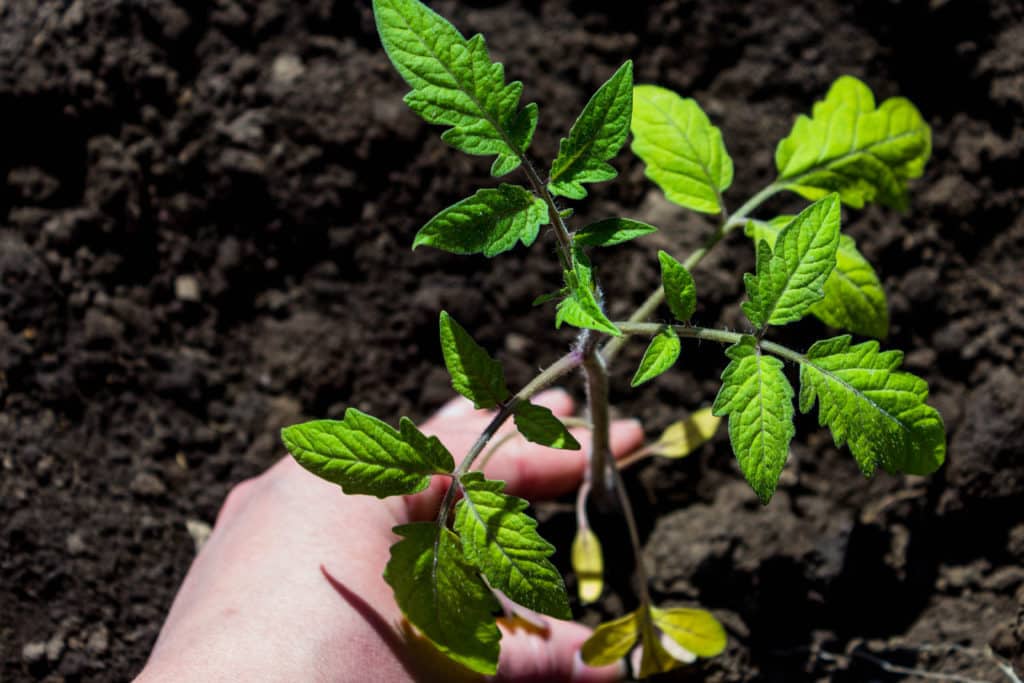
When your little seedlings reach 2 inches (5 cm) tall, you can separate them into larger containers. This saves a lot of space initially. It also gives you a chance to choose the best plants for the future garden.

Fill containers that are larger with moist seed starting mix and put a hole in the soil big enough for the seedling and roots. Gently pull apart seedlings and drop each one into the hole and push the soil around it.
The tomato seedling can be buried all the way up to its first leaves. This gives it more area to root from creating stronger, more robust plants.

As an experiment, I skipped this last year and planted my tomatoes, one seed per 4-inch pot. I wanted to see if I could save on some labor. Although I still had a great harvest in the end, my little seedlings were not quite right. I might dare to say they were lonely. I did have some extra work on my hands at planting time with tomato plants that were not as vivacious as usual, and they needed a lot more TLC.
What to Do When Seeds are Almost Ready to Transplant – The Hardening Off
About two weeks before planting time is when I stop babying the tomato plants too much and get them ready for the outside world.
My tomatoes grow outside in unpredictable mountain weather, so they must be tough. Even in the greenhouse though, you want plants that can hold up many delicious pounds of tomatoes, so tough tomato plants are never a bad thing.
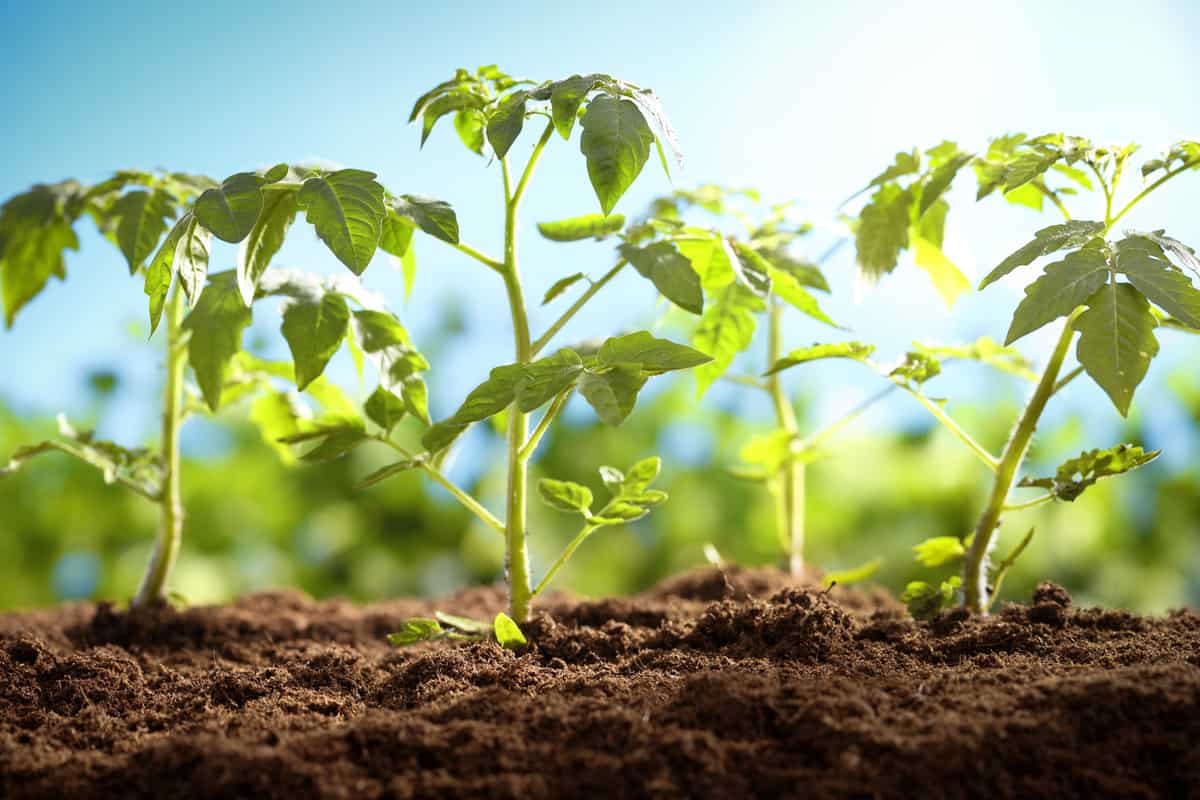
The plants are four to six weeks old at this point. They are 12 to 18 inches tall. They are running out of room in the growing space. Basically, they are teenagers. They need to start thinking ahead about their life outside the cozy warm growing area.

Keeping them well watered, and maybe providing a gentle organic liquid spray fertilizer, start moving the little guys outside for the day in nice weather.
They will surprisingly benefit from some wind. If there is no wind, brush your hands over the plants once or twice a day. This signals to the plants and the root system to buck up and grow strong.
They will thank you for it during the freak hailstorm of June and you will be grateful when those tough, healthy branches are holding fast to big bunches of juicy, delicious tomatoes in July.
You Did It… Nearly

When the soil has warmed to 50° to 60° F (10° to 15° C) and all fear of frost has passed, you have gorgeous, healthy tomato plants, some with even a few flowers, ready to plant out in the garden.
But your hard work is not done yet.
Here’s our guide to transplanting tomatoes outside and the secret to getting huge yields from your plants: 8 Steps To Transplant Tomato Plants The Right Way